How to Insulate Under Kitchen Sink Expert’s 10 Tricks
Table of Contents
Toggle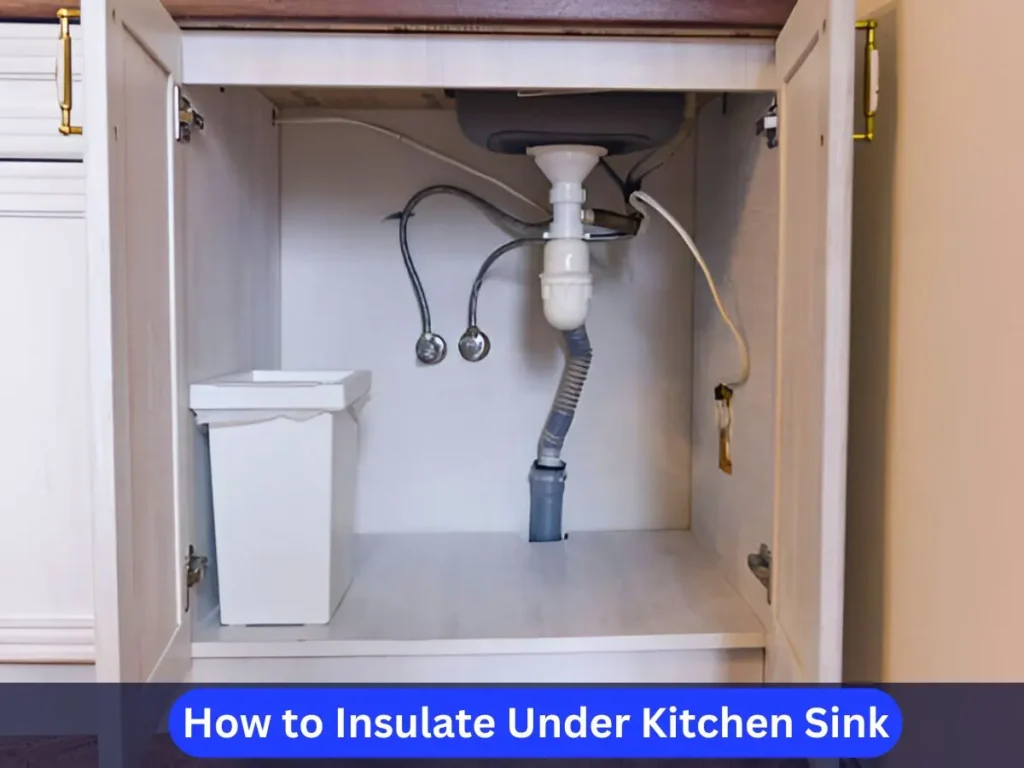
Are you thinking of Insulate under the kitchen sink? Don’t worry, follow these tricks. Boost your home’s energy efficiency and comfort by focusing on an often-overlooked area: the space beneath your kitchen sink. Insulating this part of your kitchen is a wise choice, especially in colder climates. It offers benefits like noise reduction and leak prevention throughout the year.
Our comprehensive guide covers everything you need to know about insulating under your kitchen sink. Discover the benefits and follow our detailed, step-by-step instructions to get started. Improve your kitchen’s energy efficiency today!
Can You Insulate Under a Kitchen Sink?
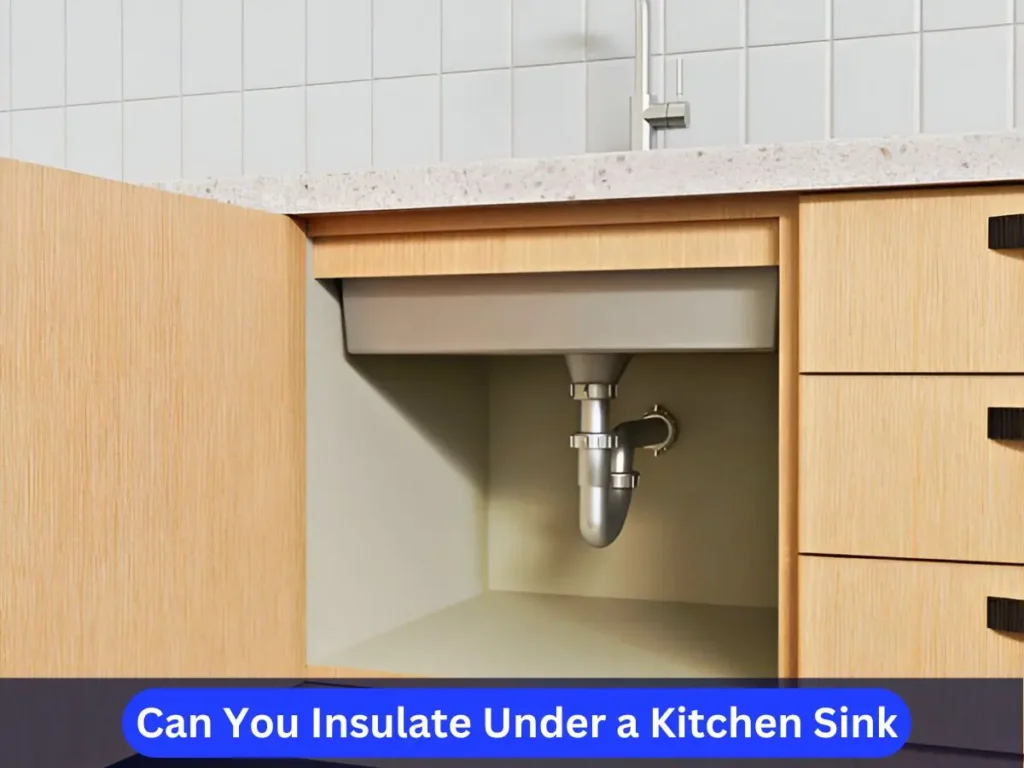
Yes, you can and should insulate under your kitchen sink! This simple home improvement task can significantly improve energy efficiency. Many homeowners hesitate due to common misconceptions about insulating kitchen sinks. Learn how to insulate your kitchen sink effectively and improve your home’s energy performance today!
Common Misconceptions
“It’s not necessary unless I live in a cold climate.”
Insulating pipes is essential for preventing freezing in colder climates, but it offers more than just temperature control. Proper pipe insulation is a barrier against the cold, keeping water at consistent temperatures and avoiding expensive repairs from burst pipes.
Insulation under the sink also boosts energy efficiency by retaining heat in the pipes, reducing the need for extra water heating. This not only saves energy but also cuts down on utility bills.
Additionally, pipe insulation minimizes noise from water flow, promoting a quieter environment. These benefits make home insulation valuable in any climate, enhancing the comfort and efficiency of any home or building.
“Insulation traps moisture and causes mold.”
Proper insulation is crucial for maintaining a comfortable and energy-efficient home. When installed correctly, insulation controls indoor temperature and prevents condensation build-up. This reduction in moisture minimizes the risks of water damage and mold growth, ultimately extending the lifespan of building materials.
Effective insulation removes unwanted moisture by acting as a barrier, preserving your home’s structural integrity and promoting a healthier indoor environment. Ensure your home is well-insulated to enhance energy efficiency and protect against potential damage.
“It’s too complicated.”
On the contrary, Insulate under your sink is a simple DIY project that requires minimal tools and time. Adding insulation can reduce noise from the plumbing, improve energy efficiency by preventing heat loss, and protect your pipes from extreme temperature changes.
The materials needed are often inexpensive and can be found at your local hardware store, making it a cost-effective way to enhance the comfort of your home.
Why Insulate Under Your Kitchen Sink?
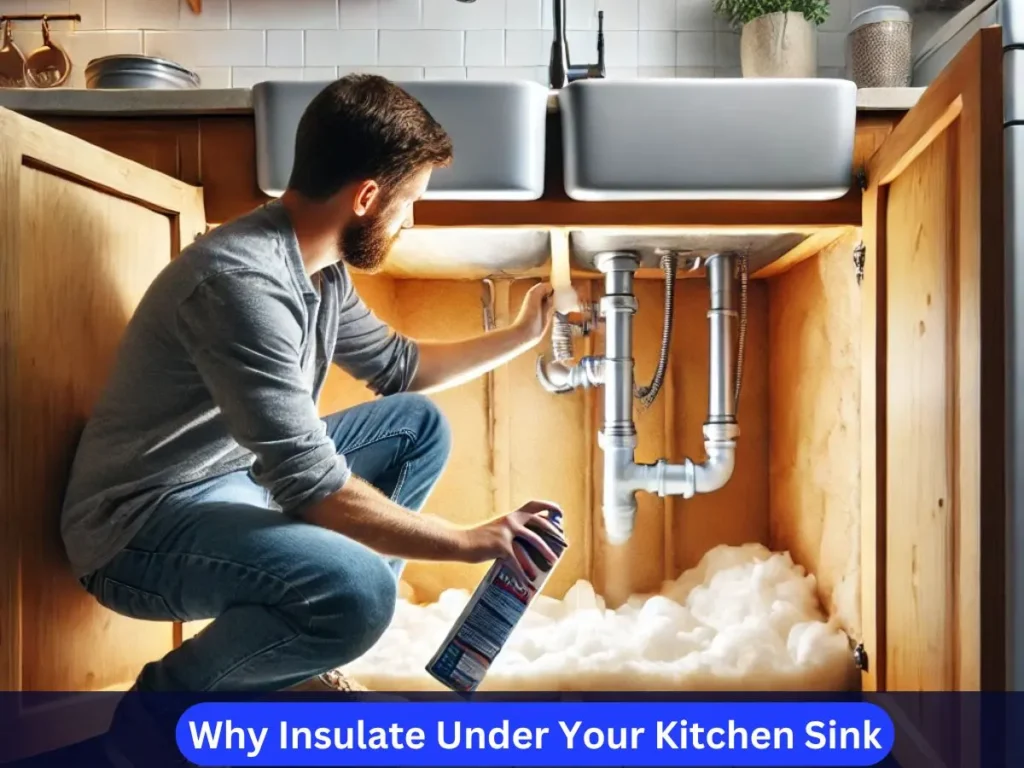
Insulating under your kitchen sink is about more than just pipes and plumbing—it’s about creating a safe, efficient, and comfortable kitchen. Let’s explore the key advantages.
Energy Efficiency
Insulate under the kitchen sink is crucial for maintaining water temperature and reducing strain on your water heater. This efficiency results in lower energy bills and enhances home energy efficiency—a benefit every homeowner values. Properly insulating plumbing can conserve energy and save money, making your home more eco-friendly and cost-effective.
Prevents Pipes from Freezing
Insulate under the kitchen sink is crucial for homes in areas with harsh winters. Proper pipe insulation helps prevent freezing, reducing the risk of burst pipes and costly repairs. Protect your plumbing this winter with effective under-sink insulation to ensure your pipes stay safe from freezing temperatures.
Protects Against Leaks and Moisture
By adding insulation, you’re creating a barrier that helps prevent water damage caused by leaks. Insulation also reduces condensation build-up, protecting your cabinetry and flooring from potential harm.
Improves Comfort
Are you experiencing cold drafts from under your sink? You’re not alone. Proper insulation can eliminate these cold spots and enhance your kitchen’s comfort. Say goodbye to chilly surprises on winter mornings by insulating your kitchen. Improve your home’s warmth and efficiency today!
Long-Term Cost Savings
Insulate under the kitchen sink can help avoid costly plumbing repairs and reduce energy bills. It provides long-term financial benefits that outweigh the initial effort and costs. This simple home improvement project is worth considering.
Plus, insulating your sink contributes to a more energy-efficient and eco-friendly home. Consider sink insulation for its cost-saving and green benefits today!
Perks of Insulating Under Your Kitchen Sink
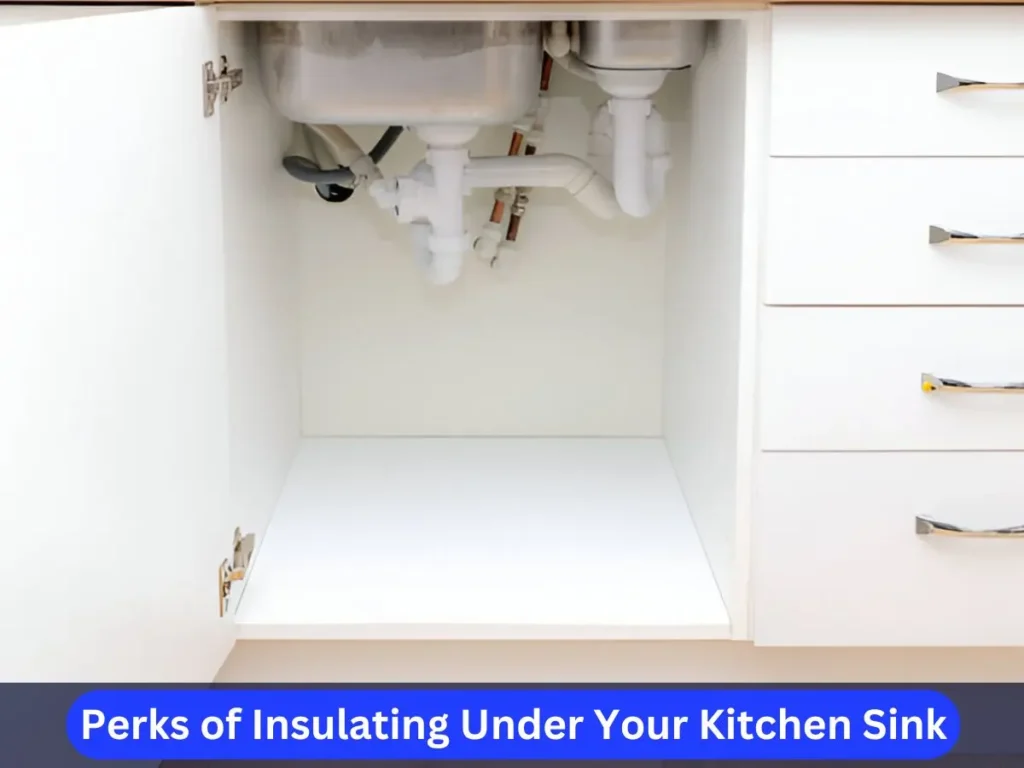
Insulation offers practical and eco-friendly benefits. Here’s how it makes your kitchen a better, more sustainable space.
Enhanced Kitchen Environment
- It maintains a consistent temperature, ensuring your kitchen remains a comfortable and welcoming space for cooking and gathering, no matter the weather outside.
- It significantly reduces the noise caused by water running through pipes, enhancing your kitchen experience by allowing for a more peaceful and enjoyable environment. At the same time, you cook, entertain, or relax.
Protects Plumbing
Prevents pipe corrosion and rust by effectively reducing condensation and minimizing exposure to temperature fluctuations. This protective measure ensures the longevity of the pipes by maintaining a stable environment that limits moisture build-up and temperature-induced stress, which are common causes of deterioration in plumbing systems.
Environmentally Friendly
Insulation is critical to reducing your carbon footprint and conserving energy. Acting as a barrier to heat loss and gain, it keeps your home warmer in the winter and cooler in the summer. By installing high-quality insulation, you can minimize excessive heating and cooling, decreasing energy consumption and lowering utility bills.
This simple and practical home improvement step enhances comfort and contributes to environmental preservation. Invest in home insulation today for a more energy-efficient and sustainable living space.
Potential Tax Benefits
Depending on your location, you might be eligible for tax incentives or credits for making energy-efficient home improvements. These tax incentives for energy efficiency can include property tax reductions or income tax credits, encouraging eco-friendly upgrades like solar panels, energy-efficient windows, or better insulation.
Check local regulations and government programs to take advantage of these green home improvements, as eligibility and availability can vary. Consulting with a tax professional or an energy consultant can provide valuable insights and help you maximize potential savings. Stay informed about energy-saving home upgrades to make the most of your investment!
Best Insulation for Your Kitchen Sink

Not all insulation materials are created equal. Below, we break down the top types of insulation, their pros and cons, and the best scenarios for each.
1. Foam Insulation
- Pros: This lightweight and water-resistant material is perfect for easy handling and installation in various settings. With fire-resistant options available, it ensures added safety for users concerned about fire hazards.
- Cons: While offering numerous benefits, this material may be less durable in high-humidity environments, potentially leading to issues if not appropriately maintained or replaced when needed.
- Best For: Ideal for use under kitchen sinks, especially in areas with moderate humidity levels. It’s a top choice for homeowners seeking a reliable, easy-to-install solution for kitchen and bathroom applications.
2. Fiberglass Insulation
- Pros: withstand extreme temperatures and keep interiors warm and comfortable. Pros: This material is durable and flexible, making it ideal for use in pipes or uneven surfaces where adaptability is essential. It provides excellent insulation solutions for various applications.
- Cons: Careful handling is required during installation. The fibers can be abrasive and irritating, so gloves and masks are essential to prevent skin and respiratory issues.
- Best For: This insulation material is perfect for homes in colder climates that need robust, heavy-duty insulation solutions to maintain warmth and energy efficiency.
3. Reflective Foil Insulation
- Pros: It efficiently reflects heat, making it an excellent choice for temperature control in various settings. Its thin profile allows easy installation, even in tight or confined spaces, ensuring versatility in different environments.
- The cons are that it offers limited noise reduction capabilities, which may not be ideal for areas where soundproofing is a priority.
- Best For: Particularly well-suited for kitchens equipped with modern appliances that generate additional heat, helping to maintain a comfortable and balanced temperature.
4. Spray Foam Insulation
- Pros: Expands to fill gaps, creating an airtight seal that prevents drafts.
- Cons: Requires precise application and can be difficult to remove later if needed.
- Best For: Hard-to-reach areas with irregular shapes or tight spaces.
Foam vs. Fiberglass vs. Spray Foam
Still trying to figure it out? Here’s a quick comparison:
- Foam Insulation: Ideal for convenience and ease of application, perfect for those seeking quick installation.
- Fiberglass Insulation: Provides outstanding high-performance insulation, making it a top choice for superior energy efficiency.
- Spray Foam Insulation: Offers an excellent solution for creating a snug, airtight seal in difficult-to-reach areas, enhancing home energy savings.
Step-by-Step Guide to Insulating Under Your Kitchen Sink
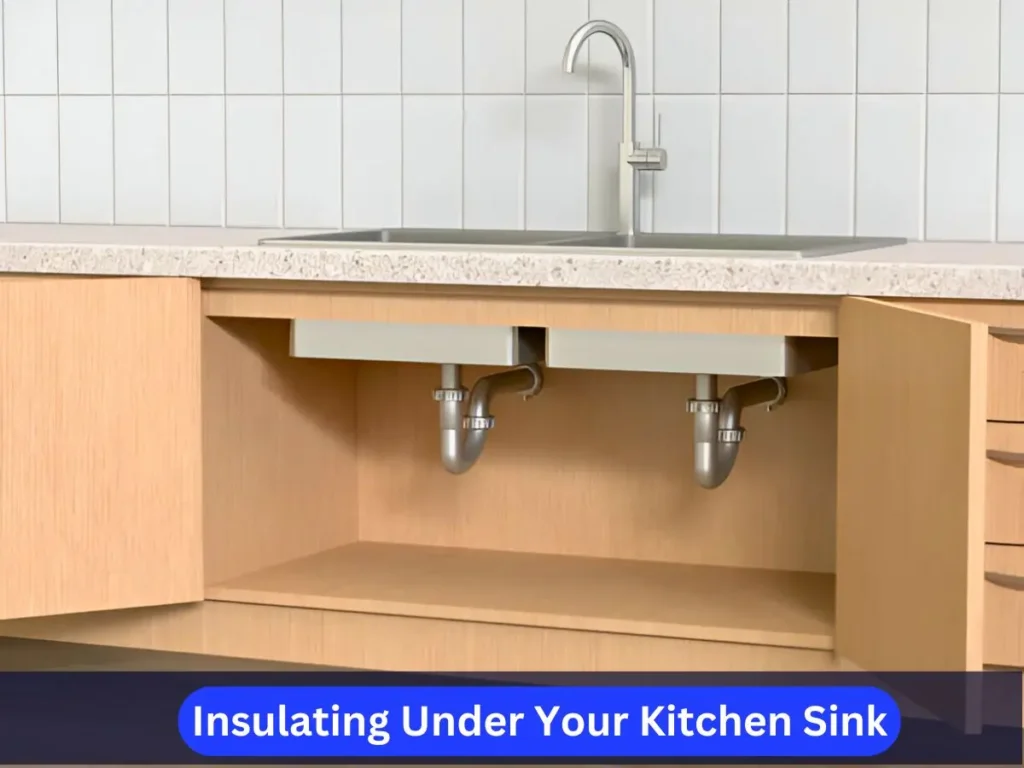
Tools and Materials Needed for Insulation
- Tools: Utility knife for precise cutting, measuring tape for accurate measurements, gloves for hand protection, face mask to prevent inhalation of particles, and scissors for trimming materials.
- Materials: Foam boards for insulation, fiberglass batt to fill gaps and enhance thermal resistance, spray foam for sealing and insulating hard-to-reach areas, duct tape for securing materials, and protective gear to ensure safety during the process.
Preparatory Measures Before Insulation
- Safety First: Before starting work, ensure safety by turning off the water supply and electricity. This precaution helps avoid potential accidents or injuries. It’s always better to be safe than sorry.
- Clear the Area: Empty the entire cabinet of all its contents. Once cleared, clean the surfaces thoroughly to remove any dust, dirt, or residue. This step ensures that you have a clean workspace free from obstructions.
- Dry the Pipes: Ensure all pipes and surfaces are completely dry. This is crucial to prevent mold growth and ensure that materials or adhesives stick correctly. A dry environment is essential for a successful outcome.
Detailed Process of Applying Insulation
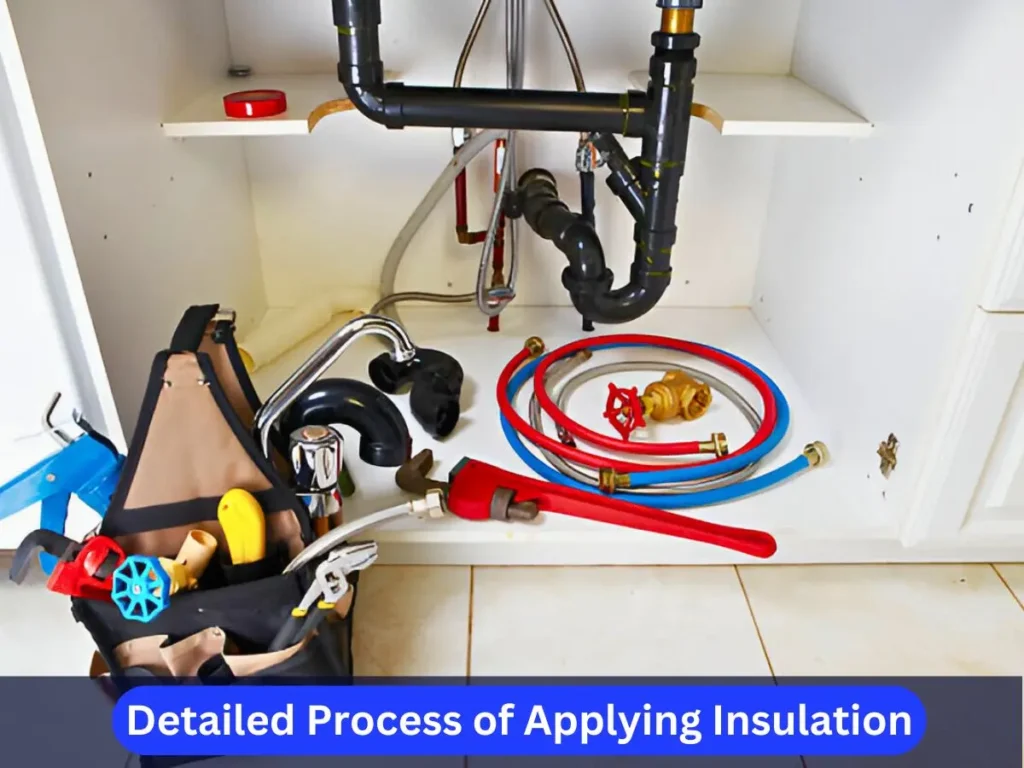
- Measure Under-Sink Affecting Area: To choose the best insulation for under-sink installation, start by accurately measuring the space. Note the width, depth, height, and any pipes or fixtures that affect space. These measurements help you select the right insulation. Proper insulation reduces energy costs and improves efficiency, making it a smart home improvement.
- Cut Insulation Material: Use sharp scissors or a utility knife to cut the insulation materials to the correct size carefully. Measure the area accurately before cutting to avoid wasting material. Take your time to follow any patterns or guidelines on the insulation to achieve a precise fit.
- Apply Insulation Foam: Apply spray foam insulation evenly for optimal coverage. Let it fully expand to fill gaps and prevent air leaks, enhancing energy efficiency. Follow safety measures like wearing protective gear and ensuring proper ventilation. Using spray foam correctly can boost your home’s energy efficiency and lower heating and cooling costs.
- Secure Insulation: To boost energy efficiency, securely attach insulation under your sink using duct tape, adhesive, or staples. Wrap the insulation tightly around exposed pipes to prevent gaps and energy loss. If using duct tape, apply it evenly along the seams. For adhesive, choose one that bonds well with the insulation material. If using staples, secure the edges carefully to avoid damage. Proper insulation helps maintain temperature control and improves plumbing system efficiency.
- Inspect for Gaps: Perform a detailed final inspection to identify gaps or loose areas. Check all edges and seams to ensure they are aligned and secure. If you find any issues, check them correctly for a perfect fit. This attention to detail ensures a polished look and optimal functionality. Optimize your result by ensuring everything is aligned correctly and fitted.
Essential Safety Tips for Insulating Your Kitchen Sink
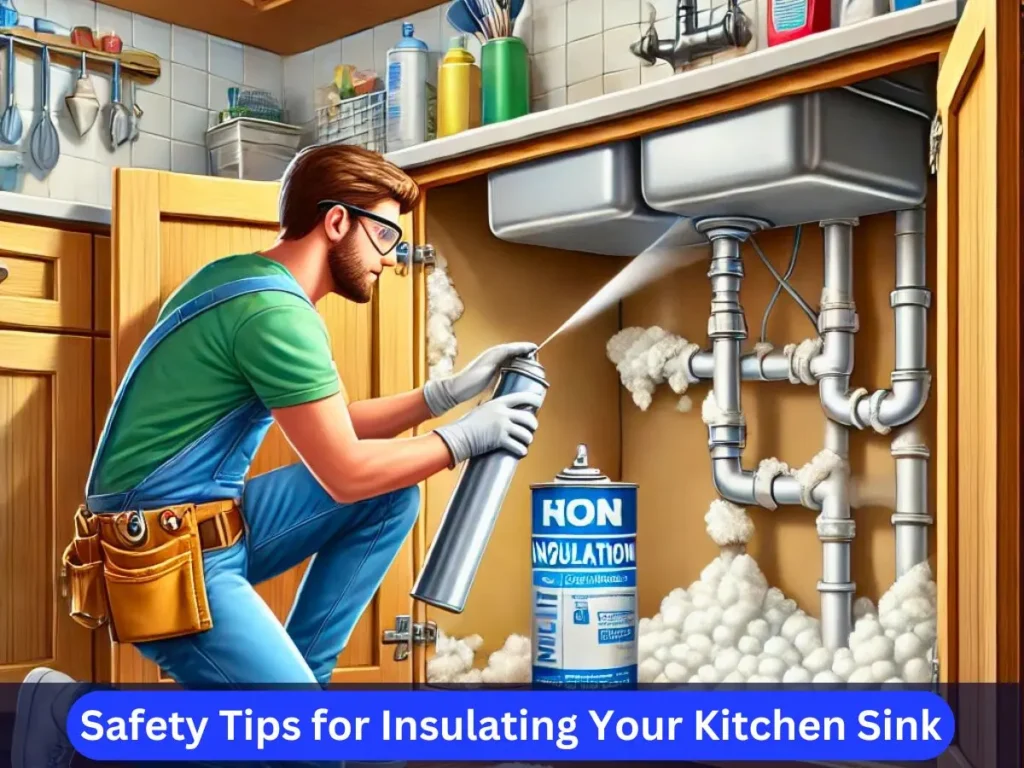
Stay Safe While Insulating
When working with materials like fiberglass or spray foam insulation, it’s crucial to prioritize safety by wearing the proper protective gear. Use protective gloves, safety goggles, and a mask to protect against skin irritation from fiberglass and harmful fumes from spray foam.
Ensure the workspace is well-ventilated to reduce exposure to hazardous fumes. Open windows and use fans to improve air circulation, creating a safer environment while installing insulation materials. Remember, proper safety measures are vital when handling insulation products.
Keep Air Flowing to Prevent Dampness
- Allow for slight airflow in the area to prevent the build-up of moisture, which can lead to the growth of mold and mildew. Proper ventilation helps maintain a dry environment, reducing the risk of mold infestations that can damage structures and affect health.
- Use a dehumidifier in high-humidity environments for added protection. These devices effectively remove excess moisture from the air, making them an excellent tool in areas prone to humidity, such as basements or bathrooms, where mold is more likely to develop.
Keep Your Insulation Dry
- Apply a vapor barrier to protect the insulation from leaks or moisture, ensuring it’s properly installed to prevent any water intrusion that could compromise the insulation’s effectiveness and lead to potential damage.
- Regularly inspect the area for signs of water damage, such as discoloration or mold, and promptly repair any leaks to maintain the integrity of the insulation and prevent further issues that could affect the structure.
How to Maintain the Insulation Under Your Kitchen Sink
Proper maintenance is essential for maximizing the lifespan of your insulation.
- Inspection Checklist: Regularly inspect your insulation at least twice a year for any signs of dampness, mold, or physical damage. Pay close attention to areas prone to moisture or wear, such as attics and basements, to ensure your insulation remains effective and supports your home’s energy efficiency.
- Repairs: If you notice small gaps or tears in your insulation, patch them up promptly. Consider replacing the affected sections for more extensive damage to maintain optimal insulation performance and prevent energy loss.
- Replacement: Plan to replace your insulation every 5–10 years to ensure maximum efficiency, though you may need to do so sooner if significant damage or deterioration is detected. Updating your insulation helps improve your home’s thermal comfort and can save energy.
Recap the Benefits of Insulating Your Kitchen Sink
Insulating under your kitchen sink is a smart home improvement that can boost energy efficiency and prevent plumbing issues. This simple DIY upgrade can also save you money on utility bills and protect your pipes from damage. You can easily complete this project with the right insulating materials in just a few hours.
If you have questions or need advice, comment or contact us. Start making your home more eco-friendly and energy-efficient today—your wallet and plumbing will appreciate the effort!
Conclusion
Insulating your kitchen sink is a simple but effective way to improve energy efficiency, prevent plumbing issues, and maintain a comfortable home environment. By following proper safety measures and regularly inspecting and maintaining your insulation, you can ensure its effectiveness and prolong its lifespan.
If you have any concerns or questions, seek professional advice to ensure the project is completed effectively and safely. Start improving your home’s insulation today for long-term energy savings and comfort benefits.
So go ahead and take action to insulate your kitchen sink – your wallet and pipes will thank you! And remember to prioritize safety throughout the process for a successful project outcome.
Frequently Asked Questions (FAQ)
Yes, you can insulate the pipes themselves using pipe insulation foam. However, insulating under the sink and around the pipes provides better overall coverage and energy efficiency.
The most common and practical materials for insulating under a kitchen sink are spray foam insulation, fiberglass batts, or rigid foam boards. Choose one that meets your budget and energy efficiency needs.
This project can be completed as a DIY project with proper safety measures. However, if you aren't familiar with working with insulation or feel uncomfortable doing it yourself, consider
Insulation can help block off potential entry points for pests and prevent them from nesting or hiding under your sink. It also reduces moisture, which attracts certain pests.
Insulation can last for many years with proper maintenance and care. However, for optimal performance, it is recommended that it be replaced every 5-10 years. Monitor the condition of your insulation and make repairs or replacements as needed to maintain its effectiveness.
If your kitchen sink has a heating system, it's best to consult with a professional for insulation options and potential safety hazards. It's crucial to ensure the insulation does not block or interfere with the heating system, which could lead to damage or hazardous conditions.
Related Posts
-
 14 Dec 2024 RemodelThe Ultimate Guide to a Raised Bathroom on a Concrete Slab
 -
 01 Dec 2024 SinkCan You Paint a Kitchen Sink? Unlimited Tips
 -
 30 Nov 2024 SinkHow to Clean Granite Composite Kitchen Sink: Expert Tips
 -
 29 Nov 2024 SinkHow To Snake A Kitchen Sink Drain Roots Expert 10 Tricks
 -
 28 Nov 2024 SinkHow to Insulate Under Kitchen Sink Expert's 10 Tricks
 -
 27 Nov 2024 SinkCan a Toilet and Sink Share the Same Drain? Unlimited Answer
 -
 26 Nov 2024 SinkCan You Replace a Kitchen Sink Without Replacing the Countertop
 -
 24 Nov 2024 SinkWhy Does My Bathroom Sink Smell Like Sewer? Causes & Fixes
 -
 15 Nov 2024 Sink8 Tips For Apartment Kitchen Sink Backup
 -
 13 Nov 2024 SinkExpert 10 Tips: Why is my bathroom sink leaking underneath?

