Can You Paint a Kitchen Sink? Unlimited Tips
Table of Contents
Toggle
Are you considering revitalizing an old kitchen sink without the hassle and cost of a complete replacement? Great news—you can! Painting your kitchen sink is a cost-effective and creative way to refresh its appearance and enhance your kitchen’s aesthetic. When done correctly, it can provide a stylish update that lasts. But how can you paint a kitchen sink successfully? And is it always worth the effort?
This detailed guide will lead you through the entire process, from identifying different sink types to employing the best techniques and materials. Whether you’re a homeowner seeking a budget-friendly upgrade or an interior designer exploring innovative options, you’ll discover everything you need to achieve professional-quality results when painting a kitchen sink.
Types of Kitchen Sinks That Can Be Painted
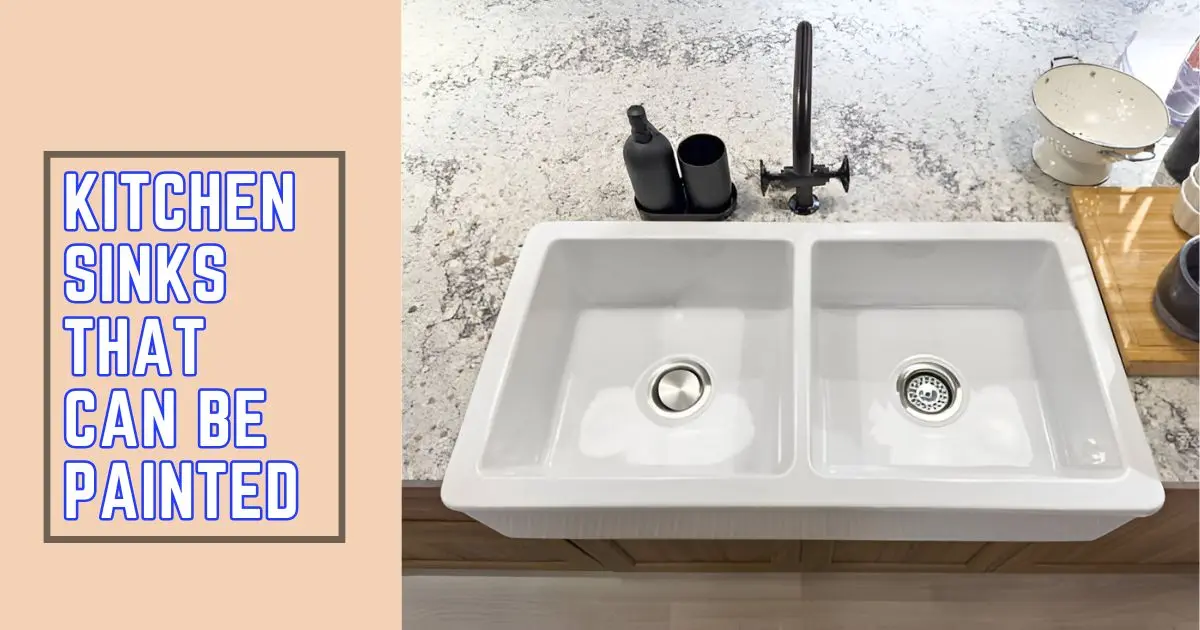
Not all sinks are created equal when it comes to painting. Some materials are better suited to a makeover than others. Here’s a closer look at the different types of kitchen sinks and their specific painting considerations:
Porcelain Sinks
Thanks to their classic look and versatility with most paint types, porcelain sinks are a popular choice for painting. Their smooth, glossy finish adds elegance to any bathroom or kitchen, making them a preferred option for many homeowners looking to refresh their space. However, this same durable finish means proper preparation is crucial for a successful paint job.
Before painting, it’s essential to thoroughly clean the sink and lightly sand the surface to help the paint adhere better. Using epoxy-based or ceramic paints designed explicitly for porcelain is recommended. These paints are formulated to bond well with the slick surface, ensuring a smooth, long-lasting finish that can withstand daily use and frequent cleaning.
Whether updating an older sink or matching it to a new color scheme, painting a porcelain sink can be rewarding if done correctly.
Aluminum Sinks
Painting metal sinks, such as those made from aluminum, involves carefully preventing rust to ensure durability and longevity. First, select paints with rust-inhibiting properties to protect the metal from corrosion over time. Using a primer specifically designed for metal surfaces is also crucial, creating a solid base for the paint to adhere to.
Before applying any paint or primer, thoroughly sand the metal surface to remove any existing rust and create a smooth surface for better adhesion. Additionally, cleaning the sink with a degreaser can help remove any oils or residues that might interfere with the paint’s effectiveness.
Earthenware and Stoneware Sinks
With their unique textures, these sinks present a challenge in painting. It’s essential to use ceramic paints designed to bond well with porous surfaces, ensuring a smooth and long-lasting finish. Applying a clear topcoat afterward is crucial, as it not only enhances durability but also helps preserve the vibrant look of the painted sink over time.
This protective layer guards against wear and tear, keeping your sink looking fresh and new despite daily use. Additionally, thorough preparation, including cleaning and lightly sanding the surface, can improve paint adhesion and longevity.
Enamel Sinks
Though often mistaken for porcelain due to their glossy finish, enamel sinks require slightly different care and treatment. When painting or refinishing these sinks, using paint formulated explicitly for enamel surfaces is crucial.
This paint adheres better and provides a smooth, professional finish that can withstand the daily wear and tear typical in kitchens and bathrooms. Additionally, proper preparation, such as cleaning and lightly sanding the surface, is essential to ensure the paint adheres properly and extends the sink’s lifespan.
Stainless Steel Sinks
Stainless steel sinks are notorious for their slick surface, which makes paint adhesion tricky. However, with the proper preparation and materials, painting them is possible. First, you’ll need to thoroughly clean the sink to remove any grease or residue, ensuring the surface is completely dry.
Next, apply a high-quality primer specifically designed for metal surfaces to help the paint stick better. Opt for specialized paints such as oil-based or epoxy paint, known for their durability on metal surfaces.
After applying the paint, let the sink dry entirely between coats for the best finish. Remember that painted stainless steel can be more prone to wear and scratches, so handling it carefully is essential to maintain its look over time. Regular maintenance and gentle cleaning will help preserve the new finish.
Composite Sinks
Composite sinks are crafted from quartz, granite, and acrylic, offering a unique combination of durability and style. These sinks are known for resisting stains and scratches, making them popular for kitchens and bathrooms.
While composite sinks can be painted to refresh their look or match a new decor, selecting the appropriate paint can be challenging. Epoxy paints are generally recommended due to their high durability and ability to adhere well to composite surfaces, ensuring a long-lasting finish. Following the manufacturer’s guidelines before painting is crucial, as some composite materials may have specific requirements or restrictions.
The Preparation Process
Preparation is vital for a durable, even finish before painting your sink. Skipping this step is one of the most common mistakes that can lead to paint peeling and a poor finish.
Step 1: Cleaning and Preparing the Sink
A squeaky-clean surface is crucial for ensuring proper paint adhesion. Start by selecting a solid degreaser, which is effective in removing oils, soap scum, and dirt that can interfere with paint sticking to the surface. It’s important to avoid using harsh or abrasive cleaners, as these may damage the surface and cause issues later on.
For best results, apply the degreaser and allow it to sit for a few minutes to break down any buildup. Then, scrub thoroughly with a sponge or brush, particularly lifting stubborn grime, especially around drain areas where dirt accumulates. Rinse the area well to remove any residue and ensure it is scorched before painting.
Step 2: Fixing Damage
Inspect your sink thoroughly for any chips, cracks, or rust. Pay close attention to the edges and corners, as these areas are often more vulnerable to damage. If you find any imperfections, use filler compounds to repair them. Follow the product’s instructions carefully, allowing adequate time for the filler to dry before sanding it smooth.
For rusted spots on metal sinks, clean the area thoroughly to remove any loose rust, and then apply a rust-neutralizing primer to prevent further corrosion. This primer will create a solid base for painting and ensure a long-lasting finish. After treating any damage, your sink will be ready for the next steps in your renovation project.
Step 3: Sanding the Sink
Sanding is crucial in preparing the sink’s surface for painting, ensuring the paint adheres properly. Use medium-grit sandpaper, such as 220 grit, suitable for most sink materials, like porcelain and ceramic. This grit level helps to roughen the surface just enough for the paint to stick without causing damage.
For more challenging surfaces, such as stainless steel or heavily enameled sinks, opt for coarse sandpaper, which provides a more aggressive abrasion to ensure better adhesion. After thoroughly sanding, wipe down the entire surface with a damp cloth to remove all dust and debris that could interfere with the paint finish. These steps will help achieve a smooth, long-lasting paint job on your sink.
How to Paint a Kitchen Sink
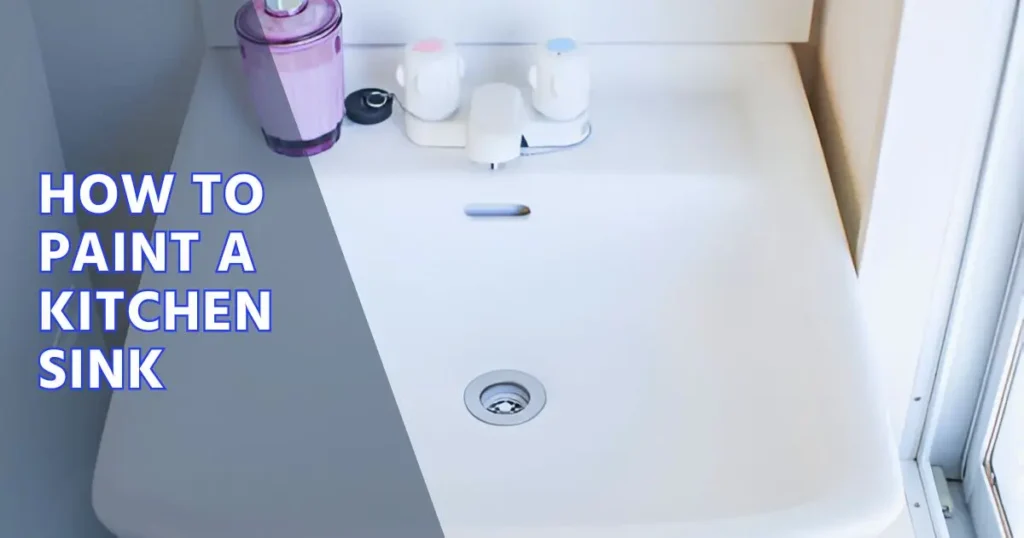
Once your sink is thoroughly prepared and cleaned, moving on to the painting process is time. Achieving the best results requires attention to detail and patience. Here’s a step-by-step breakdown to guide you through this process effectively:
Choosing the Right Paint
Different sink materials require specific types of paint to ensure longevity and aesthetics:
Epoxy-based paints are ideal for achieving high durability and excellent water resistance. They are perfect for high-traffic areas and can withstand frequent use without chipping or peeling.
Ceramic paints—Specifically designed for surfaces such as porcelain or stoneware, ceramic paints provide a strong bond and vibrant color. They help preserve the material’s original while adding an extra layer of protection.
Oil-based paints – Best suited for metal or composite surfaces, oil-based paints offer superior adhesion and a robust finish. They are moisture-resistant and can handle the wear and tear typical in kitchen and bathroom environments.
Consider your aesthetic preferences as well. Glossy finishes can add a sleek, modern vibe to your sink area, making it a focal point. On the other hand, matte and satin finishes provide a more understated look, which can be advantageous for hiding imperfections and creating a subtle elegance. Choose a finish that complements your overall design scheme and meets your functional needs.
Step 1: Apply a Primer
A primer improves paint adhesion, especially on challenging surfaces like stainless steel or enamel. Select a primer suitable for your sink material and apply a thin layer using either a paintbrush or spray for optimal results. Allow it to cure according to the product’s instructions before painting.
Step 2: The Painting Process
Pour your paint into a clean tray to ensure smooth, even application. Use a small roller for flat surfaces and a fine-tip brush for edges and difficult-to-reach spots. To prevent uneven coverage, keep the sprayer at a consistent distance for spray painting. Apply several thin coats, allowing each layer to dry thoroughly—typically 4-6 hours—before applying the next.
Step 3: Curing and Drying
The curing period is critical for durability. After painting, allow the sink to cure for at least 48-72 hours before reconnecting the plumbing or using the sink. Avoid placing heavy objects in the sink during this time.
Types of Paint to Use on Sinks
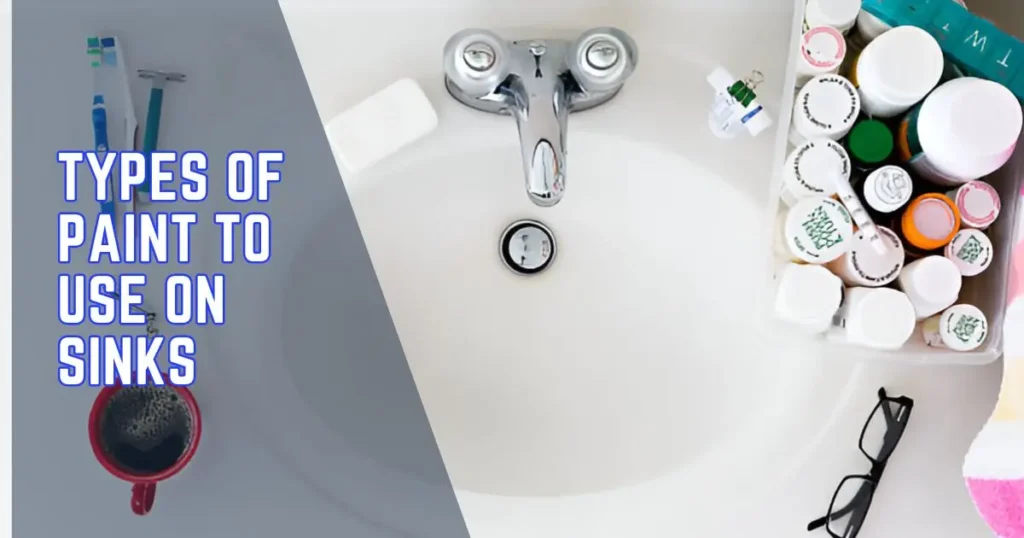
- Epoxy-based Paints: These paints are known for their exceptional durability and water resistance, which are perfect for high-use areas like kitchen sinks. Epoxy paints form a hard, glossy finish that can withstand frequent cleaning and exposure to water, ensuring your sink remains in excellent condition over time.
- Ceramic Paints: Designed to provide a professional and high-gloss finish, ceramic paints are ideal for porcelain and stoneware sinks. They adhere well to smooth surfaces, offering a sleek and polished look that enhances the aesthetic appeal of your bathroom or kitchen.
- Oil-based Paints: Particularly suited for metal sinks, oil-based paints contain a rust-preventive formula that protects against corrosion. These paints provide a durable layer that enhances the appearance of metal sinks and extends their lifespan by preventing rust and wear.
- Specialty Coatings: These paints are formulated to be mold- and rust-resistant, adding extra longevity and resilience to your project. Specialty coatings are perfect for areas prone to moisture and humidity, ensuring your sink maintains its appearance and functionality despite challenging conditions.
How to Care for a Painted Sink
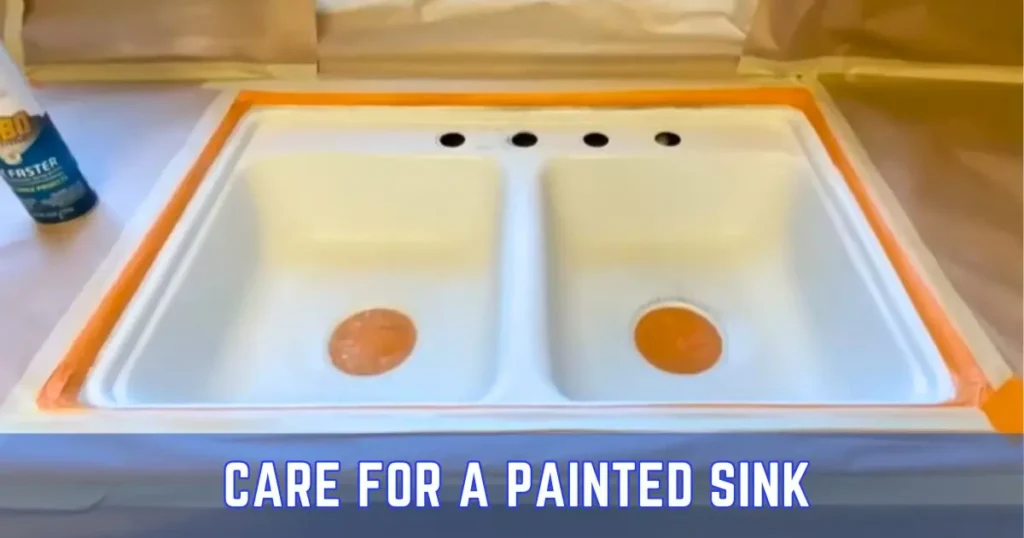
Proper maintenance is critical to keeping your painted sink fresh and vibrant for years. Regular cleaning with mild soap and water prevents buildup and stains. It’s also important to avoid harsh chemicals or abrasive pads that can damage the paint. Applying a sealant periodically can offer an extra layer of protection, ensuring your sink maintains its finish over time.
Cleaning Tips
- Use non-abrasive cleaning products to avoid scratching the surface. Opt for gentle, surface-safe cleaners specifically designed to preserve the integrity of your items and prevent unwanted marks or damage.
- Avoid harsh chemicals like bleach, which can strip the paint and damage the finish. Instead, choose mild detergents or natural cleaning solutions that effectively clean without compromising the paint’s appearance or durability.
Maintaining the Finish
- Plan for annual touch-ups or address any chips or cracks that may appear over time. Regular maintenance will keep your surfaces looking fresh and prolong their lifespan.
- Use a rubber mat in your sink to protect against heavy dishes or utensils. This simple addition can prevent scratches or damage, ensuring your sink remains in excellent condition.
Extra Tips for Painting a Bathroom Sink
Painting a bathroom sink is similar to painting other surfaces, but with a few key considerations:
- Exposure to Water: Sinks are often exposed to water, so choosing the right paint is crucial. Use waterproof paints and finishes to ensure durability and maintain appearance over time.
- Finishes: Opt for high-quality, high-gloss finishes. They offer a sleek look, repel water better than matte options, and are easier to clean—ideal for a frequently used area like the bathroom.
Common Mistakes to Avoid When Painting a Sink
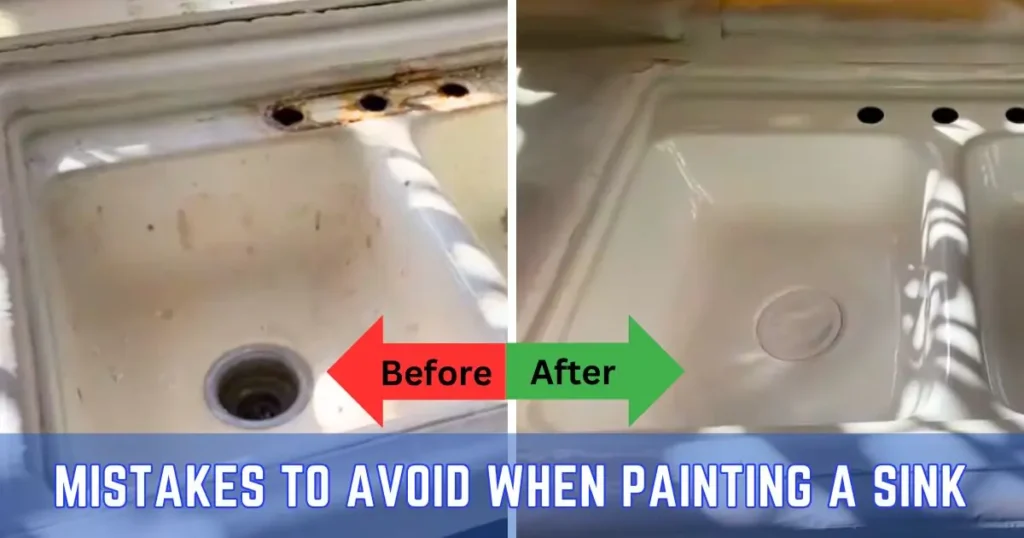
Skipping surface prep can lead to poor adhesion, guaranteeing that the paint will peel over time. Proper preparation involves cleaning, sanding, and sometimes even applying a bonding agent to ensure the paint sticks well to the surface.
Using the wrong primer or paint can also result in a less durable finish, so ensuring compatibility with your sink material is crucial. Different materials, such as porcelain, metal, or composite, require specific primers and paints for optimal results.
Rushing the curing process is another common mistake. The durability of your paint job dramatically depends on allowing sufficient time for each coat to cure completely. This involves drying and hardening, which usually takes several days, so patience is vital to a long-lasting finish.
Is Painting Your Kitchen Sink Worth It?
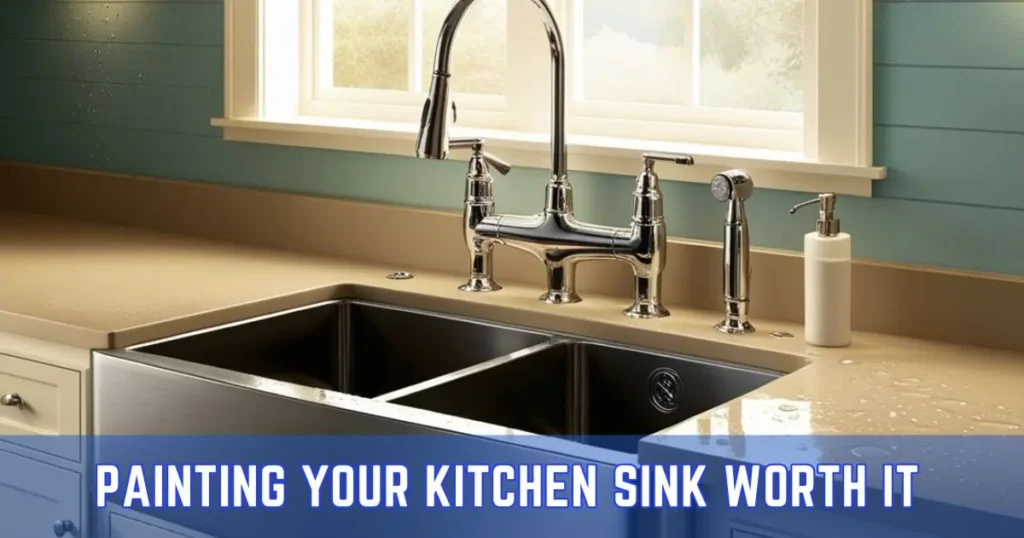
Painting a kitchen sink offers an affordable and creative way to refresh your space without replacing the entire fixture. This method works well for most sinks, provided you properly prepare the surface and choose the suitable materials.
However, if durability is your main concern, you should explore alternatives like refinishing services or professional repairs for significantly damaged sinks. With the proper technique, you can transform your kitchen into a stylish and functional focal point without breaking the bank.
Conclusion
Paint a kitchen sink is an excellent way to update your bathroom or kitchen without the cost and hassle of replacing it. With suitable materials, proper preparation, and maintenance, you can achieve a beautiful and long-lasting finish that enhances the overall aesthetic appeal of your space.
Remember to choose waterproof paints and finishes, properly prepare the surface, and allow sufficient curing time for optimal results. Happy painting! Remember that different types of sinks may require different techniques or materials for painting; always consult a professional if you need help with how to proceed.
_Thank you for reading! We hope this guide has provided valuable information on successfully painting a sink and maintaining its appearance over time.
FAQs
Epoxy-based paints are the most durable for sinks, offering excellent water resistance and a long-lasting finish.
Sand the affected area to smooth it out, apply a primer, and repaint with matching paint.
For stainless steel sinks, use durable, water-resistant epoxy-based paint. Enamel paint is best for porcelain surfaces. Always start with a suitable primer to ensure good adhesion, and finish with a protective, waterproof topcoat to enhance durability and prevent chipping.
Yes, you can change the color of your kitchen sink using suitable materials. Use epoxy paint for stainless steel or enamel paint for porcelain. Clean and sand the sink to remove residue and gloss, apply a primer, and add several thin coats of paint. Finish with a top coat to seal the color and improve durability.
You can spray paint a kitchen sink, but choosing the right paint is essential. Use epoxy spray for stainless steel and porcelain or enamel paint for porcelain sinks. Clean and sand the sink for better adhesion. Ensure good ventilation and wear a mask and gloves. Apply several thin coats for even coverage, finishing with a waterproof topcoat for durability.
Yes, you can paint a porcelain kitchen sink. Use high-quality enamel paint made for porcelain. Clean the sink, sand it lightly for better adhesion, and apply a porcelain primer. Then, use several thin coats of enamel paint for a smooth finish. Seal with a waterproof topcoat to protect it and extend its life.
Related Posts
-
 14 Dec 2024 RemodelThe Ultimate Guide to a Raised Bathroom on a Concrete Slab
 -
 01 Dec 2024 SinkCan You Paint a Kitchen Sink? Unlimited Tips
 -
 30 Nov 2024 SinkHow to Clean Granite Composite Kitchen Sink: Expert Tips
 -
 29 Nov 2024 SinkHow To Snake A Kitchen Sink Drain Roots Expert 10 Tricks
 -
 28 Nov 2024 SinkHow to Insulate Under Kitchen Sink Expert's 10 Tricks
 -
 27 Nov 2024 SinkCan a Toilet and Sink Share the Same Drain? Unlimited Answer
 -
 26 Nov 2024 SinkCan You Replace a Kitchen Sink Without Replacing the Countertop
 -
 24 Nov 2024 SinkWhy Does My Bathroom Sink Smell Like Sewer? Causes & Fixes
 -
 15 Nov 2024 Sink8 Tips For Apartment Kitchen Sink Backup
 -
 13 Nov 2024 SinkExpert 10 Tips: Why is my bathroom sink leaking underneath?


