The Ultimate Guide to a Raised Bathroom on a Concrete Slab
Table of Contents
Toggle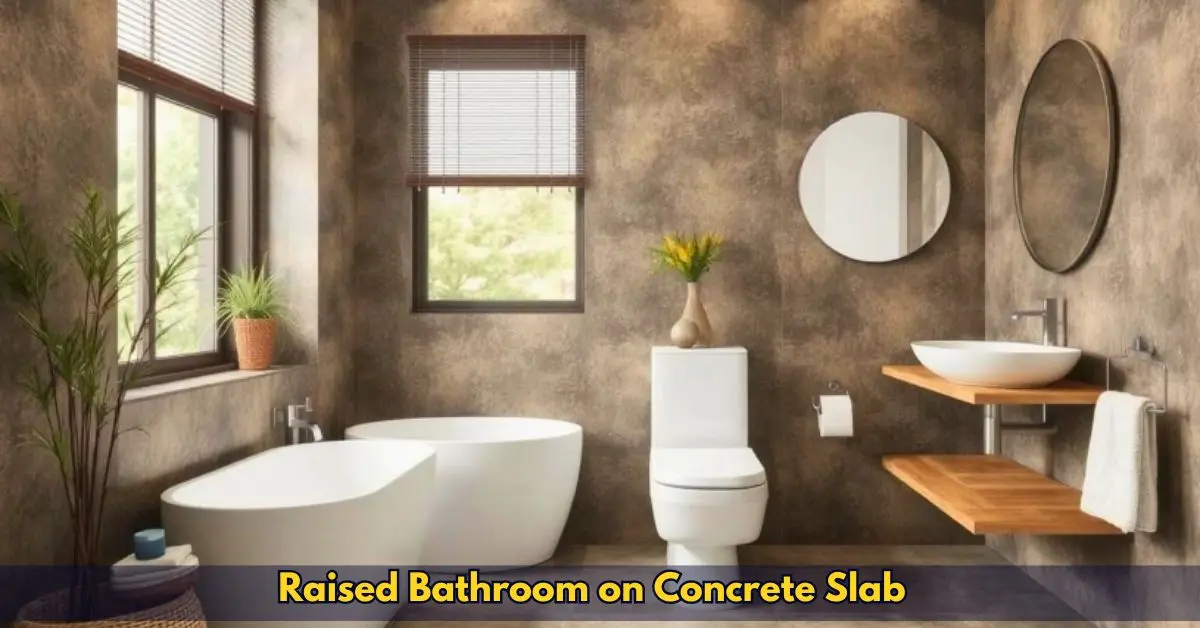
Are you thinking of elevating your bathroom game? Enter the raised bathroom on a concrete slab—a stunning and innovative solution for modern homeowners and renovators. This design has become a trend in residential spaces, enhancing functionality while adding a stylish twist.
Whether you’re planning a full-scale renovation, looking to improve accessibility, or simply dreaming of a more versatile bathroom design, this guide will walk you through everything you need to know. Learn the benefits, challenges, costs, and expert tips for creating the perfect raised bathroom on a concrete slab!
What Is a Raised Bathroom on a Concrete Slab?

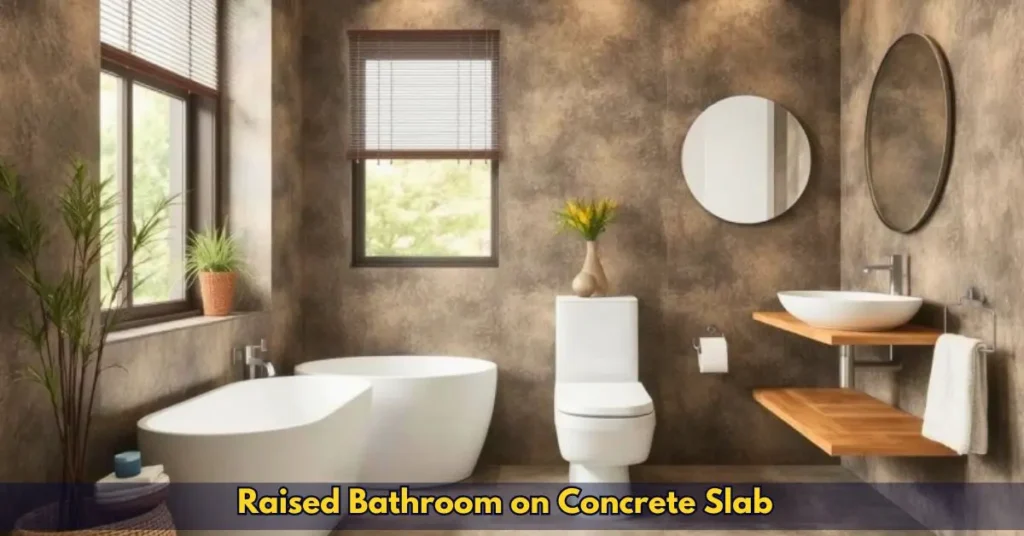
A raised bathroom is exactly what it sounds like—an elevated bathroom floor built on a solid concrete slab. This raised portion serves both functional and aesthetic purposes. On the functional side, it allows for technical modifications, such as adding or adjusting plumbing lines, improving water drainage, or incorporating better insulation under the floor.
This can be especially beneficial in homes where the original layout or infrastructure makes such upgrades challenging. On the aesthetic side, a raised bathroom can create a distinctive design feature, adding depth and dimension to the space. It can also make the bathroom feel more structured and defined, blending utility with style seamlessly.
Why is this a trend?
Raised bathrooms aren’t just about functionality; they’re about making a statement while offering innovative design solutions. By elevating certain elements, raised bathrooms provide aesthetic appeal and practical benefits. Making them a go-to choice for modern architects, DIY renovators, and homeowners looking for efficient upgrades. This innovative approach to bathroom design creates more opportunities to customize spaces. While addressing specific challenges like plumbing access or accessibility needs.
Raised bathrooms are ideal in a variety of scenarios, including:
- Renovations – Perfect for upgrading older homes where traditional plumbing systems make remodeling difficult. Elevating fixtures can eliminate the need for costly plumbing overhauls, saving time and money.
- Accessibility upgrades—Raised bathroom designs can incorporate features like walk-in showers or elevated seating, making spaces more user-friendly for individuals with mobility challenges. They are essential for tailoring bathrooms to meet ADA compliance.
- Adding convenience—Raised bathrooms offer a practical solution that reduces hassle for homeowners and contractors alike by simplifying repairs, drainage adjustments, or future remodeling needs.
Whether for functionality or style, raised bathrooms offer the perfect blend of form and purpose, making them stand out in today’s bathroom design trends.
Benefits of a Raised Bathroom on a Concrete Slab
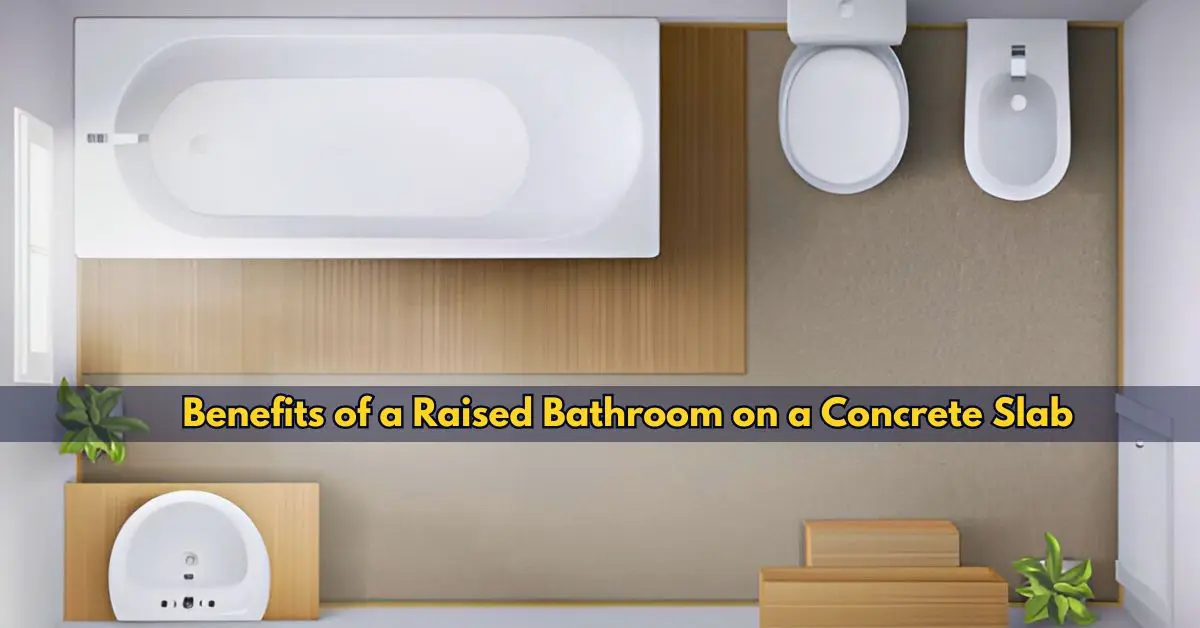
Aesthetic Versatility
With a raised bathroom, the design possibilities are endless! This innovative layout lets you easily incorporate unique and stylish flooring options, such as patterned ceramic tiles, polished wood, or luxurious stone. It finishes while giving the space a modern and elevated aesthetic.
The raised level adds a sense of sophistication. It also opens up opportunities for creative lighting arrangements, such as recessed LED strips along the edges, to add a soft glow and highlight the elevation.
A raised bathroom makes it simpler to match your bathroom design with the rest of your home, creating a cohesive, seamless look. Imagine soft, matte tiles lining a warm wooden subfloor, paired with sleek fixtures in brushed gold or black for a classy yet functional finish.
This design approach can also improve accessibility by hiding plumbing below the raised floor, ensuring a cleaner and more streamlined look. Whether you’re aiming for a spa-like retreat or a contemporary statement, a raised bathroom offers versatility and style in equal measure!
Plumbing Flexibility
One of the biggest perks of a raised bathroom is the added convenience it brings to plumbing. Creating an extra layer between the concrete slab and the bathroom floor allows for much easier access to pipes and fixtures. This means that maintenance, repairs, or even modifications can be done without the hassle of breaking through concrete, saving both time and money.
This is especially beneficial for older homes, where plumbing is more challenging to access under the slab and may require more frequent attention due to aging pipes. A raised bathroom design simplifies these challenges and future-proofs your home for easier upgrades!
Improved Drainage and Ventilation
A raised bathroom naturally improves drainage flow, making it a practical and efficient choice for modern homes. The elevated design helps prevent water buildup by facilitating proper drainage and makes it easier to create slight slopes that effectively guide water runoff.
This means fewer puddles and less maintenance effort. As a bonus, the improved airflow in a raised bathroom reduces humidity levels, significantly lowering the risk of mold or mildew developing in hard-to-reach corners. This design solution promotes better hygiene and enhances the overall longevity of your bathroom.
Insulation Benefits
Who loves stepping onto cold tiles on a winter morning? With the proper insulation in a raised bathroom. You can create a thermal barrier that keeps your floors warm and cozy, regardless of season.
Proper insulation keeps the chill away and helps reduce noise in the rooms below, making your home more comfortable and peaceful. Insulated floors can also contribute to better energy efficiency, keeping your heating costs in check. Heat your floor once, and you’ll thank yourself every day after.
Accessibility Features
Raising the floor can be a practical and effective solution to making your home more wheelchair-friendly or envisioning building an easy-access bathroom. This approach allows smoother transitions between rooms, simplifies ramp installation, and eliminates thresholds that can pose challenges for wheelchair users.
By raising the floor, you can also create layouts that prioritize inclusivity and accessibility—ensuring that all areas of the home are easy to navigate. When designing from scratch, this method offers greater flexibility to incorporate features like wider doorways, roll-in showers, and open spaces that enhance mobility and comfort for everyone.
Challenges of Installing a Raised Bathroom
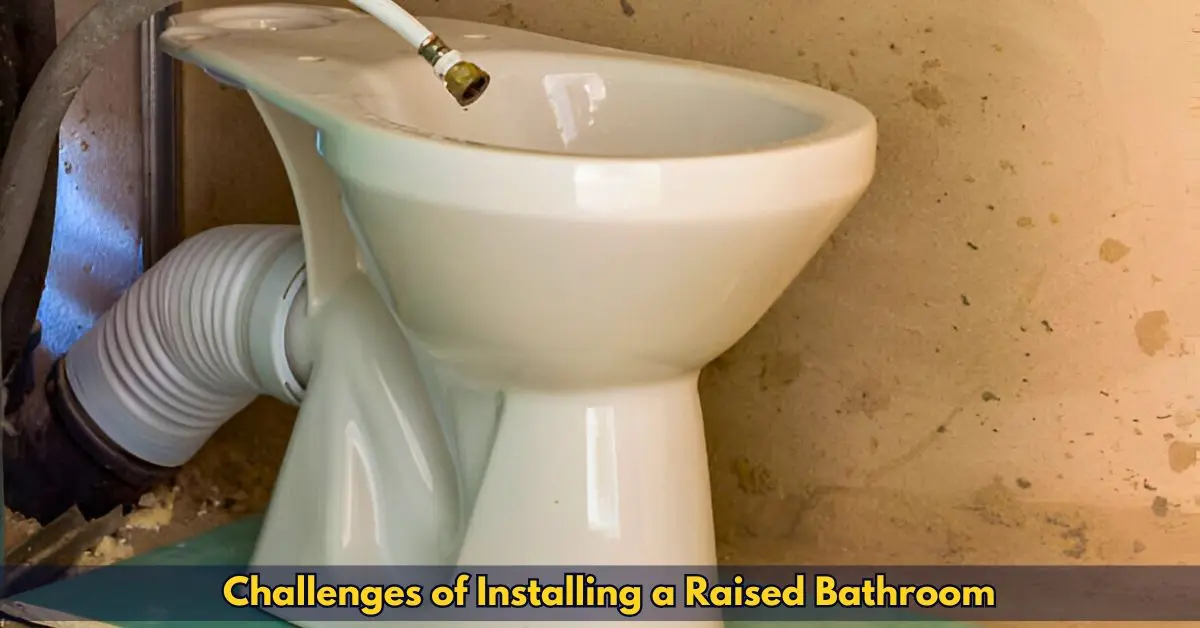
Of course, nothing worth having comes without challenges. Starting something new can be exciting, but you must be aware of the obstacles you might face. Here’s what you need to know to prepare and set realistic expectations before starting.
Increased Construction Complexity
Precision is key! Building a raised floor is a meticulous process that demands professional planning, attention to detail, and the right skills to ensure a stable, durable, and functional result. It starts with selecting the right materials and considering load capacity, environmental conditions, and aesthetic preferences. Accurate measurements and precise leveling are critical to creating a sturdy structure.
Proper alignment and addressing potential structural glitches at the outset can prevent challenges such as uneven surfaces, creaking, or instability, leading to costly repairs or reduced functionality in the future. Proper planning and execution guarantee that the raised floor meets your immediate needs. Such as cable management or improved airflow, to ensure it withstands the wear and tear of daily use for years to come. When done right, a raised floor invests in practicality and long-term performance.
Height Restrictions
Adding height to a bathroom often means sacrificing valuable vertical space. Which can make low-ceiling bathrooms feel smaller and more cramped than they are. Features like elevated shower platforms, tall light fixtures, or bulky cabinetry can visually overwhelm the space, amplifying this effect and creating a sense of confinement.
To avoid this, factor in your ceiling height early in the design process and opt for fixtures and designs that enhance the perception of space. Consider sleeker, low-profile features, wall-mounted storage, or strategically placed mirrors to reflect light and create an open, airy feel. These choices help maximize the available vertical space and ensure the room remains functional and inviting.
Cost Considerations
New materials, extra insulation, and labor costs can quickly add up, especially in larger or more complex projects. For instance, premium materials like high-end flooring or custom fixtures can significantly increase expenses. Budgeting carefully and planning for any potential surprises along the way is crucial.
Unexpected expenses include building permits, last-minute design adjustments, and structural issues like damaged foundations or outdated wiring. These can arise and potentially increase costs. While these surprises are often unavoidable, they can be appropriately managed.
Researching material prices, comparing suppliers, and consulting with professionals such as contractors, architects, or designers can help you anticipate and prepare for these variables. A well-prepared budget that includes a contingency fund can go a long way in keeping your project on track. (More on costs below!)
Structural Load
Remember that raising the bathroom adds extra weight to your concrete slab, which can significantly impact its structural integrity. The added weight comes from several factors, including the elevated flooring materials, additional layers for leveling, plumbing adjustments, and any new fixtures like bathtubs, sinks, or heavier tiles.
If not adequately addressed, this extra load can lead to issues such as cracks, shifting of the slab, or even long-term instability. To avoid costly repairs or safety hazards down the line, it’s crucial to ensure your slab can handle the increased pressure. Consulting a structural engineer or an experienced contractor is highly recommended.
They can assess the existing slab’s capacity, identify weak points, and suggest reinforcements, such as additional support beams or a thicker subfloor, to address the added weight. Taking these precautions before starting your project will help ensure a safe and durable outcome.
Permitting and Compliance
Local building codes often impose stringent standards for raised bathroom renovations. Addressing everything from structural stability to plumbing. Electrical installations, ventilation, and accessibility requirements.
These codes ensure the renovation’s safety, functionality, and long-term durability. It is crucial to familiarize yourself with these regulations early in planning to avoid surprises later. Pay close attention to details like load-bearing requirements for raised floors. Proper drainage systems to prevent water damage, and the placement of electrical outlets for maximum safety.
Always double-check every aspect of your design and materials to ensure full compliance. Failure to meet these standards can result in costly delays. Failed inspections, or fines that could derail your project. Consulting with a licensed contractor or building inspector can provide invaluable guidance, helping you navigate these requirements more smoothly.
They can also offer insights into local variations in codes or best practices, ensuring your project proceeds without unnecessary setbacks.
Step-by-Step Process for Creating a Raised Bathroom on a Concrete Slab
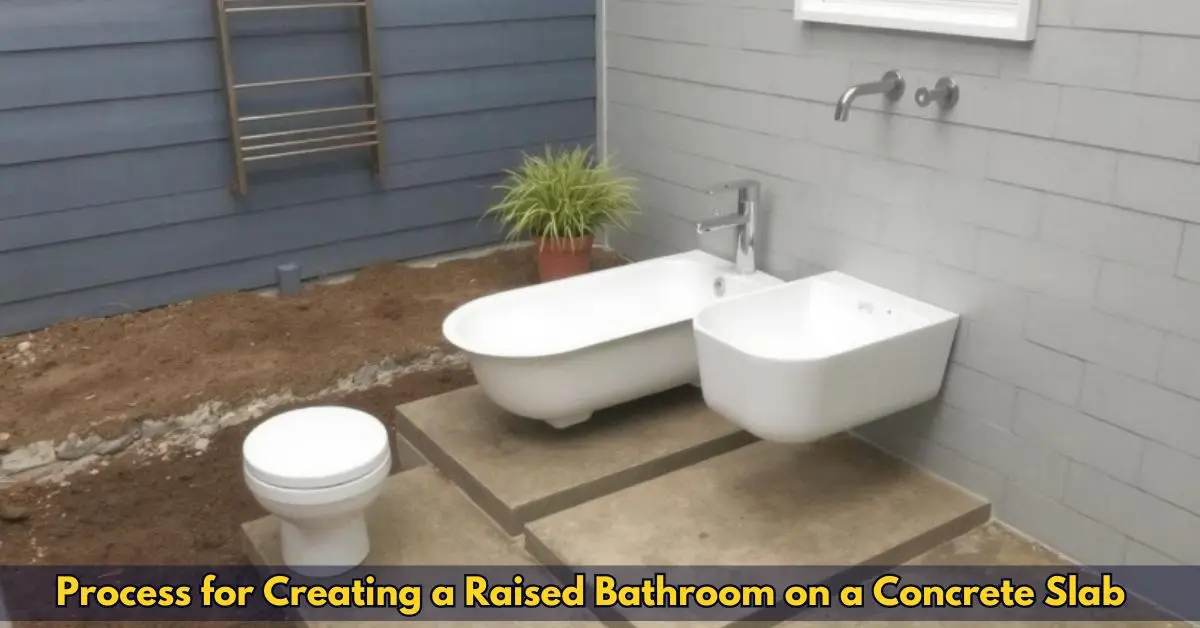
Here’s your roadmap to success! Start by setting clear, achievable goals and breaking them into manageable steps. Stay focused by prioritizing tasks and managing your time effectively. When challenges arise, face them with resilience and adapt your approach as needed.
Celebrate small wins to stay motivated, and keep your eyes on the bigger picture. Follow these steps to overcome obstacles and achieve your goals confidently and firmly.
Step 1: Assess the Space
Before starting any new work, carefully inspect the condition of your existing concrete slab. Its stability will directly impact the success of your project. Look closely for cracks, chips, or other visible damage that could compromise the structure. Even tiny cracks can expand over time and weaken the foundation, so note their size and location.
Check for signs of moisture, such as discoloration, damp spots, or even mold growth, which might indicate water seepage or drainage issues that must be resolved before proceeding. Additionally, assess the surface for any uneven areas or slopes requiring leveling or repairs to create a solid and secure base.
Remember to evaluate the slab’s edges, which can affect its overall stability. Keeping your concrete slab in excellent condition will save you time and money by preventing potential problems during or after construction.
Step 2: Design and Layout
Map out your ideal plumbing layout, fixtures, and flooring to create a space tailored to your needs. Start by deciding on the placement of key features like sinks, showers, and toilets, ensuring they’re functional and optimal.
Consider the space’s flow—how you’ll move through it—and any additional features like storage or extra counter space. When choosing materials, choose options that match your style, fit your budget, and are durable enough for daily use.
Pro tip: Use 3D modeling tools or design apps to visualize your space beforehand. These tools let you see how everything comes together, helping you spot potential issues and adjust before work begins. This will save you time and costly mistakes down the line!
Step 3: Prepare the Slab
Start by thoroughly cleaning the surface to remove any dirt, dust, debris, or grease that could affect the adhesion of the materials you’ll be applying. Use a brush, cloth, or appropriate cleaning solution to ensure the area is spotless and contaminant-free.
Next, carefully inspect the entire region for any cracks, holes, or imperfections that may compromise the final result. Use a suitable filler or sealant to repair these flaws, ensuring the surface is smooth, even, and ready for the next steps.
Allow the filler or sealant to dry completely before proceeding. Finally, waterproof membranes should be applied in areas prone to moisture, such as corners, joints, or surfaces exposed to water, to enhance durability and provide long-term stability. This step is crucial in ensuring the structure remains protected from water damage over time.
Step 4: Install a Subfloor Structure
Construct a stable, moisture-resistant, durable subfloor using treated timber or lightweight metal framing. This will ensure a reliable foundation for your project. Treated wood is designed to prevent decay, fungal growth, and insect damage, making it a practical choice for areas exposed to moisture or pests.
On the other hand, lightweight metal framing provides superior strength, resistance to warping, and durability, even in challenging conditions. Both options are excellent for achieving long-lasting performance in various environments. Whether working on a residential, commercial, or outdoor structure. Choosing the right material depends on your needs, budget, and the environmental conditions your subfloor will face.
Step 5: Plumbing and Electrical Adjustments
Work with experienced professionals to relocate or add plumbing lines, ensuring proper installation, functionality, and long-term reliability. These experts will carefully assess your needs, plan the layout, and execute the work precisely to avoid future complications.
They will ensure your project adheres to all electrical and plumbing safety compliance standards, giving you peace of mind knowing everything is up to code. With their expertise, you can trust in a safe, efficient, and durable setup that meets your requirements.
Step 6: Add Insulation and Subfloor
Lay moisture-resistant insulation materials, such as closed-cell spray foam or rigid foam boards, to prevent water damage and ensure long-term durability. This is especially important in a wet environment like a bathroom, where humidity levels are consistently high.
It can help keep water from seeping through and causing mold or mildew growth. Choose insulation that can support the weight of heavy bathroom fixtures, like bathtubs or vanities, and the flooring above it without compressing or weakening over time. This is particularly important for maintaining the structural integrity of the bathroom floor and avoiding issues like sagging or uneven surfaces in the future.
Once the insulation is securely in place, top it off with a solid subfloor of durable materials such as cement board or exterior-grade plywood. Cement board is especially effective in wet areas, as it is resistant to water and mold, making it an excellent choice for bathrooms.
The subfloor provides a stable and reliable foundation for tiles, vinyl, or any other flooring material, ensuring it remains level and secure over time. By combining moisture-resistant insulation with a strong subfloor, you can create a bathroom floor that is functional, long-lasting, and capable of withstanding the daily wear and tear of a high-moisture environment.
Step 7: Install Bathroom Fixtures and Flooring
Choose durable, water-resistant flooring, such as vinyl, tile, or sealed concrete, to prevent moisture damage and ensure long-lasting performance in wet areas like bathrooms, kitchens, and laundry rooms. These materials are easy to clean and resistant to mold and mildew, making them ideal for high-moisture environments.
Ensure that bathtubs, sinks, and toilets are securely installed and properly sealed with high-quality caulking or waterproofing materials to avoid leaks and seepage. Regular maintenance and inspections can help identify potential issues early, ensuring a safe, functional, and long-lasting space for your home or business.
Step 8: Final Touches
Painting, sealing, and polishing the surface achieves a smooth, professional finish. This process enhances the appearance and boosts durability and resistance to wear and tear. Use high-quality paint and sealants to ensure long-lasting protection and performance. Once the surface treatment is complete, a detailed final inspection will be performed.
Test water flow to ensure it’s efficient and free from pooling issues. Check ventilation systems to confirm proper airflow and functionality, and thoroughly inspect drainage systems for leaks, blockages, or irregularities. Addressing these key elements ensures optimal performance, long-term reliability, and improved durability for your project.
Expert Tips for a Successful Raised Bathroom Project
Focus on Structural Integrity
A raised bathroom can be a significant investment, making it crucial to prioritize structural integrity during both the planning and construction phases. This involves selecting high-quality, durable materials that can withstand long-term use and ensuring proper installation techniques to guarantee a solid and secure foundation.
It’s also essential to address potential issues, such as moisture control, drainage, and weight distribution, which can significantly impact the structure’s overall stability and durability. Collaborating with experienced professionals, such as contractors, architects, or structural engineers, can provide valuable expertise and ensure the project meets safety standards.
Conducting thorough inspections at every stage of the process can help identify and resolve problems early, avoiding costly repairs and ensuring the finished bathroom is functional and built to last.
Prioritize Moisture Management
Use vapor barriers and high-quality sealants to protect your building against moisture and enhance its durability. Vapor barriers are essential for preventing the infiltration of water vapor. Which can lead to mold growth, structural weakening, and material degradation over time.
High-quality sealants fill gaps and cracks, creating an airtight and watertight seal that reduces the risk of water damage and energy loss. These materials help maintain a controlled indoor environment, improve energy efficiency, and create a more stable and long-lasting structure that can withstand various environmental challenges.
Plan Plumbing and Electrical Layouts Carefully
Minimize the need for future adjustments by setting things up correctly. Taking the time to carefully plan, analyze, and implement well-thought-out solutions ensures long-term efficiency. Reduces the likelihood of errors, and minimizes disruptions.
You can avoid costly mistakes and unexpected setbacks by proactively identifying and addressing potential challenges. A strong foundation saves time and effort and provides the confidence to focus on growth, innovation, and success rather than constantly dealing with fixes, rework, or inefficiencies. The extra effort invested upfront pays off significantly in the long run, creating a smoother, more sustainable path forward.
Test Systems Before Finalizing Flooring
Check for leaks in pipes, faucets, and connections regularly to prevent water damage and reduce wasted resources. Even small leaks can escalate into costly repairs if left unaddressed. So take the time to inspect these areas thoroughly.
Ensure proper drainage around your property by examining gutters, downspouts, and drainage systems for blockages or damage. Clear out any debris, such as leaves or dirt, to maintain efficient water flow and prevent water from pooling near your foundation. Which can lead to flooding or structural issues over time. These preventive measures can save you from unnecessary expenses and keep your home in excellent condition.
Budget for Unexpected Costs
Set aside a contingency fund to prepare for unexpected expenses or surprises, such as a sudden home repair, unexpected medical bill, car breakdown, or unforeseen events like a job loss or emergency travel.
Experts recommend saving at least three to six months of essential expenses in a readily accessible account. This financial cushion provides peace of mind and prevents you from derailing your financial goals or relying on high-interest credit options during tough times. Start small, contribute consistently, and watch your safety net grow.
Consider Green Building Practices (Unique Addition)
Use eco-friendly materials like recycled tiles crafted from repurposed waste materials. Which reduce environmental impact and add unique character to your home’s design. Pair these with low-flow fixtures designed to conserve water without sacrificing performance, offering an efficient and sustainable way to reduce water use.
Consider optimizing insulation throughout your home to enhance energy efficiency. Proper insulation helps maintain stable indoor temperatures. Reduces the need for excessive heating or cooling, lowers utility costs, and creates a more comfortable living environment year-round. Together, these sustainable choices contribute to a greener, more cost-effective home.
Potential Costs
Building a raised bathroom on a concrete slab can involve a wide range of costs, influenced by factors like the project’s size, the materials you choose, and the complexity of the work. Homeowners need to understand these expenses to plan their budget wisely and clearly. This section dives into the details, breaking down the costs for labor, materials, and other elements that affect the total price.
Cost of Materials
Much of your budget will go toward materials when planning a raised bathroom project. You’ll need essentials like wood or metal for the subfloor framing and something sturdy like plywood or OSB for the surface.
Want to step it up a notch? Moisture-resistant options like marine-grade plywood might be worth the extra cost. Then there’s flooring—whether you go for budget-friendly vinyl, durable laminate, or upscale ceramic tiles, the choice will directly impact your wallet.
Remember plumbing and electrical materials! Items like PEX or PVC pipes, fittings, and valves are necessary for the water supply and drainage system, while electrical wiring, junction boxes, and outlets build the backbone of safe functionality.
Fixtures like your toilet, sink, shower, or tub are another major factor. A no-frills setup will cost less than luxury picks made from high-end materials like marble, porcelain, or brass. Overall, the materials for this kind of project usually range between $3,000 and $10,000 or even more, depending on the finishes and features you choose.
Labor Costs
Labor is a large part of the total cost of remodeling a bathroom, especially since you’ll likely need multiple skilled trades. Bringing in pros like carpenters, plumbers, and electricians isn’t just about convenience—it ensures everything’s done safely and complies with local codes. Labor rates vary widely depending on where you live, how complicated the project is, and how experienced the contractor is.
For example, carpenters building the raised subfloor usually charge anywhere from $40 to $100 an hour. Depending on the job, plumbers tasked with rerouting or adding new plumbing might bill you between $45 and $200 an hour. And if there’s heavy-duty electrical work to sort out, electricians could cost $50 to $120 per hour. Altogether, labor expenses for a raised bathroom project typically range from $2,000 to $8,000 or even more. Naturally, more significant or complex bathrooms will land you on the higher end of that scale.
Permits and Inspections
If you’re tackling a raised bathroom project, you’ll probably need building permits—especially if the work involves plumbing, electrical updates, or structural changes. The cost of these permits varies based on where you live, but you’re usually looking at anywhere from $200 to $1,000.
Beyond the initial permits, you might also face inspection fees throughout the project. Plumbing and electrical systems, in particular, often require multiple check-ins to ensure everything aligns with local building codes, which can bump up your expenses.
Also, remember that if your design includes significant layout changes or extra structural support, you may need to hire an architect or structural engineer. Their expertise is costly, and fees vary from a few hundred to several thousand dollars, depending on the project’s complexity.
Additional Costs
When planning a raised bathroom project, it’s easy to overlook some hidden costs that can sneak up on you. For starters, tearing out old flooring and fixtures and hauling away debris isn’t free—it can set you back anywhere from a few hundred to over a thousand bucks. Do you have a concrete slab that needs work, like patching cracks or leveling? Those repairs can pile on quickly, too.
Then, there’s the domino effect. If your new raised floor impacts nearby spaces, you may need to adjust door frames, add transitions between rooms, or lower ceilings to keep everything cohesive. These changes can start small but easily add $500 to several thousand dollars to your tab.
The price tag can jump even higher if you want premium upgrades. For example, radiant floor heating can cost about $10 to $20 per square foot, depending on the system. Those gorgeous custom fixtures and vanities can easily add thousands more. All these extras can add up fast, so planning for a little wiggle room in your budget is a good idea.
Long-Term Savings Considerations
Sure, the upfront cost of installing a raised bathroom on a concrete slab might feel like a lot, but let’s talk about the payoff—it’s enormous! First, with good insulation under that raised floor (bonus points if you add radiant floor heating), you could see a nice drop in your heating and cooling bills. Who doesn’t love saving money while staying cozy, right? A solid plumbing setup and intelligent moisture control can save you from the nightmare of water damage and expensive repairs later on.
And here’s the cherry on top—this upgrade can boost your home’s resale value. Bathrooms make or break a sale, and a well-designed, functional raised bathroom is a significant win for buyers. So, while the initial investment may give you pause, the long-term savings and added value make it a move you’ll be glad you made!
Budgeting for Contingencies
When tackling a home renovation project, planning for those “uh-oh” moments nobody sees coming is smart. Dealing with concrete slabs, for instance, might uncover hidden problems like moisture damage or the need for extra structural support.
These surprises can quickly increase your expenses. That’s why experts suggest setting aside an extra 10-15% of your budget as a safety net. For a $15,000 project, this means having an additional $1,500 to $2,250 ready to cover any unexpected hiccups. Trust me, you will be grateful for the backup plan in the future!
Common Mistakes to Avoid
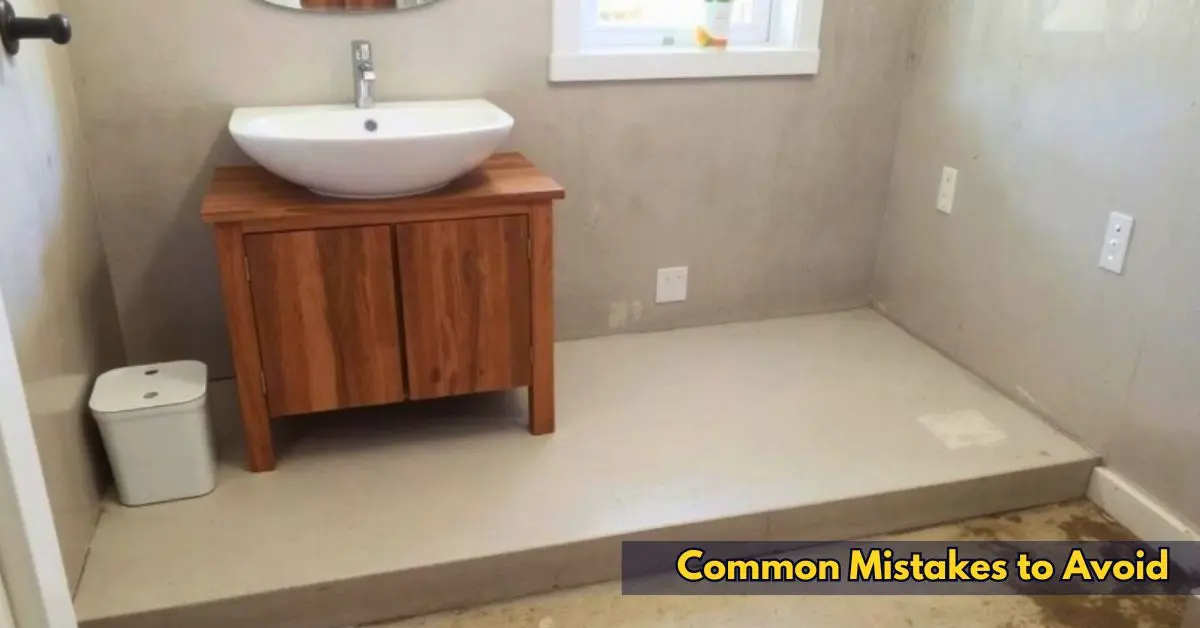
Putting a raised bathroom on a concrete slab isn’t exactly a walk in the park. It’s a tricky project with plenty of room for error, and even minor missteps can lead to expensive fixes or a bathroom that could be better. But here’s the good news—if you know what to watch out for, you’re already halfway to avoiding those headaches. By staying aware of the common pitfalls and planning, you can tackle the installation with confidence and get the results you’re aiming for.
Underestimating Structural Requirements
One of the biggest things that could be improved when building a raised bathroom is skimping on the structural support for the new floor. Those bathroom fixtures, like the toilet, sink, and bathtub, aren’t precisely featherweights! They all load up on the floor, which means the subfloor needs to be rock-solid. If you skip reinforcing the framing, you could end up with a sagging floor—or worse, severe structural damage down the line.
This is where calling in the pros comes in handy. A structural engineer or an experienced contractor can help you determine the right materials and size for the joists and supports. They’ll ensure your raised bathroom can handle the weight without any drama (or repairs) later. Cutting corners here just isn’t worth it!
Neglecting Moisture Barriers
What’s easy to overlook but crucial when working on a raised bathroom? Moisture barriers. Bathrooms are naturally humid, and if you skip installing a proper vapor barrier, you’re inviting trouble. Without that protective layer, moisture can sneak through the concrete slab and wreak havoc on the subfloor. We’re talking mold, wood rot, and warped flooring—yikes. Nobody wants that!
Here’s the deal: Before you build that raised floor, lay down a high-quality vapor barrier on the concrete slab. This small step will save you from many headaches later. While you’re at it, remember to waterproof the subfloor and check for proper drainage. These extra precautions will improve your bathroom’s durability and prevent costly repairs!
Skipping Plumbing and Electrical Planning
It’s easy to get excited about picking out the perfect light fixtures or that dream bathtub, but hold up—have you thought about what’s happening behind the walls? A common mistake in home renovations is assuming you can put plumbing and electrical fixtures wherever you want without considering the systems that make them work. Spoiler alert: you can’t. If you skip the planning stage, you might have some costly and frustrating surprises later.
Here’s the deal: Plumbing needs the right slope for proper drainage, and electrical outlets and switches should be placed where they’re safe and practical. The best move? Bring in licensed plumbers and electricians early in the process. They’ll help you map out a setup that works for your space and prevents headaches. Trust me, a little planning now can save you big-time stress (and money) later!
Ignoring Local Building Codes
When building a raised bathroom, keeping local building codes in mind isn’t just a box to tick—it’s a must. These rules are there for a reason: to help ensure your bathroom is safe, sturdy, and up to proper sanitation standards. Skipping permits or ignoring regulations? That can lead to some big headaches—fines, or worse, being forced to redo the work.
No fun, right? Taking the time to research the codes and get the proper permits upfront might feel like an extra step, but it’s worth it. Not only do you avoid all that hassle, but you’ll also know the job is done correctly, giving you peace of mind in the long run.
Failing to Test Systems
One mistake you don’t want to make during a home renovation is skipping the testing of plumbing and electrical systems before laying down your new flooring. Trust me, it’s a gamble that can cost you big later. Take the time to run water through those shiny new plumbing lines and check for any sneaky leaks.
And don’t forget to test those electrical connections—every switch, outlet, and light fixture—to ensure they work smoothly and safely. If you skip this step, you could end up tearing out that beautiful new flooring to fix a hidden leak or a wiring issue. Talk about a headache, right? A little effort now can save a ton of frustration (and money!) later.
Overlooking Ventilation Needs
A raised bathroom without proper ventilation can quickly become a recipe for trouble—think stubborn humidity and stale, unhealthy air. Many people assume a window or leaving the door ajar will get the job done, but that’s just not enough.
An efficient exhaust fan is an absolute necessity to keep things in check. It helps keep humidity under control, especially after a hot shower or a long soak in the tub and stops that dreaded mold from creeping in. Plus, it makes the whole space way more comfortable to be in. Just ensure the fan is positioned right and vents all that damp air outside—that’s key to making it as effective as possible!
Choosing Incompatible Flooring Materials
Picking the wrong flooring for your bathroom can become a total headache. Materials like wood or laminate aren’t built for all the moisture bathrooms see—they can warp or damage before you know it. That’s why it’s essential to go with something water-resistant and designed to handle humid spaces. Think ceramic tile, vinyl, or even stone—they’re durable, practical, and perfect for handling damp bathrooms. And if you’re unsure about what fits your space best, chatting with a flooring specialist can make all the difference. They’ll help you choose a choice for both style and long-term durability!
Ignoring Budget Overruns
Let’s talk about one of the most significant hiccups in home renovation projects—underestimating costs. It’s familiar and can snowball into financial headaches faster than you’d think. Many folks jump into a project without nailing down a solid budget, and guess what? Surprise expenses start piling up—whether it’s pricier materials, unexpected labor costs, or that random permit you didn’t know you needed.
Here’s the deal: setting up a realistic budget is non-negotiable. You’ve got to factor in everything—materials, labor, permits, and here’s the biggie—a contingency fund. Plan for an extra 10-15% of your total budget as a buffer for those curveballs that always seem to pop up during construction. Trust me, this little safety net can be a lifesaver.
Taking the time to budget thoroughly keeps your wallet happy and helps avoid stress and delays. Because, really, who needs more of that?
Innovative Features to Consider for Raised Bathrooms
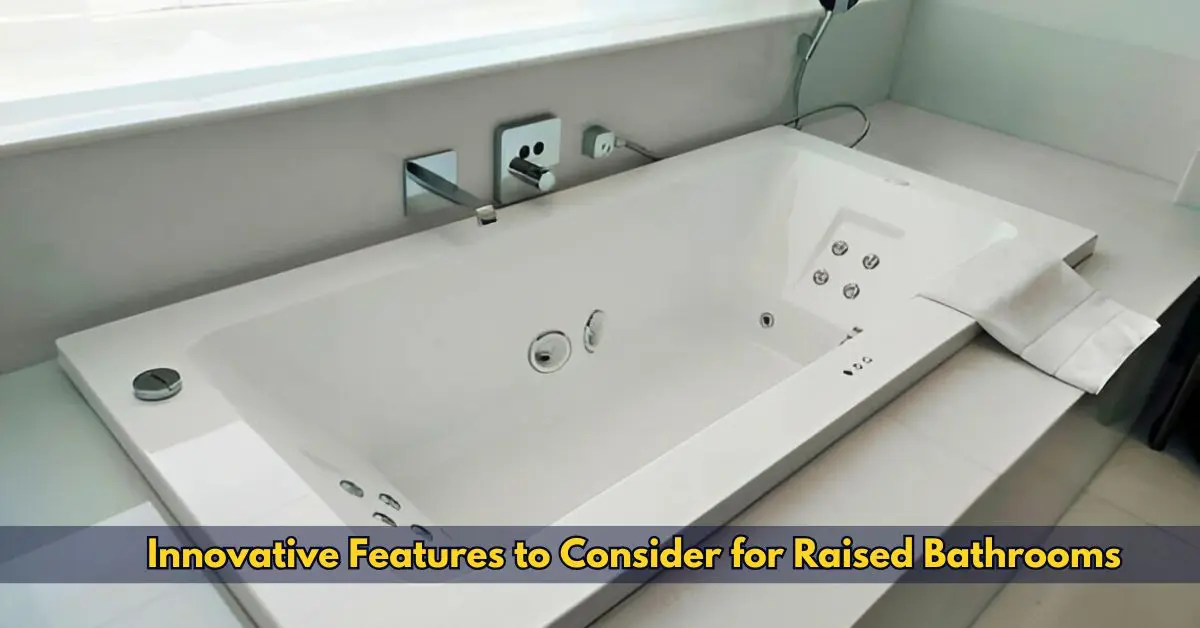
Now that we’ve covered some common mistakes to avoid let’s talk about some fun and innovative features you can incorporate into your raised bathroom design. These ideas will add a unique touch to your space and enhance its functionality and efficiency.
Smart Technology Integration
Incorporating innovative technology into your raised bathroom can take it to the next level. From voice-controlled lighting and temperature settings to self-cleaning toilets and heated floors, there are endless possibilities for incorporating technology into your bathroom design. This adds convenience and a touch of luxury to your space.
Greenery and Natural Elements
Adding plants or natural elements such as wood or stone accents can create a peaceful and relaxing atmosphere in your bathroom. Plants improve air quality and add a touch of nature to your space. Incorporating natural elements can also help connect the design of your raised bathroom with the rest of your home.
Conclusion
Building a raised bathroom on a concrete slab can be a smart way for homeowners to spruce up their living space while solving common challenges like moisture control and plumbing complications. Elevating the bathroom can improve drainage, boost airflow, and create a cozier, more functional environment.
This kind of project has challenges, so it’s crucial to approach it carefully. Paying attention to structural stability, proper moisture barriers, and planning for plumbing and electrical systems can make all the difference. Skipping key steps—like checking local building codes, testing systems, or addressing ventilation needs—can lead to issues, so avoid those pitfalls by preparing thoroughly.
With thoughtful budgeting and a detail-oriented approach, a raised bathroom can meet your functional needs and add value to your home. It’s a project that offers both style and practicality, making it a rewarding upgrade for many homeowners.
FAQs About Constructing a Raised Bathroom on a Concrete Slab
A raised bathroom involves building an elevated floor over your existing concrete slab. This design solves common issues like plumbing challenges, drainage, and insulation. It also adds a distinct design element, improving aesthetics and customization.
A raised bathroom provides several benefits, including improved plumbing access, better drainage, enhanced insulation, and increased design versatility. It's ideal for addressing moisture concerns and making maintenance more manageable.
Yes, the added weight could affect your concrete slab, so it's essential to assess the load capacity of your foundation before starting. Consulting a structural engineer can ensure your design is safe and meets local building codes.
Elevating the floor allows pipes and drainage systems to run below it. This setup simplifies repairs and reduces the risk of water backflow or improper drainage, common issues in slab foundations.
Yes, challenges include the added construction complexity, potential height restrictions in rooms with low ceilings, and increased costs for materials and labor. Detailed planning and working with professionals can help avoid these pitfalls.
Generally, yes. A raised bathroom requires additional materials, more labor, and potential permits. However, the long-term benefits—like easier maintenance and increased home value—can make the upfront costs worthwhile.
Separated they live in Bookmarksgrove right at the coast
Absolutely! A raised floor provides an excellent opportunity to install underfloor heating as part of the construction process. This keeps the bathroom warm, adds a touch of luxury, and improves energy efficiency.
Proper ventilation is crucial to prevent moisture buildup and mold. A raised design allows for better air circulation under the floor, but you should still include exhaust fans and consider humidity-reducing features, especially in smaller bathrooms.
Yes, they're great for improving accessibility. They can easily incorporate features like walk-in showers, raised seating, and ramped transitions between rooms, making them a practical choice for individuals with mobility challenges.
Separated they live in Bookmarksgrove right at the coast
Yes, most likely. Local building codes may require permits for structural changes, plumbing adjustments, or electrical work. Always check with your local authorities to ensure your project complies with regulations.
Related Posts
-
 15 Dec 2024 RemodelHow to Raise a Shower Floor: Essential Tips
 -
 15 Dec 2024 Remodel70s Kitchen Remodel Before and After Expert Tips
 -
 14 Dec 2024 RemodelThe Ultimate Guide to a Raised Bathroom on a Concrete Slab
 -
 01 Dec 2024 SinkCan You Paint a Kitchen Sink? Unlimited Tips
 -
 30 Nov 2024 SinkHow to Clean Granite Composite Kitchen Sink: Expert Tips
 -
 30 Nov 2024 RemodelAverage Kitchen Remodel Cost: Unlimited Tips
 -
 29 Nov 2024 SinkHow To Snake A Kitchen Sink Drain Roots Expert 10 Tricks
 -
 28 Nov 2024 SinkHow to Insulate Under Kitchen Sink Expert's 10 Tricks
 -
 27 Nov 2024 SinkCan a Toilet and Sink Share the Same Drain? Unlimited Answer
 -
 26 Nov 2024 SinkCan You Replace a Kitchen Sink Without Replacing the Countertop

