How to Clean a Ninja Blender Quick Tips & Tricks for a Deep Clean
Clean a Ninja Blender right to keep it running smoothly and extend its life for perfect blends they are the engine of your kitchen, churning fruits, vegetables, and ice into smooth, silky smoothies, creamy soups, or even frozen goodies. But wait, if you are not cleaning it properly, your blender could lose its magic. Okay, but nobody wants gritty residue, or weird odors stuck in their favorite appliance, right? And yet, how many of us ignore the cleaning process until it is far past due?
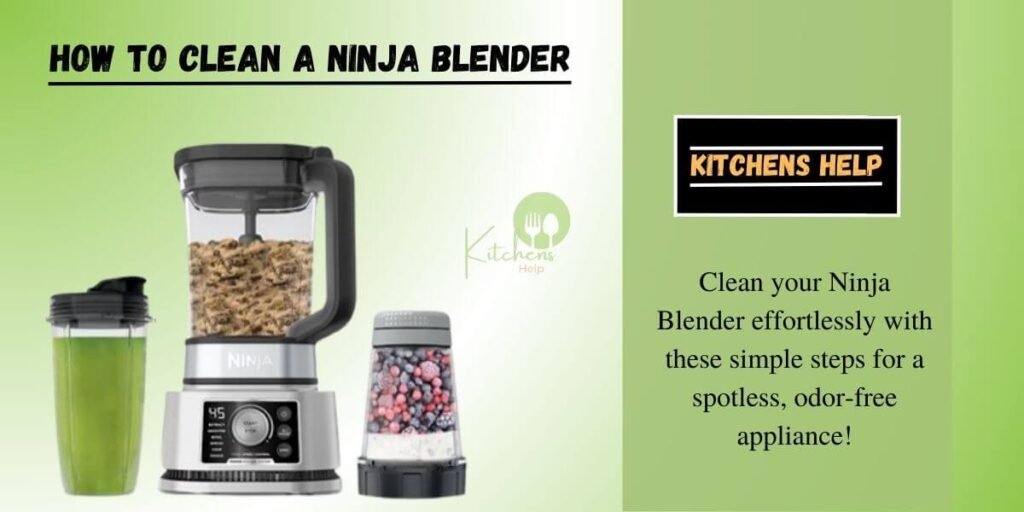
Ninja Blender maintenance extends beyond appearances. Expression, care, and a guarantee that each blend will be just as slick and crisp as the first. So today, I want to show how the way you clean it can either improve your blender’s longevity or shorten its lifespan — and that cleaning is super easy! Want to get the most out of your blender? Let’s get cleaning!
Why Regular Cleaning is Essential
Once again, from food safety to practical functioning pitfalls, your Ninja Blender needs to be cleaned regularly, like all blenders! Over time, the residue collected can invite bacteria that could threaten your health, tarnish the taste of future blends, and possibly block the proper functioning of the appliance.
You need to remember that food leftovers create odor and grease, which, if not cleaned immediately, may become difficult to remove.
Cleaning your portable blender after each use is essential for maintaining hygiene and freshness in your recipes and ensuring that the blender itself will last you many more years. With a quick cleanup—get into the habit of doing this—it benefits your health and appliance investment and tastes much better. If you make this a habit, you will enjoy smoothies, soups, and sauces without any taste residuals from some of your previous uses.
Quick Overview of the 3 Primary Cleaning Methods
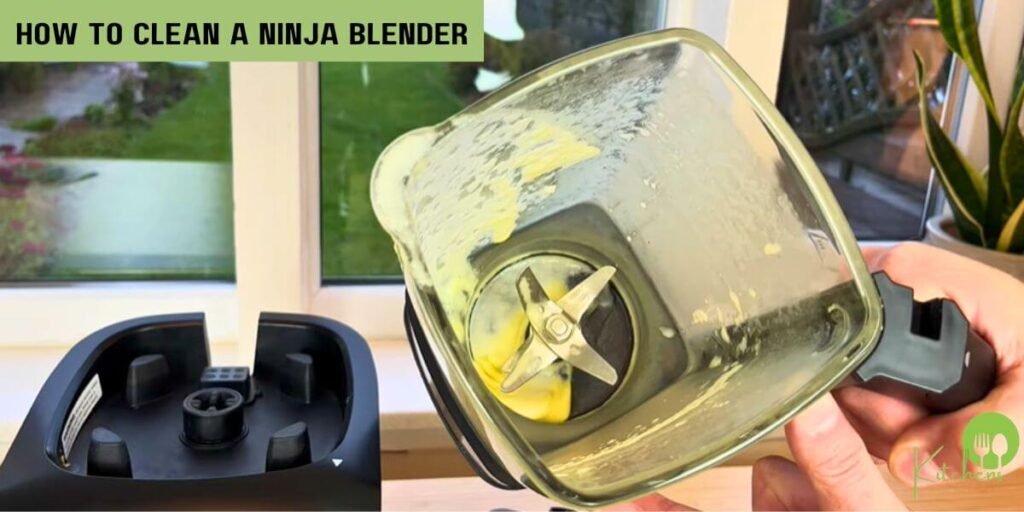
Every smoothie will leave a little or a lot, depending on what you made behind for your Ninja Foodi or Nutri Ninja Professional to clean up if you want them to last and run perfectly. Below, we go into the steps of these three proven techniques for washing your Ninja Blender:
- The Dishwasher Method is ideal for super busy days. Just put the removable parts of your blender, such as the pitcher and blades, on the top rack of your dishwasher. The hot water and soap should wash everything away, allowing you to clean the blender correctly.
- The Self-Cleaning Method—The self-cleaning method is fast and effective for quick clean-up after light blending jobs. Pour some warm water into the pitcher, squirt a few drops of dish soap, combine at high speed for approximately thirty seconds, and wash properly. This not only cleans but also ensures that the blades stay sharp and free of buildup.
- The Handwashing Method—For tough stains or stuck-on food, handwashing provides the most cent from a top-down clean. Scrub the pitcher and blades with a sponge or brush using warm, soapy water. Make sure to emphasize those spots and corners where residue can accumulate. Rinse free and permit to air dry for a better result.
Using these strategies, you can keep your Ninja blender in tip-top shape and always ready for your next culinary task!
What You’ll Need to Clean a Ninja Blender
Supplies Preparation: The First Step towards Cleaning before cleaning, prepare everything you need. That includes brooms, mops, cleaning solutions, sponges, and garbage bags. When you have the right tools available, this process is faster and easier. You avoid being overwhelmed by creating a game plan with your supplies organized ahead of time so that nothing goes overlooked, and you can handle each cleaning task without missing a beat.
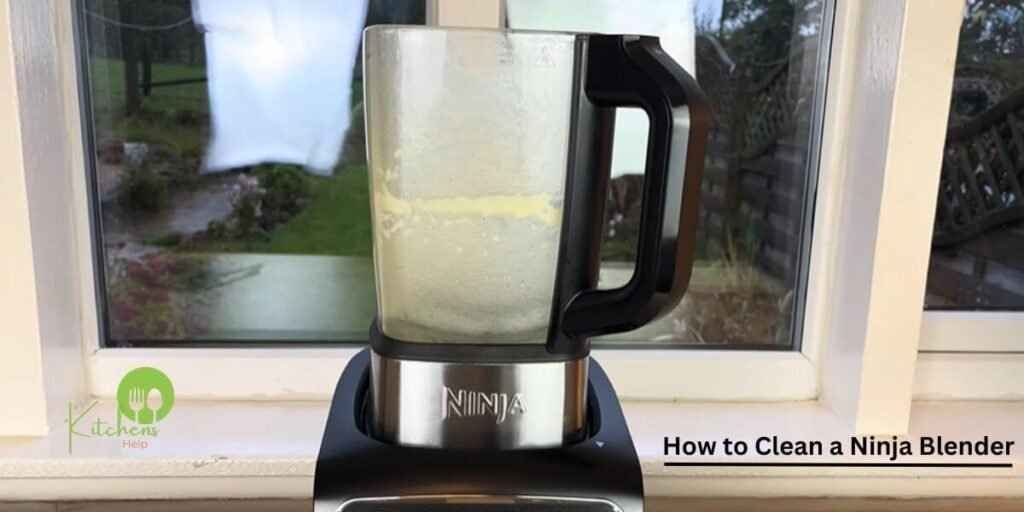
Basic Cleaning Supplies
You will need a few things to clean a Ninja Blender deep to keep it in good condition. 1– Gentle Dish Soap: Super easy to cut through grease and grime without damaging delicate blender parts. Choose an eco-friendly soap that will be biodegradable and free from harsh chemicals to save your machine and nature. Following these standard tools, an abrasive-free sponge is essential; you won’t leave scratches on the blender’s insides and outsides, damaging its beautiful and harmonic appearance.
And a soft brush for those trickier areas where food gets stuck. Also, use a drying cloth to clean the blender after washing it so there are no watermarks. You will want to keep the blender looking brand new. Maintaining your blender will make it last longer and keep each smoothie or mix as fresh as possible without old smells/tastes lingering.
Optional Deep Cleaning Tools
A long-handled scrubber will be invaluable when your blender needs more elbow grease to get it sparkling clean. For example, a Magic Eraser can remove tough stains that build up over time and remove residue that regular cleaning may miss. Distilled white vinegar is another excellent choice—this naturally removes cloudiness while also neutralizing odors so your blender doesn’t smell leftover gross. Combined, these weapons make tackling even the most stubborn cleaning challenges easy and keep your kitchen appliance in tip-top shape for your next round of recipe testing.
3 Ways to Clean Your Ninja Blender
Dishwasher
The Ninja Blender is also dishwasher-safe in many places, which makes the clean-up process simple. In all reality, this is how to clean a blender using the latter method.
- Clean blender and blades —Remove pitcher.
- All parts can be placed on the top rack of your dishwasher.
- Too small, and Fix A Dryer dispenses a little bland dish soap.
- Click here to learn more 7) Run the dishwasher regularly with warm water.
- When the blender is clean, rinse it out and allow it to dry in the air until all parts are completely free before putting the equipment together.
Self-Cleaning
If your blender is only used for smoothies, it is likely the only one that needs cleaning.
- Use half the pitcher and fill it with warm water.
- Add a few drops of dish soap.
- Blend at high for 0-30 seconds.
- Thoroughly wipe off with warm water.
- Let the item air dry before using.
Handwashing
Hand washing is the way to go for sticky, dried-on food or more significant stains. Here’s how to do it:
- Take apart the blender and place a bottle with blades.
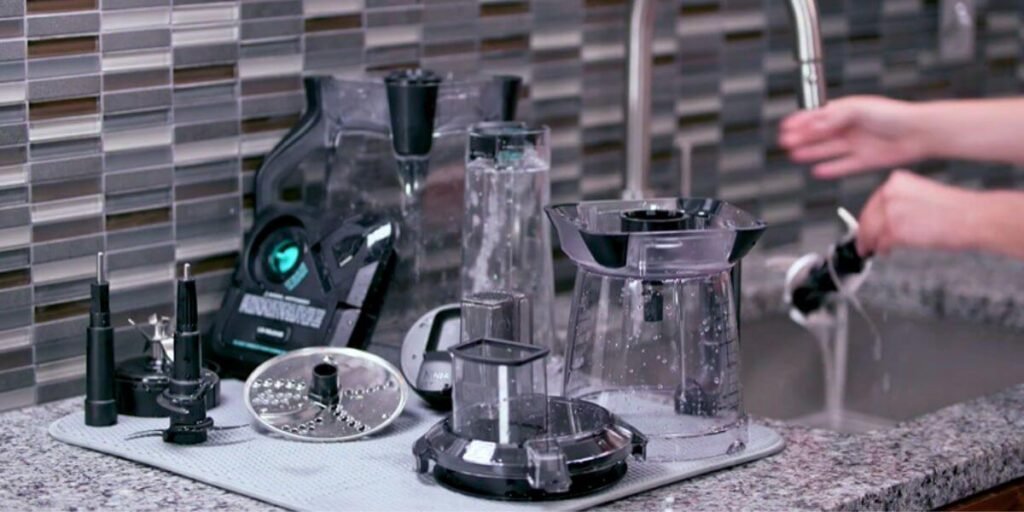
- The pitcher and blades can be cleaned regularly by scrubbing with a non-abrasive sponge or brushing gently in warm, soapy water.
- Make sure to clean up residue in any hidden crevices or corners
- Rinse well with warm water.
- Let your blender air dry before putting it back together.
Troubleshooting Cleaning Issues
How to Clean a Cloudy Ninja Blender Jar
While this may be unsightly, it is something that you can quickly fix. It is about the cloudiness it will inflict upon your blender (and you), as this can impact how well you see what’s inside.
Causes of Cloudiness
Among the possible causes, hard water minerals and deposits assemble in your system. Over time, with regular blender use, these deposits build up and weaken a matte film on the container surface that can attract bacteria. This may make your jar appear dirty or disfigured even after washing it. Similarly, oils and residuals from blending ingredients can add to the ambiguity if not cleaned immediately after use.
How to Clear out brain fog: Solutions and Advice
Rinse with a 50/50 vinegar and water solution to bring your blender jar clarity back. A Water Stain Remover Vinegar is a natural attacker against mineral deposits. After you apply this solution, let the jar sit for a few hours to get in between those grout lines and do its thing. If the cloudiness on your car still does not dissolve away, a baking soda and water paste create an abrasive solution to scour off stubborn residue. Allow the paste to adhere to your scrubbing cloth or sponge, and gently apply it directly on top of the jar parts you want clean. Afterward, rinse out very well; it should look new!
How to Remove Stubborn Stains
Stains are a never-ending headache, but they can be addressed quickly if you know how to handle them correctly. So you have to deal with the marks, and here are some ways to remove such dot stains efficiently.
Using Distilled White Vinegar
Because of its natural acidity, vinegar is excellent for removing stains on most types of surfaces. How to use: Drizzle distilled white vinegar on the area and let it sit for a few minutes. This will allow the vinegar to eat away at a stain. Soak for a while, and towards FFAs, rinse with warm water. You will notice the difference.
Using a Magic Eraser
The Magic Eraser is an abrasive cleaning tool made from melamine foam. Using a bit of pressure—if necessary—gently rub the stained areas with your Magic Eraser. Because of its unique composition, it is scratch-free yet super effective at cleaning stains. It is especially suitable for walls, floors, and other smooth surfaces.
More Proven Ways To Remove Stains
For tougher spots, you should usually create a paste with baking soda and water. Mix three parts baking soda with one part water to create a paste. Gently apply the paste with a soft cloth or sponge in circular motions to prevent damaging the material. Then, clean the area with water to wash out all the baking soda so it is clean and fresh.
Now that you know how to clean porcelain tile floors, have the time of your life doing them and make sure they stay sanitized!
How to Eliminate Unpleasant Odors from Your Blender
If you do not wash blenders immediately after use, they will get really stinky over time. While you might expect odors in other parts of your home, these can be particularly yucky—and increasingly inconvenient if all the smells associated with this area every time you try to use it for cooking smoothies or sauce! You better make sure that your blender is good to go, and you also need a very inviting smell.
Common Causes of Odors
Smells in blenders are caused by the buildup of cracks and crevices inside, where food can get tucked away. Some foods just smell very strongly while they cook—one example would be any recipe that includes copious amounts of garlic, and other spices fit in here, too. This eventually leads to weird smells and bad pints the next time you brew. If not washed down after use, it can come together with water, which in turn quickly turns into stinky odors, and that affects the taste of your latter beverage.
Refreshes the Blender and Makes it Smell Clean
Firstly, clean the blender properly after every use to keep it odor-free and smelling fresh. Be careful and wash all removable parts; use a mix of warm, soapy water. Clean it well, and leave the jar open to completely air dry so no trapped moisture gathers unsavory odors.
Once in a while, you might even want to do a lemon juice rinse; just mix up some water and lemons that can help neutralize odors and leave your bathroom with the scent of citrus. If necessary, to help remove stubborn odors, you can try a baking soda mixture (baking soda does wonders for absorbing odors!). And just like that, you have a clean, odor-free blender waiting for your next meal prep or smoothie!
Cleaning Specific Ninja Blender Parts
Blade Assembly
How it blends: The blade assembly is obviously of paramount importance to how well a blender works, as the sturdiness and sharpness of blades directly affect the consistency of smoothies, soups, or other concoctions. So, keeping this crucial part clean is important so that it can perform better and last longer.

How to Clean the Blade and Rust Prevention
Otherwise, you should use a delicate brush with soft bristles to get into every nook and cranny where food items settle. It is also essential to clean the blade with a soft cloth or air-dry it entirely before reassembling it. This is very important since any leftover can create the possibility of rust and thus make them safe or functional.
Gasket Seal
Underneath that title, you will find the gasket seal, a must-have part because it finally keeps everything leakproof and functions flawlessly with all those liquids flying around. Ensuring this part is regularly lubricated will give you peace of mind, knowing your blender spins efficiently and smoothly leak-free.
Cleaning and Maintaining the Gasket Seal
Remove the gasket seal from your blender and run it under warm water to remove any residue. When cleaning, looking for visible signs of wear or damage is a good habit. After rinsing, ensure it is completely dried before placing back into the blender. Take this precaution to avoid mold and get an excellent tight seal for blending.
How to Manage When It Starts Coming Loose or Deteriorates
You should replace the seal if it is loose or seems to be breaking down. A damaged or bad gasket may affect the performance of your blender and cause leaks in some cases. Have a spare gasket to keep you up and mixing, not down and out.
Centering Pad
One of the most critical pieces when in place is to ensure that the centering pad works properly, which keeps your polisher stable while you’re placing a product underneath it. Centering PadFor the blade of a blender to flow and spin smoothly, it has to be perfectly centered so that it does not wobble while blending due to imbalanced weightage, causing an uneven chop/blend.
The maintenance comes with proper care for the centering pad
Wipe down the centering pad regularly with a damp cloth so that it will continue to work efficiently. Simply preserving the pad in this manner can tremendously extend your dust pad’s life. Since these are susceptible electronics, some things require attention during cleaning, such as harsh chemical usage and abrasive materials, which can damage the pad material and reduce its performance.
Motor Base
Your blender relies on the motor base to do all that hard work blending your ingredients. It is crucial to remember that the motor base should never be underwater; this will only cause electrical problems and safety risks.
Cleaning the Motor Base — And Avoiding Damage
Unplug the blender, and when you need to clean it, start with the motor base. After this, use a damp cloth to clean the outer surface and any other part where dirtiness or spills could be found. Ensure no water comes into contact with electrical components or openings to prevent malfunctions. Be sure to clean the motor base portion of your blender more often, as not only will it look better, but this little secret will increase its longevity.
Additional Tips for Extending the Lifespan of Your Ninja Blender
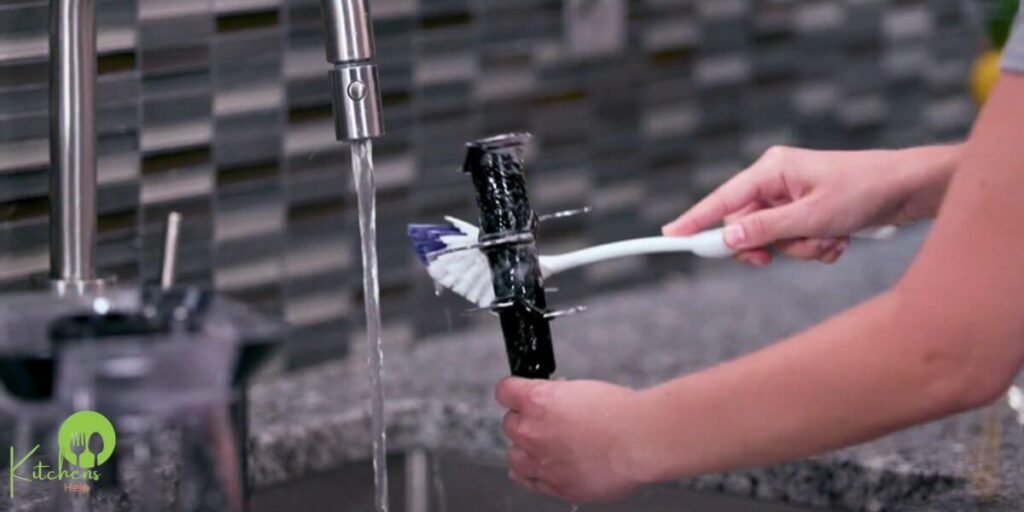
Regular Maintenance Practices
Check Blades and Pitcher: Regular inspections of all parts, from blades to pitcher to motor base, are necessary to extend the life of your Ninja blender. By catching potential problems in their infancy, you can alleviate them before they snowball into expensive repairs. Set a Regular Maintenance Schedule—Cleaning your blender after every use will prevent build-up and ensure that it functions as well in the future.
Storing Your Blender Properly
Store—Store the blender in a cool and dry place, so all detachable parts are free from each other. This not only stops moisture that could cause mold and destruction, but it also lets air flow around them much better, trying to keep your equipment in top shape. Also, cap your blender so that nothing gets into it.
Avoiding Common Cleaning Mistakes
You must have Clean a Ninja Blender for its efficient performance, but there is a right way to do so. NEVER use abrasive materials or harsh chemicals on any part of your blender. This will scratch surfaces and greatly reduce the lifespan of components. Instead, use mild soap and gentle sponges to clean the pitcher and blades. If you want to do a deep cleaning, mix warm water and a little dish soap, then rinse thoroughly, ensuring no residue remains.
Safety Tips and Best Practices
Handling Sharp Blades
When it comes to blades, always treat them with respect; they can and do cause accidents. When clearing, use adequate materials, such as robust gloves or cleaning cloth. And be sure that, when not in use and blades are pointed away from you, they’re stowed somewhere securely. All of this will save you from injuries in the form of accidental cuts and, more importantly, a safer cooking setup.
How to Avoid Electric Shocks or Damage to Electrical Components
To stay safe while cleaning your blender, always ensure it is unplugged. This small measure can prevent accidental electric shocks. Moreover, the motor base should be kept aside from water or different liquids, which can cause electric problems. To avoid this type of incident, it is also highly recommended to immediately check the power cord for any signs of wear or damage while making sure that the machine is set up on a dry surface so as not to trigger some electrically-related accidents. By adhering to these three rules, you can make your appliance last longer, ensuring it works safely!
Frequently Asked Questions (FAQs)
You should clean a Ninja blender immediately after each use to prevent food residue buildup and maintain optimal performance. Deep cleaning, such as disassembling parts for thorough washing, should be done regularly based on usage frequency.
Yes, most Ninja Blender parts, such as the blades, pitcher, and lids, are dishwasher-safe. However, always check your specific model's manual for confirmation on what parts are dishwasher safe. The motor base should never be submerged or placed in a dishwasher.
If your blender leaks, ensure all components are correctly assembled and sealed. Check the gasket for wear and replace it if necessary. If the leaking persists, refer to your product manual for troubleshooting or contact customer support.
Unusual noises may occur if the blender is overloaded or not assembled correctly. Ensure that the ingredients do not exceed the maximum fill line and that all parts fit together correctly. If the problem continues, inspect for damaged parts and consult customer support.
Ninja Blenders typically come with a limited warranty, covering defects in material and artistry. The warranty period and terms can vary by model and purchase location, so refer to your product's warranty card or contact the manufacturer for specific details.
Conclusion
Ultimately, your Ninja Blade is such a helpful gadget for the kitchen. Use the cleaning and maintenance advice above to keep your blender running like new for a long time. Cleaning your soup kitchen regularly extends its life and ensures that every time you use it, cooking up a storm is delicious. Join a community of home chefs for more tips and tricks on making the most out of your Ninja Foodi, or ask them about looking after yourself —irrespective of whether it eats or drinks. Blend and let there be no stone soup or even a skinned knee in your culinary journeys.
Related Posts
-
 30 Nov 2024 CleaningBest Ways to Clean Granite Composite Kitchen Sinks at Home
 -
 26 Nov 2024 CleaningHow to Clean Stainless Steel Countertops | Experts Tips
 -
 17 Nov 2024 Cleaning5 Tricks | How to Clean Shower Head Without Vinegar
 -
 14 Nov 2024 CleaningHow to Keep Damascus Steel from Rusting: Easy Care Tips
 -
 13 Nov 2024 CleaningHow to Clean a Folding Knife Properly: Essential Tips and Tricks
 -
 13 Nov 2024 CleaningHow to Clean a Ninja Blender Quick Tips & Tricks for a Deep Clean
 -
 12 Nov 2024 CleaningHow to Clean Rust off of a Knife: Tips for Long-Lasting Blade Care
 -
 23 Oct 2024 CleaningHow to Clean Grout That Has Turned Black: Expert Tips & Tricks
 -
 19 Oct 2024 CleaningHow to Clean Blackstone Griddle for Long-Lasting Performance
 -
 19 Oct 2024 CleaningHow to Clean Burnt Stainless Steel Pot With Baking Soda

