How to Clean Grout That Has Turned Black: Expert Tips & Tricks
Clean blackened grout by scrubbing it with baking soda and water. Use a stiff brush for best results.
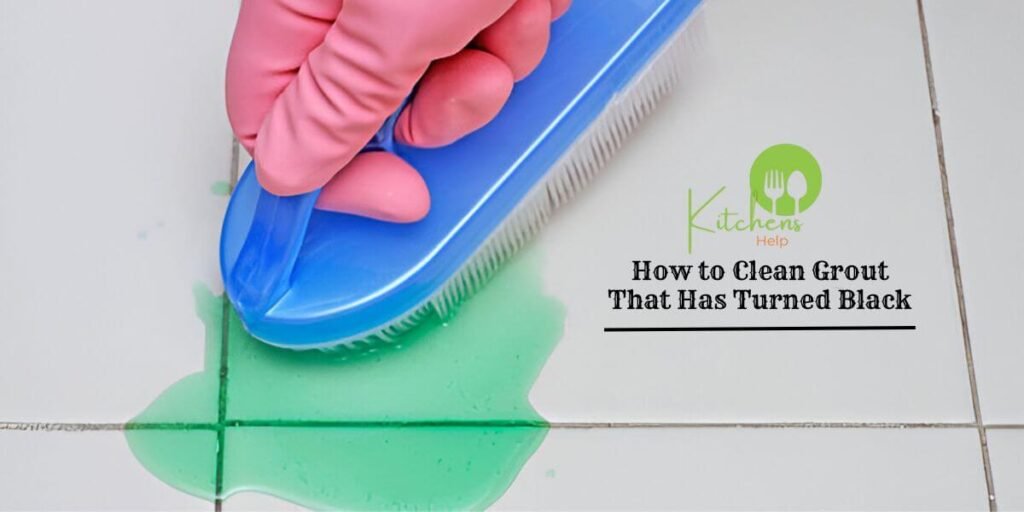
Grout can turn black due to mould, mildew, and dirt buildup. Maintaining clean grout is essential for a healthier home environment. Regular cleaning prevents the spread of harmful bacteria and allergens. Natural cleaning solutions like baking soda are both practical and eco-friendly.
Proper grout maintenance enhances the appearance of your tiles and prolongs their lifespan. A clean grout line can make your entire floor or wall look new again. Regular scrubbing with the right tools ensures that the grout remains discoloration-free. Keep your grout spotless with consistent cleaning routines.
What Causes Grout To Turn Black
Dirt, mould, and mildew can cause grout to turn black over time. Regular cleaning with baking soda and vinegar helps restore its original colour.
Grout turning black is a common household issue. Understanding the causes can help you prevent this unsightly problem.
Moisture Build-up
Excess moisture often leads to black grout. This environment encourages mould and mildew growth. Here are some contributing factors:
- Poor ventilation: Lack of airflow in bathrooms or kitchens.
- Leaky fixtures: Dripping faucets or pipes.
- High humidity: Common in bathrooms without exhaust fans.
Lack Of Regular Cleaning
Grout can turn black if it’s not cleaned regularly. Dirt and grime accumulate over time, creating a breeding ground for mould. Consistent cleaning habits can prevent this issue.
Soap Scum And Product Residue
Using various bath products can leave residue behind. These residues can trap moisture and dirt, causing the grout to darken. Regularly wiping down surfaces can minimise this problem.
Mold And Mildew
Mold and mildew thrive in damp environments. They quickly turn grout black. Here are some reasons this occurs:
- Warm, damp conditions: Ideal for mold growth.
- Organic matter: Soap, skin cells, and food particles act as nutrients.
- Dark corners: Areas with less light are more prone to mould.
Dirty Water
Using dirty water to clean surfaces can worsen grout discoloration. Instead of cleaning, it deposits more dirt and grime. Always use clean water for mopping floors and wiping surfaces.
Improper Sealing
The grout needs to be sealed to keep it clean. If improperly sealed, it absorbs dirt and moisture, leading to discoloration and blackening. Regular sealing helps maintain the grout’s appearance.
How To Assess The Severity Of The Stains
Inspect the color and depth of discoloration to assess the severity of grout stains. Light stains may require simple cleaning, while deeper black stains might need more robust solutions or professional help.
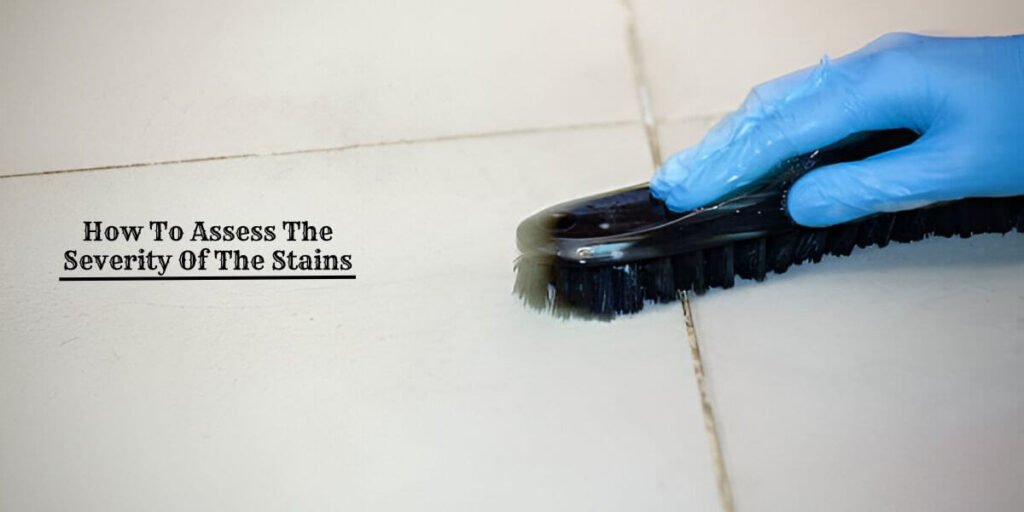
Grout turning black can be frustrating. Understanding the severity of the stains is crucial before taking action. Assessing the situation helps you choose the best cleaning method. Let’s dive into how to evaluate these stains effectively.
Visual Inspection
Begin by examining the grout closely. This simple step can reveal much about the stain’s severity.
- Light discoloration: Indicates mild staining that may be easy to clean.
- Dark patches: Suggest deeper stains requiring more intensive cleaning.
- Uniform blackness: Likely indicates mould or mildew, needing specialised treatment.
Scrape Test
Sometimes, a quick test can help determine how deep the stains go. Here’s how you can do it:
- Use a plastic scraper: Gently scrape the grout surface.
- Check the results: If the stain comes off, it’s likely surface-level.
- Persistent stains: If the blackness remains, it might be ingrained in dirt or mold.
Moisture Check
Grout in wet areas is prone to more severe staining. Assess moisture levels to understand the problem better.
- Damp grout: More likely to harbor mold and mildew.
- Dry grout: This usually indicates surface dirt or minor stains.
- Check for leaks: Ensure no underlying water issues are causing persistent black stains.
Smell Test
Odors can also signal the severity of grout stains. Mold and mildew often have a distinct smell.
- Musty smell: Strong indicator of mold or mildew.
- No odor: It’s likely just dirt, not mold.
- Persistent odor: May need professional cleaning or mold remediation.
Touch Test
Touching the grout can provide additional clues about the severity of the stains.
- Smooth surface: Indicates surface-level dirt.
- Grainy or rough texture: Suggests ingrained stains or mold.
- Sticky or slimy feel: Likely mold or mildew, requiring thorough cleaning.
Following these steps, you can accurately assess the severity of black stains on your grout. This assessment will guide you in choosing the most effective cleaning method, ensuring your grout returns to its original state.
How Often Should You Clean Grout
Regular cleaning every few weeks helps prevent grout from turning black. To scrub blackened grout, use a baking soda and vinegar solution.
Grout can quickly turn black with dirt and mildew, making your tiles look unsightly. Regular cleaning is essential to keep it looking fresh and bright. But how often should you clean grout to maintain its appearance and longevity?
Frequency Depends On Location
Different areas of your home may require grout cleaning at varying intervals. Here are some general guidelines:
- High-traffic areas: Clean every 1-2 weeks. These include kitchens and entryways.
- Bathrooms: Clean every 2-4 weeks. Moisture contributes to mildew and mold growth.
- Low-traffic areas: Clean every few months. These places accumulate less dirt and grime.
Climate And Humidity Influence
Geographical location can impact how often you need to clean. Humid climates promote mold growth faster.
Type Of Tiles Matter
Different tiles can affect cleaning frequency. Natural stone tiles need more frequent cleaning compared to ceramic ones.
Observe The Grout Condition
Sometimes, simply observing the grout can guide you:
- Discoloration: Clean immediately if you notice it turning black.
- Stains: Address stubborn stains promptly to prevent permanent damage.
- Odor: A musty smell indicates mold growth needing immediate attention.
Use Preventative Measures
Preventative measures can reduce the need for frequent deep cleaning:
- Sealing grout: Apply a sealant every six months to a year.
- Regular sweeping and mopping: Keep dirt and grime from settling in.
Consider Professional Cleaning
For best results, consider professional cleaning services:
- Annual deep cleaning: Helps maintain the integrity of the grout.
- Stubborn stains: Professionals can handle tough stains that regular cleaning can’t.
Maintaining clean grout enhances the look of your tiles and promotes a healthier living environment. Based on these factors, regular cleaning can keep your grout looking new.
How To Prepare Before Cleaning Blackened Grout
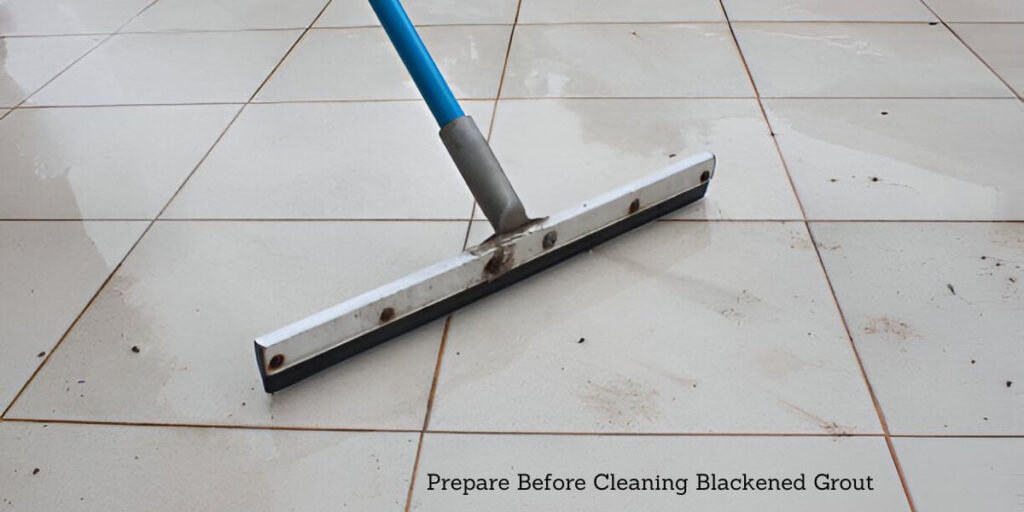
Gather essential supplies such as a scrub brush, baking soda, and vinegar. Clear the area of any obstacles to ensure easy access.
Stubborn black grout can be an eyesore in any home. Tackling it effectively starts with proper preparation. Let’s explore the essential steps to prepare your grout for a thorough cleaning.
Gather Your Tools And Supplies
First, ensure you have all necessary tools and supplies on hand. This will streamline the cleaning process and prevent interruptions.
- Cleaning agent: Choose a commercial grout cleaner or a homemade solution.
- Scrubbing tools: Opt for a stiff-bristled brush or an old toothbrush.
- Protective gear: Wear gloves and safety goggles to protect your hands and eyes.
- Buckets: Have one for the cleaning solution and another for rinsing.
- Rags or sponges: Useful for wiping away grime and excess cleaner.
Clear The Area
Next, clear the area around the grout. This ensures you can focus on cleaning without obstacles.
- Remove items: Take away rugs, furniture, and any other objects.
- Sweep or vacuum: Eliminate dust and debris that could interfere with cleaning.
- Ventilate the space: Open windows or use fans to provide proper ventilation.
Test Your Cleaning Solution
Before diving in, test your chosen cleaning solution on a small, inconspicuous area. This step ensures it won’t damage your grout or tiles.
- Apply a small amount: Dab some of the cleaner onto a hidden spot.
- Observe the reaction: Watch for any discoloration or damage.
- Adjust if necessary: If issues arise, consider a different cleaning agent.
Pre-treat The Grout
Pre-treating the grout can make the cleaning process more effective. This helps to loosen up the black grime.
- Apply the cleaner: Spread a thin solution layer over the grout.
- Let it sit: Allow it to penetrate for 10-15 minutes.
- Scrub lightly: Use a brush to start breaking down the grime.
Protect Surrounding Surfaces
Lastly, the surrounding surfaces should be protected to avoid any accidental damage during cleaning.
- Cover nearby areas: Use painter’s tape to shield edges and corners.
- Use drop cloths: Lay them down to protect flooring and other surfaces.
- Be cautious: Avoid splashing the cleaning solution on unintended areas.
Natural And Diy Grout Cleaning Solutions
Tackle blackened grout with natural and DIY solutions. Use baking soda, vinegar, and a scrub brush for effective results. This will effortlessly restore the grout’s original color.
Cleaning grout that has turned black can seem daunting, but it’s manageable with the right natural and DIY solutions. Let’s explore some effective methods to restore your grout’s original color.
Baking Soda And Vinegar
A classic combination for tackling stubborn grout stains is baking soda and vinegar. Here’s how you can use this powerful duo:
- Prepare the paste: Mix baking soda with water to form a thick paste.
- Apply the paste: Spread the paste along the grout lines.
- Spray vinegar: Lightly spray vinegar over the baking soda paste.
- Scrub the grout: Use a brush to scrub the grout thoroughly.
- Rinse and dry: Rinse with warm water and dry with a towel.
Hydrogen Peroxide And Baking Soda
Using hydrogen peroxide with baking soda can work wonders on blackened grout. This method is simple and effective.
Mix hydrogen peroxide with baking soda to form a paste. Apply this paste directly to the grout lines. Allow it to sit for a few minutes. Then, scrub the grout with a brush. Finally, rinse the area with warm water and dry it thoroughly.
Lemon Juice And Cream Of Tartar
Lemon juice combined with cream of tartar is an excellent choice for a natural bleaching effect. This method is perfect for light-coloured grout.
- Create the mixture: Combine lemon juice and cream of tartar into a paste.
- Apply the mixture: Spread the paste over the stained grout.
- Let it sit: Allow it to sit for about 5 minutes.
- Scrub the grout: Use a small brush to scrub the grout lines.
- Rinse off: Rinse with warm water and dry the area.
Steam Cleaning
Steam cleaning is a chemical-free method that is perfect for those who prefer only water. This technique involves using a steam cleaner to loosen dirt and grime.
Steam the grout lines thoroughly, making sure to cover all areas. Use a brush to scrub the loosened dirt. Wipe away the residue with a clean cloth. Steam cleaning not only cleans but also sanitizes the grout.
Essential Oils And Baking Soda
Essential oils combined with baking soda can freshen up your grout while cleaning it. This method leaves a pleasant scent behind.
- Prepare the paste: Mix baking soda with a few drops of essential oil.
- Apply the paste: Spread the mixture along the grout lines.
- Let it sit: Allow it to sit for a few minutes.
- Scrub the grout: Use a brush to scrub the grout.
- Rinse and dry: Rinse with warm water and dry the area.
These natural and DIY solutions provide effective, eco-friendly ways to clean black grout. They can restore your grout’s appearance without harsh chemicals.
Deep Cleaning Techniques For Extremely Blackened Grout
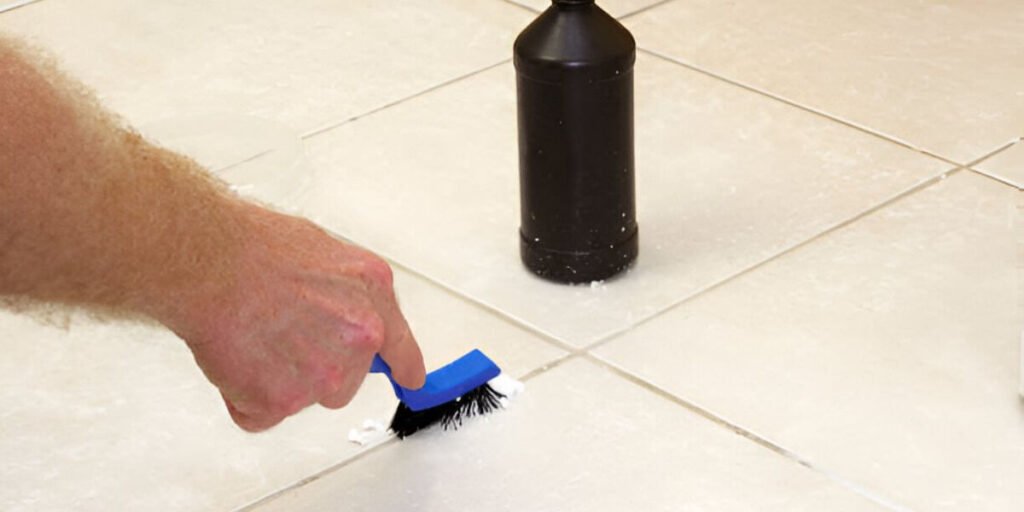
Deep cleaning techniques can transform blackened grout into pristine condition. Baking soda and vinegar make a natural, powerful solution, while a toothbrush gently scrubs embedded dirt and stains.
Grout can become extremely blackened, turning your once-pristine tiles into an eyesore. Reviving the beauty of your tiled surfaces doesn’t have to be daunting. With the proper techniques, even the most stubbornly blackened grout can sparkle again.
Use Of Baking Soda And Vinegar
This classic combination can work wonders on discolored grout. Here’s a simple method to try:
- Create a paste: Mix baking soda with water until you get a thick paste.
- Apply the paste: Spread it over the blackened grout lines.
- Add vinegar: Spray white vinegar over the baking soda paste.
- Scrub thoroughly: Use a stiff brush to scrub the grout.
- Rinse and dry: Clean off the paste with warm water and dry with a cloth.
Sometimes, store-bought solutions offer the best results. Grout-specific cleaners are designed to tackle heavy staining:
Grout cleaners are formulated to remove tough stains. They can be quite effective for heavily blackened grout. Follow the instructions on the label and wear protective gloves.
Steam Cleaning
Steam cleaners can be incredibly effective for deep cleaning grout. The high temperature loosens dirt and kills mould:
- Prepare the steam cleaner: Follow the manufacturer’s instructions to set up your steam cleaner.
- Steam the grout: Direct the steam nozzle along the grout lines.
Scrub if needed: A quick scrub with a brush can help with stubborn areas. - Wipe down: Use a clean cloth to wipe away loosened grime.
Hydrogen Peroxide And Baking Soda
This combination can be a powerful cleaner for blackened grout. Hydrogen peroxide lifts stains and disinfects:
Mix hydrogen peroxide with baking soda to create a potent cleaning paste. Apply the paste to the grout lines, let it sit for a few minutes, then scrub and rinse.
Oxygen Bleach
Oxygen bleach is a less harsh alternative to chlorine bleach and can effectively clean grout:
- Prepare the solution: Mix oxygen bleach with water per the package instructions.
- Apply to grout: Pour the solution over the blackened grout.
Let it sit: Allow it to work for 15 minutes. - Scrub and rinse: Scrub with a brush and rinse with water.
Using A Grout Pen
A grout pen can make grout look like new. It’s a quick fix but can last a long time:
Grout pens are excellent for covering up stains. Simply draw over the blackened grout lines, let them dry, and enjoy the refreshed look.
How To Clean Black Mold From Grout
Eliminate black mold from grout by scrubbing with baking soda and vinegar. Rinse thoroughly and dry completely.
Black mold on grout can be a stubborn and unsightly problem. It not only makes your tiles look dirty but can also pose health risks. Here’s how to tackle it effectively.
Gather Your Cleaning Supplies
Before you start, make sure you have the right tools. Here’s what you’ll need:
- Protective Gear: Wear gloves and a mask to protect yourself from mold spores.
- Cleaning Solution: Use a mix of bleach and water or a commercial mold cleaner.
- Scrub Brush: A stiff-bristled brush will help remove mold from grout lines.
- Spray Bottle: This is for easy application as a cleaning solution.
Apply The Cleaning Solution
First, spray the cleaning solution onto the affected grout. Ensure it covers the mold thoroughly. Let it sit for a few minutes to break down the mold. This step is crucial for effective cleaning.
Scrubbing The Grout
After the solution has soaked in, it’s time to scrub:
- Use the Brush: Scrub the grout lines vigorously with the stiff-bristled brush.
- Focus on Moldy Areas: Pay extra attention to spots with the most mold.
- Rinse with Water: After scrubbing, rinse the area with clean water to remove any residue.
Rinse And Dry
Rinsing and drying are essential to prevent mould from returning. Use clean water to rinse the grout thoroughly. After rinsing, dry the area completely with a clean cloth or towel. Mold thrives in moisture, so ensuring the area is dry is vital.
Prevent Future Mold Growth
To keep your grout mould-free, follow these tips:
- Ventilation: Ensure good airflow in rooms with tiles, especially bathrooms.
- Regular Cleaning: Clean grout regularly to prevent mold buildup.
- Seal Grout: Apply a grout sealer to create a barrier against moisture.
How To Prevent Grout From Turning Black Again
Clean the grout regularly with baking soda and vinegar to prevent it from turning black again. Seal grout annually to protect against moisture and dirt buildup.
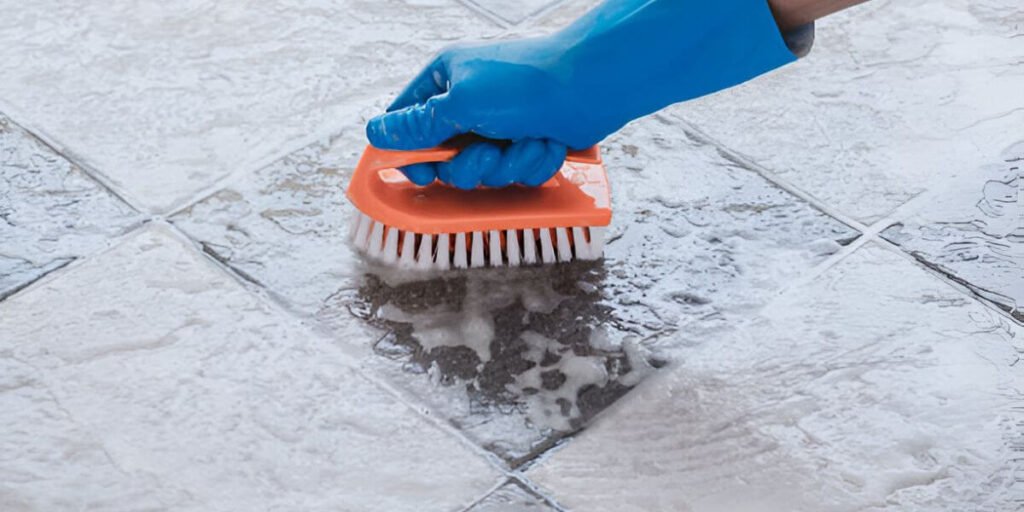
Grout turning black is common, but proactive steps can keep it clean. Let’s explore effective methods to prevent grout from darkening again.
Regular Cleaning Routine
Maintaining a regular cleaning schedule is essential. Here’s how you can keep your grout pristine:
- Daily Wipe Downs: Use a damp cloth to wipe surfaces daily.
- Weekly Scrubbing: Scrub grout with a brush and mild cleaner weekly.
- Monthly Deep Clean: Perform a deep clean with a more robust solution monthly.
Proper Ventilation
Good ventilation can significantly reduce grout discoloration. Ensure your space is well-ventilated to keep moisture levels down:
- Use Exhaust Fans: Install and use exhaust fans during and after showers.
- Open Windows: Allow fresh air to circulate by opening windows.
- Dehumidifiers: Place dehumidifiers in humid areas to reduce moisture.
Use Grout Sealer
Sealing grout can prevent dirt and moisture from penetrating. Apply a high-quality grout sealer regularly for best results:
- Choose Quality Sealers: Opt for a well-reviewed, high-quality grout sealer.
- Apply Every Six Monthis: Reapply sealer every six months to maintain protection.
- Follow Instructions: Always follow the manufacturer’s application guidelines.
Avoid Harsh Chemicals
Harsh chemicals can damage grout and lead to discoloration. Instead, use gentle, effective cleaning agents:
- Avoid Acidic Cleaners: Steer clear of vinegar or lemon-based cleaners.
- Use pH-Neutral Solutions: Opt for pH-neutral cleaners to protect grout.
- Test New Products: First, test any new cleaning products on a small, inconspicuous area.
Address Water Leaks
Unnoticed water leaks can lead to mold and mildew, causing grout to blacken. Regularly check for and fix any leaks:
- Inspect Regularly: Check for leaks around sinks, tubs, and showers.
- Fix Immediately: Repair any leaks as soon as they are detected.
- Monitor Humidity: Use a hygrometer to monitor indoor humidity levels.
Mats And Rugs
Using mats and rugs in high-moisture areas can prevent water from reaching the grout:
- Place Bath Mats: Use absorbent bath mats outside showers and tubs.
- Use Area Rugs: Place area rugs in kitchens to catch spills.
- Regularly Clean Mats: Wash mats and carpets regularly to avoid mold buildup.
With these tips, you can keep your grout looking fresh and clean. Regular maintenance and preventive measures will go a long way in preserving its appearance.
Expert Tips For Keeping Grout Clean And Bright
Discover effective methods for restoring blackened grout to its original brightness. Use baking soda and vinegar for a natural clean. Scrubbing with a stiff brush ensures deep cleaning and removes stubborn stains.
Cleaning grout that has turned black can seem daunting, but with the right tips, you can keep it looking pristine. Below are expert tips to help maintain clean and bright grout in your home.
Regular Maintenance
Regular upkeep makes a significant difference. Consistent cleaning prevents dirt and grime from settling in.
- Daily Wipe-Downs: Wipe surfaces daily to remove moisture.
- Weekly Cleaning: Use a mild cleaner weekly to scrub the grout.
- Monthly Deep Clean: Deep clean monthly with a suitable grout cleaner.
Use Of Proper Cleaning Solutions
Choosing the right cleaners is crucial. Avoid harsh chemicals that can damage the grout.
- PH-Neutral Cleaners: These are safe for regular use.
- Natural Cleaners: Vinegar and baking soda work wonders.
- Avoid Bleach: It can erode the grout over time.
Sealing Grout
Sealing grout is a preventative measure. It keeps dirt and moisture out.
Sealers create a protective barrier that prolongs cleanliness. Apply sealer every six months to maintain its effectiveness.
Immediate Spill Cleanup
Spills can stain grout quickly. Acting fast prevents stains from setting in.
- Blot Spills: Use a cloth to blot, not rub.
- Use Water and Soap: Clean with a mild solution immediately.
- Avoid Staining Liquids: Keep red wine, coffee, and similar liquids away from grout.
Proper Tools
The right tools make cleaning more accessible and more effective. Using them ensures thorough cleaning without damaging the grout.
- Soft Brushes: Use soft-bristled brushes to avoid scratching.
- Steam Cleaners: Effective for deep cleaning.
- Microfiber Cloths: Ideal for wiping and dusting.
Ventilation
Good ventilation helps keep grout dry. Moist environments breed mold and mildew.
Ensure bathrooms and kitchens are well-ventilated. Use exhaust fans and open windows regularly.
Avoiding Harsh Scrubbing
Over-scrubbing can damage grout. Gentle methods are more effective in the long run.
- Gentle Scrubbing: Use circular motions with a soft brush.
- Avoid Metal Brushes: They can erode grout.
- Test Cleaners: Always test new cleaners in a small area first.
Professional Cleaning
Sometimes, professional help is necessary. Experts can restore grout to its original state.
Professional cleaners have specialized equipment. They can reach areas that are hard to clean by hand.
Following these expert tips will ensure your grout remains clean and bright, adding a fresh look to your home.
Frequently Asked Questions
Grout turns black due to mould, mildew, dirt, and moisture buildup.
A mix of baking soda and vinegar effectively cleans black grout.
Clean grout every few months to prevent discoloration and mould growth.
Yes, bleach can weaken grout and cause it to crumble over time.
Professional cleaning can deep-clean grout, remove tough stains, and prolong its lifespan.
Conclusion
Proper cleaning methods can revive your grout’s original color. Follow these tips for a spotless finish. Regular maintenance will prevent future grime buildup. Now, enjoy your sparkling, clean grout and a fresher home environment. Share your results and keep your tiles looking their best!
Related Posts
-
 30 Nov 2024 CleaningBest Ways to Clean Granite Composite Kitchen Sinks at Home
 -
 26 Nov 2024 CleaningHow to Clean Stainless Steel Countertops | Experts Tips
 -
 17 Nov 2024 Cleaning5 Tricks | How to Clean Shower Head Without Vinegar
 -
 14 Nov 2024 CleaningHow to Keep Damascus Steel from Rusting: Easy Care Tips
 -
 13 Nov 2024 CleaningHow to Clean a Folding Knife Properly: Essential Tips and Tricks
 -
 13 Nov 2024 CleaningHow to Clean a Ninja Blender Quick Tips & Tricks for a Deep Clean
 -
 12 Nov 2024 CleaningHow to Clean Rust off of a Knife: Tips for Long-Lasting Blade Care
 -
 23 Oct 2024 CleaningHow to Clean Grout That Has Turned Black: Expert Tips & Tricks
 -
 19 Oct 2024 CleaningHow to Clean Blackstone Griddle for Long-Lasting Performance
 -
 19 Oct 2024 CleaningHow to Clean Burnt Stainless Steel Pot With Baking Soda

