How to Polish a Knife Blade: 7 Expert Tips for a Sharp Shine
Have you ever found your favorite knife dull and unusable? Do you need help with subpar kitchen tools that jeopardize your culinary creativity? The good news is that you can polish a knife blade right at your fingertips.
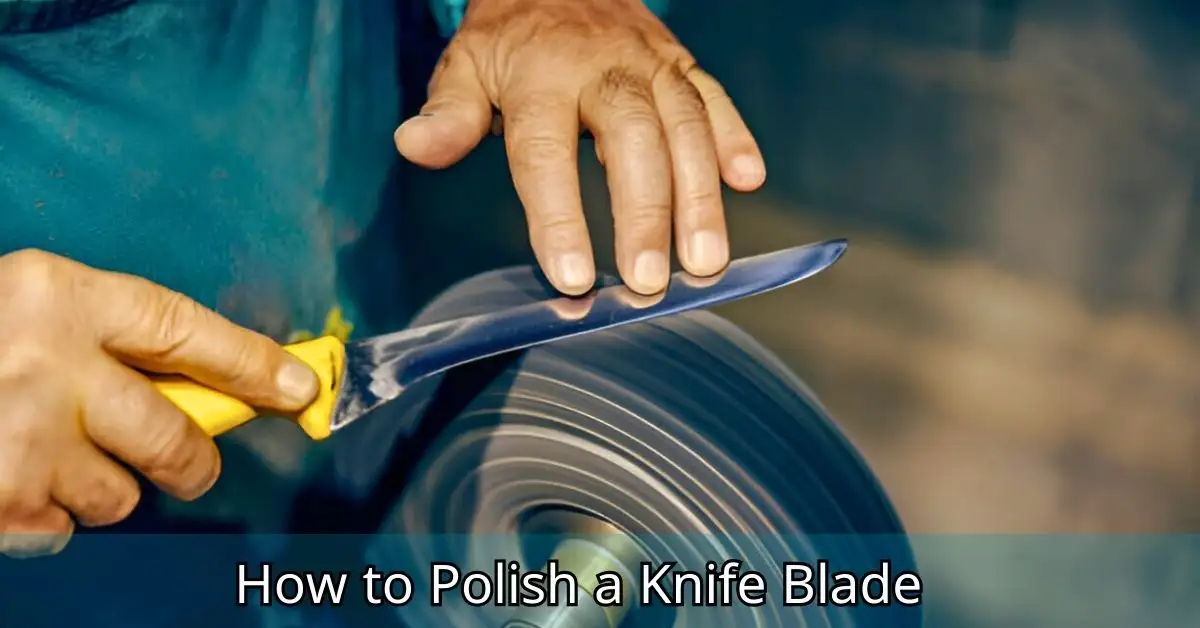
In a world where culinary experiences are cherished, the importance of a sharp knife cannot be overstated. A well-polished blade enhances your slicing skills and can transform your cooking experience. However, many people don’t realize that routine maintenance is key to prolonging the life and performance of their knives.
Learning to polish a knife blade restores its luster and ensures safety and precision in kitchen tasks. Every step is essential, from avoiding nicks to understanding the tools needed for a flawless finish. If you want to unlock the full potential of your knives and enhance your culinary skills, read on as we explore the essential techniques for polishing your knife blades like a pro.
Why Is It Important to Polish a Knife Blade?
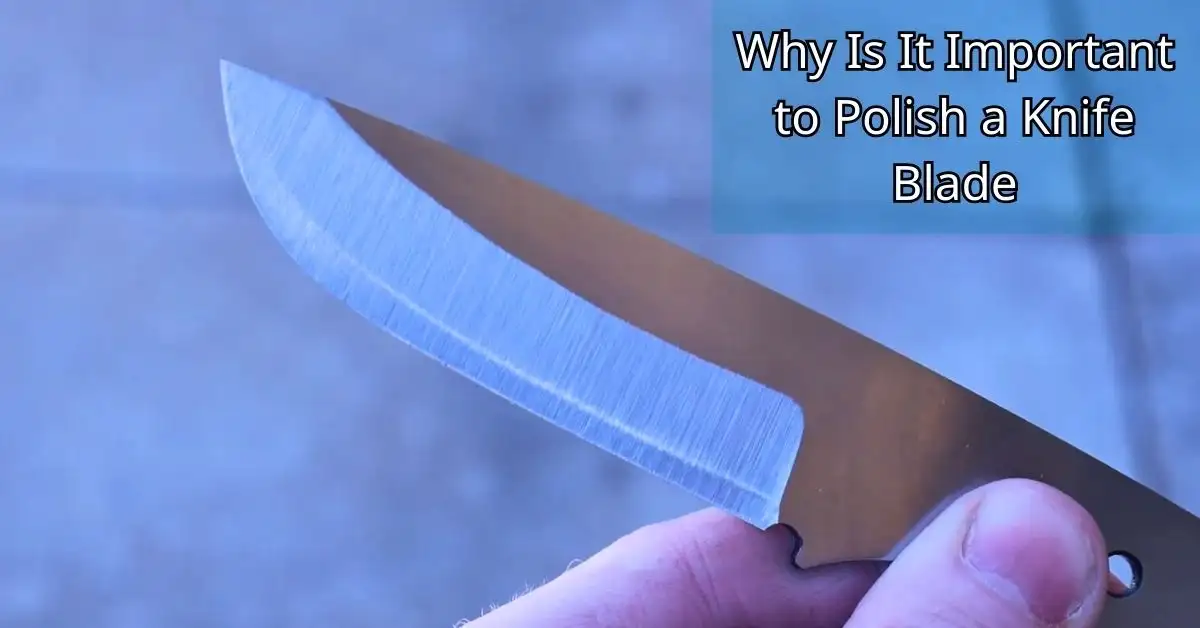
- Improved performance: A polished blade reduces friction during cutting, ensuring clean, smooth slices and making cutting more efficient. You can use it to chop vegetables in the kitchen, chop them into bite-sized pieces, and chop them into bite-sized pieces.
- Blade longevity: Polishing removes rust, tarnish, and scratches that can weaken the blade over time. By addressing these imperfections, you help prevent further damage and extend the overall life of your knife, ensuring it stays sharp and reliable for a long time.
- Aesthetic appeal: A polished blade has a smooth, mirror-like finish that adds a touch of sophistication. Whether a high-end chef’s knife is displayed in your kitchen or a trusty pocket knife you carry daily, the polished look enhances its appeal and value.
- Ease of maintenance: A polished surface is much easier to clean and maintain than a rough or scratched blade. The smooth finish resists stains, corrosion, and general wear, meaning your knife will retain its shine and performance over time with less effort. With these benefits in mind, let’s achieve that stunning, shiny, polished finish and take your blade to the next level!
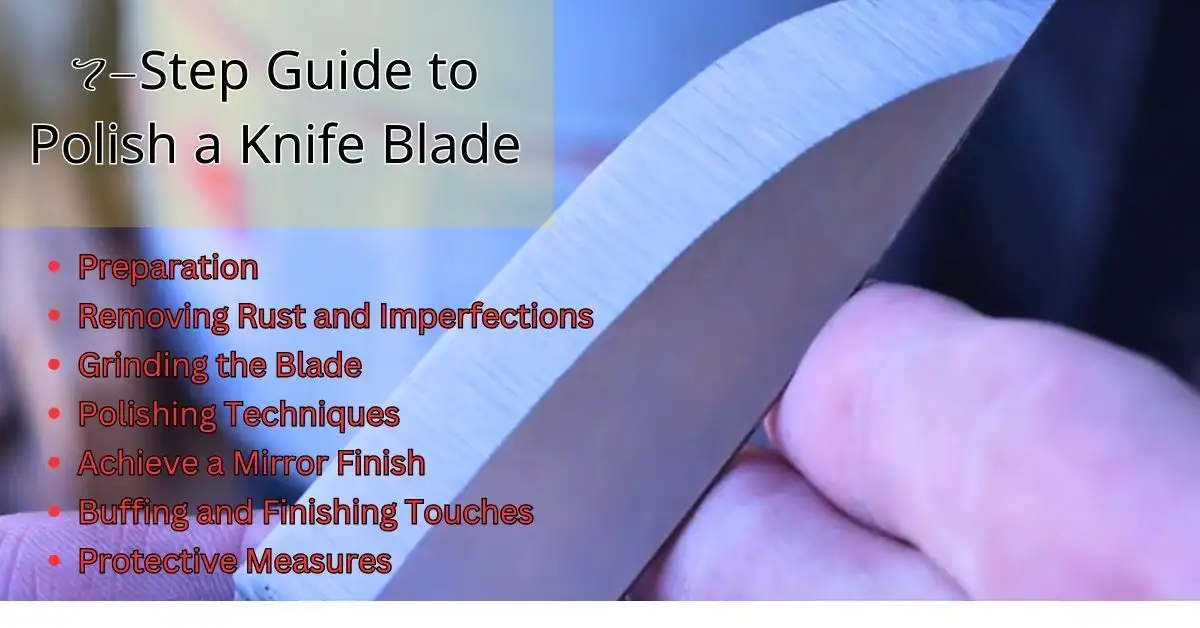
7-Step Guide to Polish a Knife Blade
If you’ve never polished knives before, don’t worry. With the right approach, anyone can do this at home. It’s a straightforward process that, when done correctly, can bring your knives back to life. Grab your tools and follow along.
Step 1: Preparation
Before polishing, you need to prepare the blade properly. This step is crucial, as it removes any dirt, rust, or imperfections that could interfere with the polishing. Preparing the blade ensures a smoother, more even finish, making the rest of the process more efficient and effective.
1.1 Clean the Blade Thoroughly
Start by thoroughly cleaning your knife blade with warm, soapy water to ensure it is contaminant-free. Use a sponge or soft cloth to gently rub the blade, paying extra attention to areas near the handle where grease, dirt, or residue from previous cuts may have accumulated.
If you encounter stubborn grime that doesn’t come off quickly, try using a mild abrasive sponge or a bit of baking soda for extra cleaning power. Rinse the blade thoroughly under running water to remove all soap and cleaning residue. Finally, dry the knife entirely with a soft, lint-free cloth, ensuring no moisture remains, as this can cause the blade to rust or dull.
1.2 Inspect for Roughness and Burrs
Carefully run your fingers over the blade’s surface (be cautious to avoid the sharp edge to prevent injury). Pay close attention to the texture—does it feel rough in certain areas? Can you identify any burrs, rust spots, or slight imperfections along the surface?
These imperfections, though small, can impact the blade’s performance and durability over time. Please take note of these areas, as they’ll require special attention during the cleaning or sharpening process to restore the blade to its optimal condition.
1.3 Gather Your Tools
Here’s a quick checklist of tools you’ll need:
- Microfiber cloths or polishing pads
- Sandpaper (various grits, from 400 to 1500)
- Rust remover solution or vinegar
- Dremel with polishing wheel attachment
- Polishing compound (look for aluminum oxide-based options)
- Buffing cloth or wheel
- Protective gloves and goggles
Step 2: Removing Rust and Imperfections
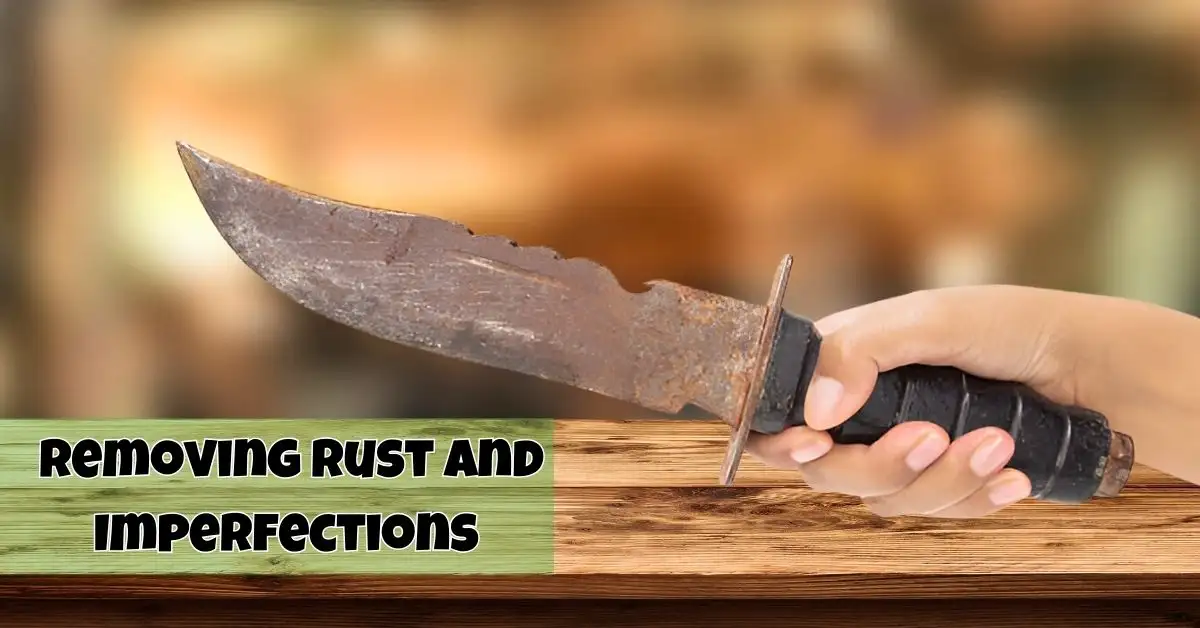
No one wants a rusty or uneven blade surface, which can affect performance and durability. Start by removing any visible rust using a rust remover, vinegar, and baking soda mixture. Once the rust is gone, use sandpaper or a fine abrasive pad to smooth out any imperfections on the blade, ensuring a clean and even surface for optimal use.
2.1 Methods for Rust Removal
- Using Rust Remover: Apply a rust remover compound to a soft cloth and gently rub it over the affected areas of the blade. Make sure to work in circular motions to ensure even coverage. After removing the rust, wipe the blade with a damp cloth and dry it thoroughly to prevent further corrosion.
- DIY Option – Vinegar Method: Fill a container with enough white vinegar to fully submerge the blade and let it soak for 10–15 minutes. The vinegar will break down the rust, making it easier to remove. After washing, use a non-scratch sponge or soft brush to scrub the remaining rust carefully. Rinse the blade under warm water and dry it with a clean towel to avoid moisture buildup.
2.2 Smoothing Out Imperfections
Use wet or dry sandpaper to achieve a smooth finish for scratches or slightly uneven surfaces. Begin with a lower grit, such as 400, to gently sand the rough areas. Once the surface feels evener, move on to higher grits like 800 and 1500, which will help refine the finish and make it smoother. Remember to keep the sandpaper damp to reduce dust and prevent scratches from deepening. Take your time and check the surface frequently to ensure even sanding throughout.
Step 3: Grinding the Blade
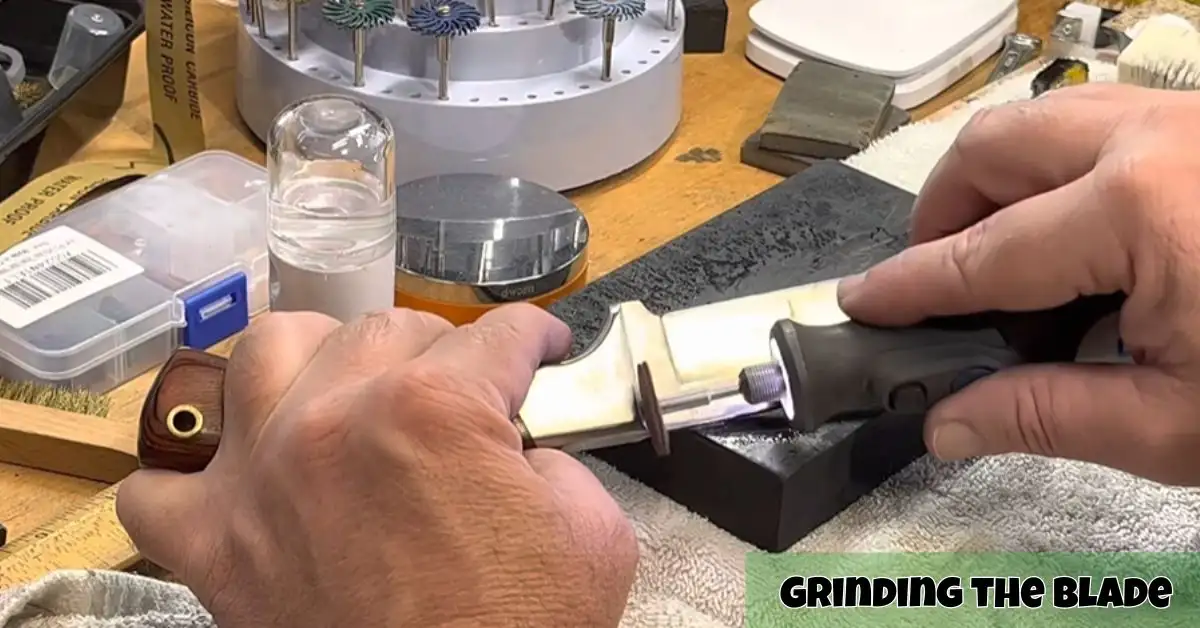
Grinding is a crucial step that removes deeper imperfections and prepares the blade for a smooth, polished finish, ensuring durability and a professional appearance. This process is typically divided into two stages:
- Rough Grinding: Start using coarse-grit sandpaper or a handheld grinding tool to tackle the blade’s surface. Glide along the blade with long, consistent strokes, applying even pressure to remove any visible flaws, dents, or scratches. Take care to maintain an even coverage across the entire blade, as this step lays the foundation for the finer work. Be patient and methodical to achieve a uniform surface.
- Fine Grinding: Once the rough grinding is complete, switch to finer-grit sandpaper or attach a polishing accessory to your Dremel tool. This stage is about refining the surface and removing more minor imperfections left behind by the coarse grinding. Work carefully over the blade to achieve a smooth, consistent finish. This step enhances the blade’s appearance and ensures it’s ready for polishing or further treatment.
Step 4: Polishing Techniques
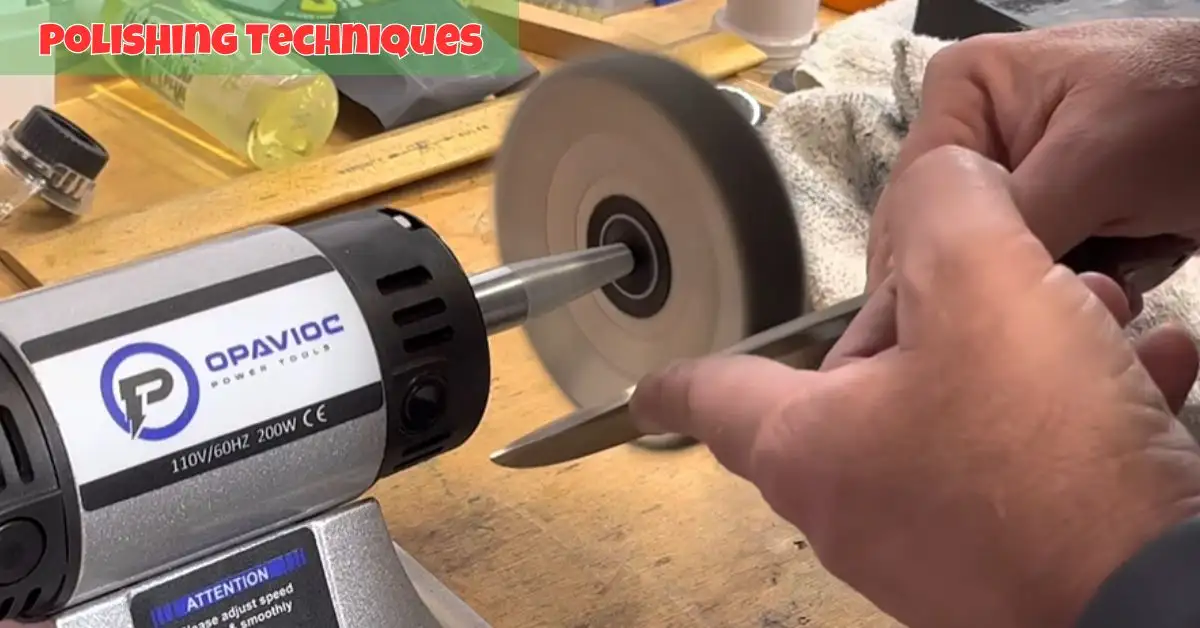
With a smooth blade ready, it’s time to polish and bring out the perfect shine! This step enhances the blade’s appearance and ensures a softer finish free of imperfections.
4.1 Mechanical Polishing
- Start by applying a small amount of polishing compound to your polishing wheel attachment. To achieve the best results, choose a high-quality compound suited for metal.
- Attach the polishing wheel to your Dremel tool and set it to a moderate speed to maintain control while polishing.
- Using the Dremel, move in circular motions along the blade’s surface, working carefully to cover all areas evenly. Avoid applying too much pressure—light, steady contact is all you need to achieve a brilliant shine without damaging the blade.
- Take your time and inspect the blade frequently to ensure an even polish, adding more compound as necessary to finish the job.
4.2 Chemical Polishing
Some people choose to use chemical polishing solutions to achieve an extra touch of shine on their surfaces. These solutions are specially formulated to enhance the finish, giving items a more polished and professional look. However, applying them carefully is essential, as improper use can damage the surface or reduce longevity.
Always wear protective gear like gloves and goggles to ensure safety while handling these chemicals. Additionally, these solutions should be used sparingly and in a well-ventilated area to avoid overexposure to fumes. With careful application, they can provide a noticeable improvement in the overall appearance.
Step 5: Achieve a Mirror Finish
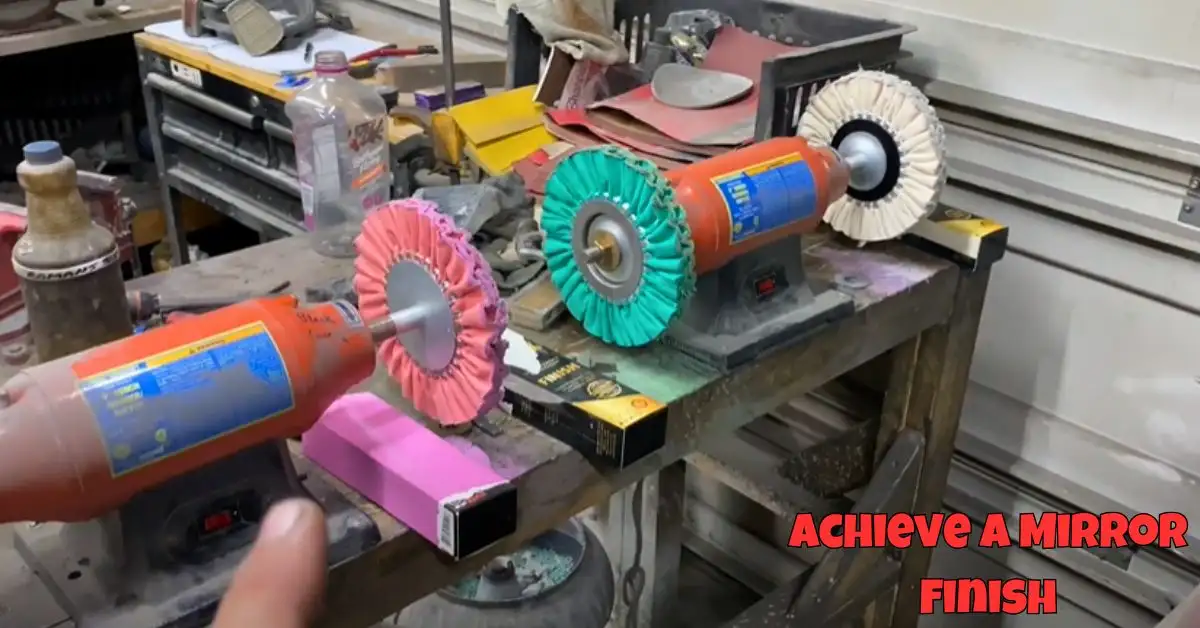
A mirror polish is the gold standard for achieving an entirely reflective, flawless surface on your blade. When done correctly, it enhances the blade’s appearance and adds a protective layer against corrosion. Here’s how to achieve it:
- Sand the blade one final time with ultra-fine (2000+) grit sandpaper. This step smooths out even the most minor imperfections and prepares the surface for polishing. Make sure to sand in even, consistent strokes, and take your time to cover the entire blade.
- Buff the blade with a soft cloth and polishing compound. Apply a small compound to the fabric and work it into the blade’s surface using circular motions. This helps bring out the reflective shine that sets a mirror polish apart.
- Double-check for any scratches or dull areas. Hold the blade up to a light source to spot imperfections. If any remain, repeat the sanding and buffing steps as needed until the blade is entirely smooth and reflective.
Achieving a mirror polish takes time, patience, and attention to detail. But the result is undeniably worth it—your blade will look brand-new, with a shine that showcases its craftsmanship and quality.
Step 6: Buffing and Finishing Touches
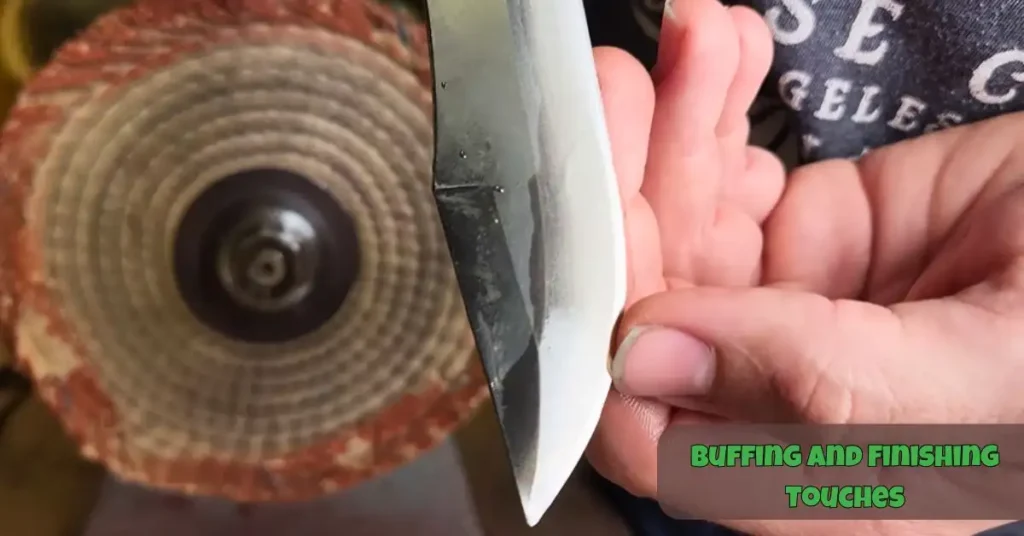
To complete the process:
- Attach a buffing wheel or polishing tool to your Dremel, ensuring it is securely in place to avoid wobbling or accidents during use. To achieve the best results, select a polishing compound suitable for metal.
- Gently buff the blade, moving the tool steadily along its entire surface. Apply light, even pressure, to avoid scratching or damaging the metal, and work in smooth, consistent strokes to create a uniform high-gloss finish.
- Hand-polish carefully using a clean microfiber cloth for any remaining spots or areas that are hard to reach. Apply a small amount of metal polish and rub in circular motions for a flawless shine.
Step 7: Protective Measures
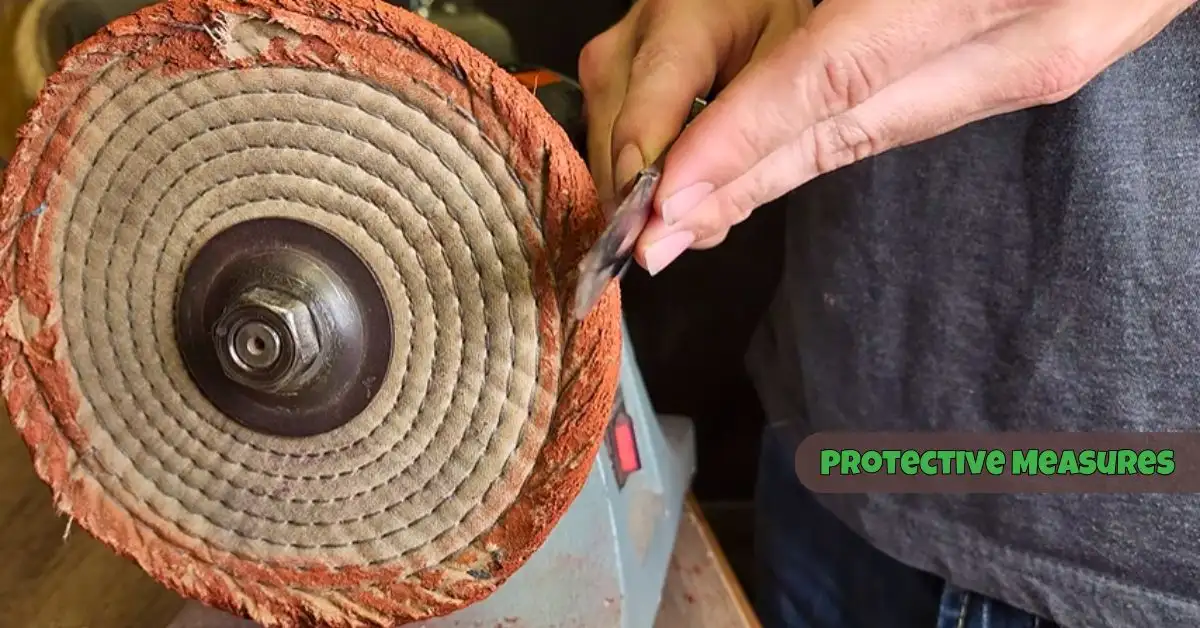
Your perfectly polished knife deserves proper protection to maintain its finish and longevity. Here are some tips to keep it in top condition:
- Apply Protective Coatings: Regularly applying a thin layer of mineral oil or specialized blade coatings can prevent rust, tarnish, and corrosion, especially if your knife is made from high-carbon steel. This simple step creates a barrier against moisture and extends the life of your blade.
- Maintenance Tips: Always wipe your knife clean immediately after use, particularly if you’ve been cutting acidic foods like tomatoes or citrus, as these can cause staining or pitting. A gentle cleaning with soap and water, followed by a quick drying and oil application, can keep your blade sharp and shiny. Never leave your knife soaking in water, as this can damage the blade and handle over time.
- Proper Storage: Store your knife in a dry, protective sheath, a magnetic strip, or a drawer organizer designed explicitly for knives. Avoid tossing it into a drawer unprotected, as this can lead to scratches, dulling, or accidents. Proper storage preserves the finish and ensures your knife is ready for use whenever you need it.
Additional Tips and Tricks
- Handling Deep Scratches or Heavy Oxidation: If your blade has deep scratches or significant oxidation, you must take a more aggressive approach. Consider using radial disks or Scotch-Brite belts to remove the damage effectively. These tools are designed to tackle tougher imperfections and can help restore the blade’s surface to its original condition. Always ensure you’re working in a controlled manner to avoid removing too much material.
- Maintaining the Edge: Polishing your blade is essential for its appearance, but don’t forget its functionality! A polished blade won’t perform well without a sharp edge. Use a reliable sharpening tool between polishing sessions to keep the blade precise and ready. Regular sharpening enhances performance and extends the blade’s overall lifespan.
Aftercare for Your Polished Knife
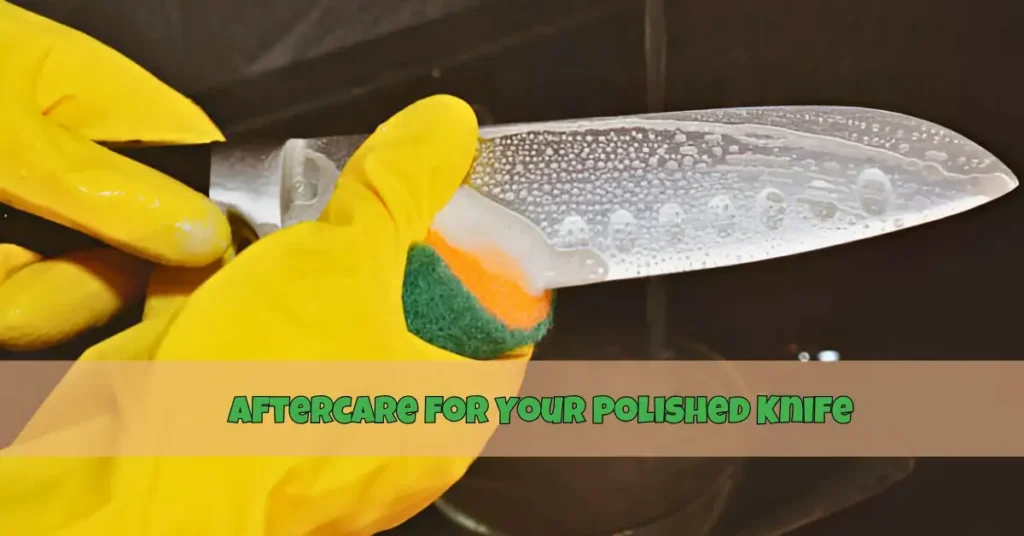
Polished knives are low-maintenance and durable but require proper care to stay in top condition. After polishing your knife, cleaning the blade to remove any residue left by polishing compounds is essential, as this can affect the knife’s performance over time.
Always ensure the blade is thoroughly dried after cleaning to prevent rust or moisture damage, which can compromise the knife’s aesthetic and functionality. For everyday use, consider investing in a protective knife cover or a magnetic rack for safer and more convenient storage, keeping the blade sharp and protected from unnecessary wear. Proper care will ensure your knife stays reliable and lasts for years.
Conclusion
Polishing your knife is a gratifying process that can breathe new life into even the dullest blades, turning them into gleaming works of art. Following these steps, you can achieve a stunning mirror finish and preserve it properly. Take time, focus on the details, and prioritize safety when working with sharp tools or potentially hazardous materials.
Why let those dusty knives sit unused? You can restore their beauty and enhance their performance with a little effort and some simple polishing techniques. A polished knife not only looks incredible but also works more efficiently. So roll up your sleeves and get started—your knives deserve the upgrade!
FAQs: How to Polish a Knife Blade
Polishing a knife blade enhances its aesthetic appeal by restoring its shine. It also prevents rust and corrosion, ensures smoother cutting performance, and extends the knife's lifespan.
You’ll need a polishing compound, a soft cloth or microfiber towel, fine-grit sandpaper (optional), a polishing wheel (optional), and a non-abrasive cleaning solution. Ensure you have safety gloves to protect your hands.
You can polish a knife blade at home using essential items like a polishing paste, a soft cloth, and elbow grease. For more advanced polishing, tools like a buffing wheel can help achieve a mirror finish.
Clean the blade thoroughly with warm water and mild soap to remove dirt and grease. Dry it completely, and if there are scratches or rust, use fine-grit sandpaper to smooth the surface before polishing.
Yes, as long as you handle the knife carefully and wear safety gloves. Always polish away from the blade’s edge to prevent accidents and avoid applying too much pressure.
The frequency depends on how often you use the knife. For knives used regularly, polishing every few months or when you notice dullness or discoloration is recommended.
Related Posts
-
 23 Feb 2025 KnifeWhat Is a Slicing Knife Used For? Discover How It Makes Cooking Easy!
 -
 16 Feb 2025 KnifeWhat knives does Gordon Ramsay use? Check out his premium knives
 -
 15 Feb 2025 KnifeWhat Knife Do Navy Seals Use? SEAL's Standard Issue 2025
 -
 08 Feb 2025 KnifeWhat Knife Does John Wick Use? Learn About His Deadly Blade
 -
 30 Jan 2025 KnifeWhat is a Nakiri Knives Used For? Benefits & Features Explained
 -
 12 Jan 2025 KnifeFish Knife vs Butter Knife: Key Differences and Uses Explained
 -
 11 Jan 2025 KnifeHow to Sharpen Global Knife: A Quick Guide 2025
 -
 10 Jan 2025 KnifeDecoding the Iconic Why So Serious Joker Knife
 -
 09 Jan 2025 KnifeThe Right Way to Use a Steak Knife: Tips and Tricks
 -
 08 Jan 2025 KnifeHow to Sharpen a Morakniv Knife Safely and Effectively

