What Grit Whetstone for Kitchen Knives? Expert Tips Inside!
The ideal grit whetstone for kitchen knives depends on the blade’s condition. Use 1,000-3,000 grit for regular sharpening, 4,000-8,000 for fine polishing, and 200-600 for repairing damaged edges.
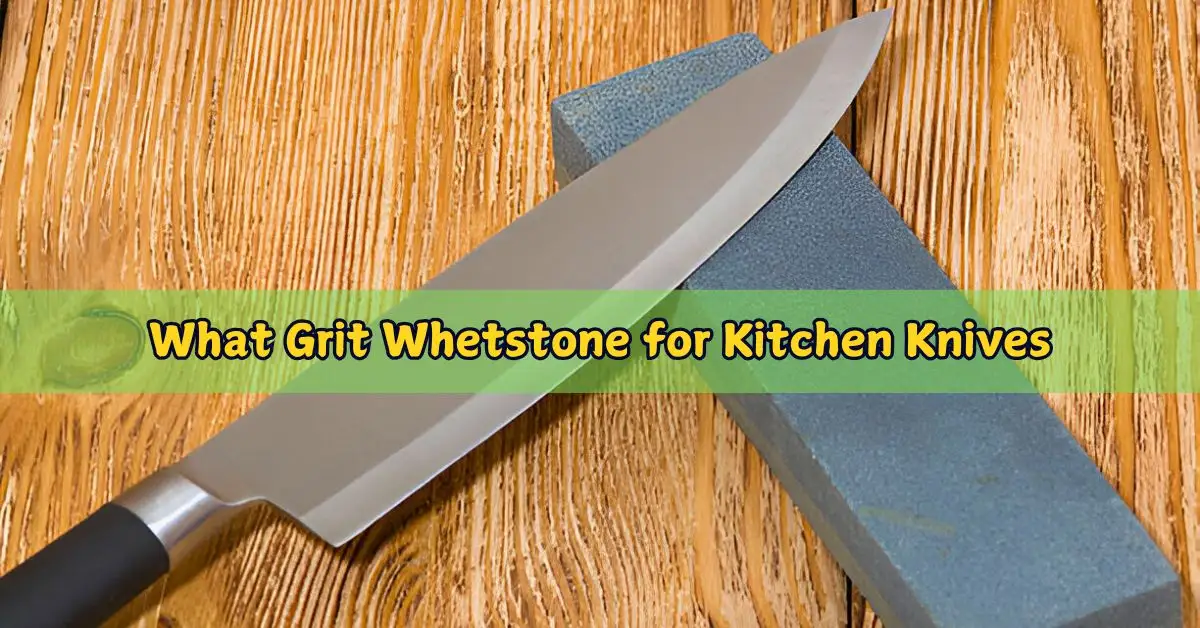
The correct whetstone grit is essential for keeping your kitchen knives sharp and practical. But what gritstone should you choose? Whether you’re a seasoned chef or a home cook, selecting the best grit for knife sharpening can make all the difference.
Understanding whetstone grit charts and how to use different grit progression for sharpening will help you achieve perfect results. Coarse grit stones (like a #1000 grit whetstone) are ideal for sharpening dull knives, while fine grit sharpening stones are designed to give your knife a smooth, razor-sharp edge.
A 3000-grit whetstone guide can help refine your blade’s edge. When working with Japanese knives, fine stones are often required to preserve their delicate structure. In this guide, we’ll explore the best grit for knife sharpening based on your needs so you can always cut confidently. Ready to elevate your kitchen tools? Let’s dive in!
Understanding Whetstone for Kitchen Knives
What Is Whetstone Grit?
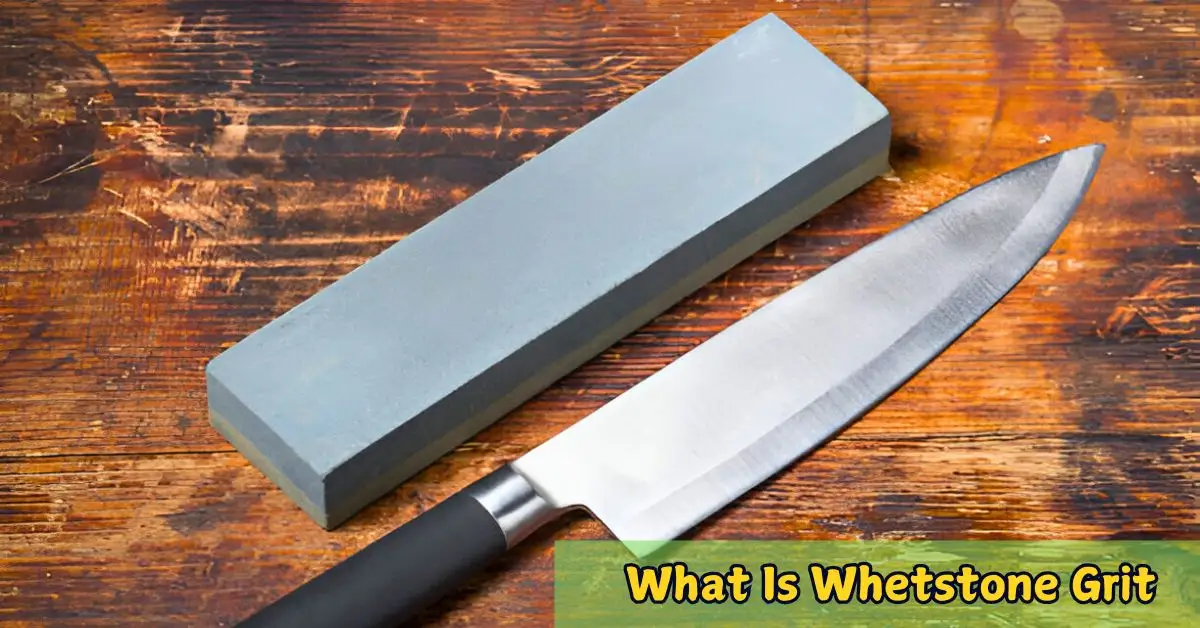
Whetstone grit refers to the size of the abrasive particles on the stone’s surface. This surface is used to grind and sharpen knife blades. The grit size directly affects how much material is removed from the blade during sharpening. Lower numbers (coarse grit) remove material quickly, while higher numbers (fine grit) offer precision for polishing.
Grit isn’t just a technical detail—it’s your guide to achieving desired results. A damaged knife may need a coarse grit stone, while polishing a razor-sharp edge requires fine grit. Knowing this guide can give you the confidence to handle any sharpening task.
How Grit Numbers Work
Grit numbers on a whetstone indicate the size of the abrasive particles, which determines how much material is removed and the level of sharpness achieved:
Coarse Grit (#200–#1000): These stones have larger abrasive particles and are best suited for repairing significant damage, such as chips or nicks in a blade, reshaping the edge, and sharpening very dull knives. They remove material quickly, making them ideal for restoring a blade’s basic functionality.
Medium Grit (#1000–#3000): Medium grit stones are ideal for sharpening and maintaining a blade’s edge. They balance material removal and edge refinement, ensuring your knife stays sharp for daily use without excessive wear. This grit is often the go-to for general sharpening tasks.
Fine Grit (#4000–#8000): These stones are designed for fine-tuning and polishing a blade’s edge, perfect for achieving a razor-sharp finish. They refine the edge to a high level of sharpness, often resulting in a mirror-like polish. Fine grit stones are beneficial for delicate tasks and precision cutting tools.
The Science Behind Grits
The sharpening mechanics involve abrading the blade’s surface to reshape and refine its edge, ensuring it regains its cutting efficiency. This process typically starts with coarse grits, which remove material quickly to grind and reshape the blade, addressing dull or damaged edges. Once the basic shape is restored, finer grits smooth the surface and hone the edge to a razor-sharp finish.
Using a progression of grits allows for a balanced approach, combining efficient material removal with precision and control, ultimately resulting in a durable blade that is sharp enough for precise tasks. Regular sharpening not only improves performance but also extends the lifespan of the blade. Understanding this process will help you choose the correct grit for your sharpening needs.
Types of Whetstone for Kitchen Knives
Oil Stones
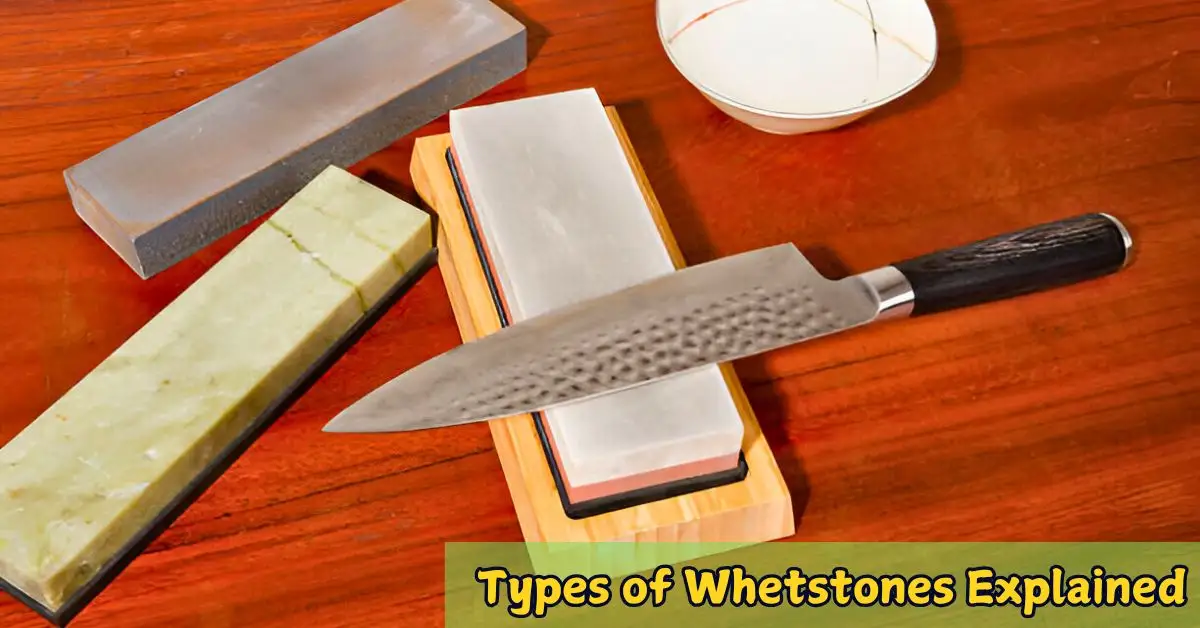
Oil stones are a traditional and reliable sharpening tool known for their durability and long-lasting performance. They use oil as a lubricant, which helps to reduce friction and prevent metal shavings from clogging the surface during use, ensuring consistent results. These stones are well-suited for heavy-duty sharpening tasks and can handle various tools, from knives to chisels.
While they are practical and robust, oil stones tend to be slower than some modern alternatives like ceramic or diamond stones, requiring more time and effort to achieve the desired sharpness. Despite this, their affordability and proven performance make them a favorite among many sharpening enthusiasts.
Water Stones
Water stones are softer and faster than oil stones, offering a more efficient sharpening process for various blades. Unlike oil stones, they only require water as a lubricant, making them both environmentally friendly and more straightforward to clean after use.
Their softer surface allows for quicker material removal, which is ideal for maintaining sharp edges. These qualities make water stones a go-to choice for kitchen knives, particularly for delicate and precision-focused Japanese knives, where keeping the proper edge geometry is essential for performance and longevity.
Diamond Stones
Diamond stones are sharpening tools that use industrial-grade diamonds securely bonded to a steel or rigid base, providing unmatched durability and efficiency. Their abrasive surface allows for a significantly faster cutting rate than other sharpening stones, making them ideal for shaping, repairing, or honing blades with minimal effort.
While they tend to be more expensive, they are particularly well-suited for high-precision work. They are highly effective on hard or wear-resistant knife steels that may otherwise be difficult to sharpen with traditional stones. Additionally, diamond stones are low-maintenance, as they do not require soaking in water and resist wear over time, ensuring consistent performance for years.
Synthetic vs. Natural Stones
Synthetic stones are popular for sharpening because they are affordable, consistent, and effective for most sharpening needs. They are typically made from materials like aluminum oxide or silicon carbide. They are manufactured to provide uniform grit levels, making them easy to use and reliable for many tools.
On the other hand, natural stones are highly valued for their unique properties, often quarried from specific regions known for high-quality stone deposits. These stones offer the ability to produce an excellent, smooth finish, making them a favorite among professionals and enthusiasts who prioritize precision.
Natural stones are generally more expensive and can vary in performance due to their organic composition and varying grit levels. Choosing between synthetic and natural stones ultimately depends on your budget, preferences, and sharpening goals.
Choosing the Right Grit for Your Needs
Matching Grit to Knife Condition
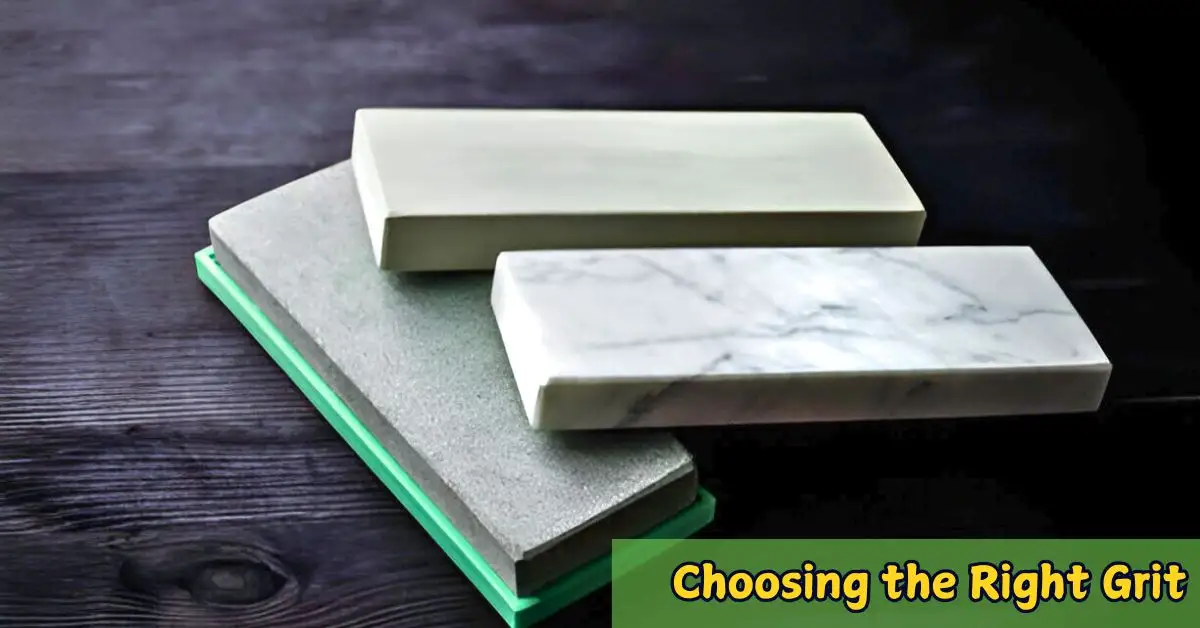
- Coarse Grit (#200–#1000): This range is perfect for repairing chipped or damaged blades and reshaping edges that have become uneven or dulled over time. It’s essential for bringing worn knives back to a functional state before moving to finer grits.
- Medium Grit (#1000–#3000): Ideal for routine sharpening, this grit range helps restore slightly dull blades to a sharp, usable condition. It’s the go-to option for regular maintenance and ensuring your knives stay in good working order for daily use.
- Fine Grit (#4000–#8000): Designed for polishing and refining the edge, this range achieves razor-sharp precision and is excellent for specialty knives or tools that require a highly honed finish. It adds the final touch, ensuring your knives perform at their best.
Grit Progression
Always work through a progression of grits for the best results when sharpening a blade. Begin with a coarser grit to shape or repair the blade, especially if there are chips or significant dullness. This step removes imperfections and establishes the basic edge.
Next, move to a medium grit for sharpening, refining the edge further and ensuring it becomes functional. Finally, finish with a fine grit to polish the blade, creating a smooth, razor-sharp edge ready for precision work. Taking the time to follow each step ensures durability and optimal blade performance.
Common Mistakes When Choosing Grits
- Over-Polishing: Polishing with fine grit before properly shaping the blade can result in dull spots. This happens because the fine grit smooths the surface too much, making it difficult to achieve a sharp edge later. Always prioritize shaping before polishing.
- Under-Sharpening: Relying solely on medium grit for sharpening won’t entirely reshape dull or damaged knives. Medium grit can smooth out minor imperfections, but restoring a proper cutting edge on severely worn blades is insufficient. For best results, start with coarse grit and work your way up.
Detailed Breakdown of Grit Ranges
Coarse Grit Stones (#200–#1000)
- Uses: It is ideal for repairing chips in the blade and reshaping edges that have become uneven or damaged over time. This is crucial for restoring very dull or heavily worn knives to their original shape.
- Pros: It provides fast and efficient material removal, making it perfect for tackling dull or damaged knives that need significant restoration. It’s a go-to solution for bringing life back to blades that seem beyond repair.
- Cons: While effective, it leaves a rough, unfinished edge on the blade, which means additional sharpening and honing are required to achieve a smooth, razor-sharp finish.
Medium Grit Stones (#1000–#3000)
- Uses: This grit is perfect for routine sharpening and maintaining the sharp edge of your blades. It is ideal for keeping knives in peak condition without over-sharpening.
- Benefits: Balances sharpness with blade durability, making it a reliable and timeless choice for regular maintenance. It helps extend the lifespan of your knives while ensuring they’re always ready for precise cutting.
- Ideal Grit: The 1000-grit whetstone is a versatile tool for beginners and professionals. It provides an excellent balance between ease of use and effectiveness. Whether you’re sharpening a chef’s knife or a utility blade, this grit level ensures consistent, reliable results.
Fine Grit Stones (#4000–#8000)
- Uses: Ideal for polishing and refining, this grit level creates ultra-sharp edges on high-performance knives, ensuring exceptional cutting precision and durability.
- Perfect For: Specialty and Japanese knives that require the highest accuracy and care. A 5000-grit whetstone, for instance, is excellent for adding a finishing touch, leaving blades razor-sharp and ready for intricate tasks like slicing sashimi or detailed prep work.
Beyond Basics: Advanced Considerations
How Blade Material Affects Grit Choice
Carbon steel is renowned for achieving a razor-sharp edge, making it a top choice for those who value precision and sharpness in their tools or knives. This comes with a need for consistent upkeep to prevent dullness and rust. Regular sharpening, careful drying, and occasional oiling are crucial to maintain its performance and longevity.
On the other hand, stainless steel is celebrated for its durability and resistance to rust, offering a more low-maintenance option that suits most users. While its more challenging properties require slightly coarser grit during sharpening and may not reach the same razor-sharpness as carbon steel, stainless steel provides excellent longevity and ease of care.
Both materials cater to different needs, balancing performance and maintenance depending on your priorities.
Grit Levels for Specialty Knives
Different knives—such as Santoku, chef’s, and paring knives—may benefit from specific grit levels depending on their size, function, and intended use. For instance, a chef’s knife, designed for versatile tasks like chopping and slicing, may require a medium to fine grit for precision.
A Santoku knife, known for its thinner blade and finer cuts, might benefit from an even finer grit for optimal sharpness. Meanwhile, smaller knives like paring knives, used for detail work like peeling and trimming, often require a grit level that supports delicate control.
Customizing Sharpening Based on Cutting Style
- Push Cutting requires ultra-sharp edges for clean, precise cuts, making finer grits essential. It is perfect for tasks like slicing vegetables or filleting fish, where precision is key.
- Slicing: Achieving a balance of sharpness and durability is crucial here, and medium grits are ideal. This is great for cutting meats or bread, where you need a sharp edge that can handle repeated use without dulling too quickly.
- Chopping: For heavy-duty tasks like chopping bones or dense vegetables, coarse grits are typically sufficient. They provide a robust, durable edge that can withstand the impact without being razor-sharp.
Step-by-Step Guide to Sharpening Kitchen Knives
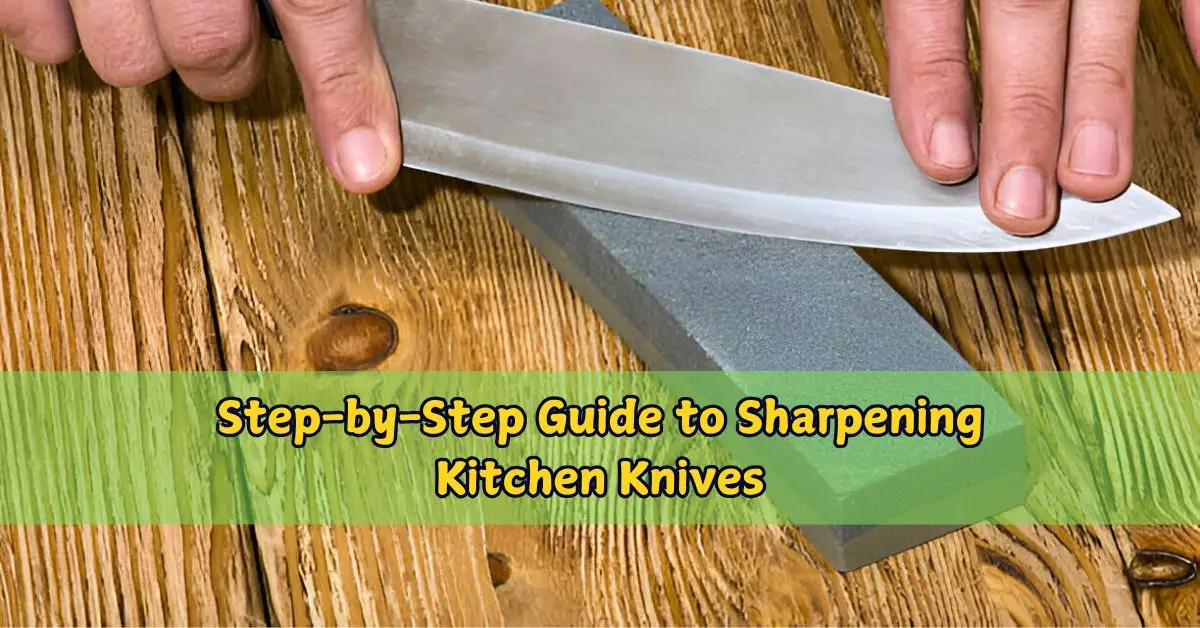
Step 1: Preparing Your Whetstone
- Water Stones: Before sharpening, soak the stone in water for 10–15 minutes until it stops releasing air bubbles. This ensures the surface stays wet during use, providing smoother sharpening.
- Oil Stones: Apply a small amount of sharpening oil to the stone’s surface, spreading it evenly. The oil helps reduce friction and prevents metal particles from clogging the stone.
- Preparation: Clean your tools and set up your workspace on a stable, non-slip surface to ensure safety and precision while sharpening.
Step 2: Sharpening Techniques and Angles
Hold the blade at a 15–20 degree angle when sharpening a knife using a whetstone, ensuring it stays steady and properly positioned to achieve effective results.
Apply consistent pressure as you move the knife, using smooth and even strokes to prevent uneven sharpening or accidental damage to the blade. Focus on one side at a time, carefully honing it before switching to another.
This ensures that both sides are evenly sharpened, resulting in a balanced, razor-sharp edge gliding effortlessly through whatever you’re cutting.
Step 3: Checking Sharpness
To check if your blade is sharp, you can perform a paper slice test by slicing through a sheet of paper; a sharp knife should cut cleanly without tearing. Alternatively, you can carefully and gently run your thumb across the blade’s edge (not along it) to feel for any dullness or nicks. Always prioritize safety when handling sharp tools during this process.
Step 4: Avoid Common Sharpening Mistakes
Maintain consistent angles while sharpening to ensure an even edge along the entire blade. This improves the blade’s cutting performance and durability, allowing it to stay sharp for extended periods and perform reliably under various conditions.
Avoid over-sharpening one side of the blade, as this can lead to an imbalance that affects the blade’s alignment and reduces its overall effectiveness. An imbalanced blade may wear unevenly over time, compromising its precision and potentially causing safety issues during use.
Maintaining Your Whetstones
Cleaning and Storage Tips
After each use, rinse stones thoroughly with warm water to remove any residue or debris. This helps maintain their effectiveness and keeps them clean for future use.
Store the stones in a dry, well-ventilated area to prevent moisture buildup, which can lead to mold or damage over time. Consider placing them on a rack or in a breathable container for optimal airflow.
Flattening Your Whetstone
Flatten your sharpening stone regularly using a lapping plate to maintain an even and level surface. Over time, sharpening stones can develop low spots or uneven surfaces due to repeated use, impacting their effectiveness.
Using a lapping plate, you can restore the stone to its original flatness, ensuring consistent sharpening performance across the entire surface. This helps you achieve precise, sharp edges on your tools and prevents uneven wear that could compromise the sharpening quality over time. Regular maintenance will extend the life of your sharpening stone and improve the results of your work.
FAQs About Whetstone Grits
Yes,1000 grit is ideal for routine sharpening as it effectively restores a dull edge and creates a good cutting surface. For added refinement and a smoother cut, 3000 grit is a great follow-up, especially if you want a slightly sharper finish without going into finer polishing grits.
Using just one grit stone is possible, especially if you're in a pinch, but it's better to use a grit progression for optimal results. Starting with a coarser grit and working to finer grits ensures the edge is sharp and polished for smoother cutting performance.
You must use fine grits in the #4000–#8000 range to achieve razor-sharp edges. These grits are designed for polishing and refining, creating an ultra-smooth edge that slices effortlessly through even the most delicate foods like herbs or fish.
The frequency of sharpening depends on how often you use your knives and what you’re cutting. Sharpening every 1–3 months for most home kitchens should be sufficient to maintain a good edge. However, if you use your knives heavily or for more challenging tasks, you may need to sharpen them more often. Regular honing can also help prolong the time between sharpenings.
Innovative Additions for Sharpening Enthusiasts (Unique)
Whetstone Alternatives: Are They Worth It?
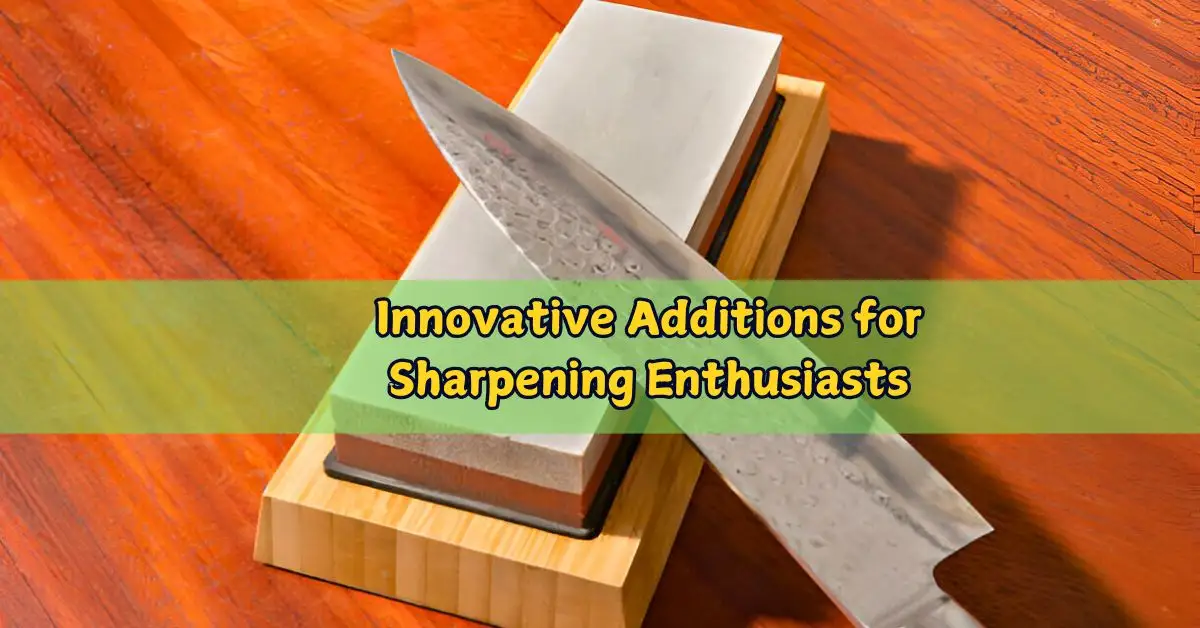
Though whetstones are the traditional choice for sharpening knives, technological advancements offer alternative options. Electric knife sharpeners and manual pull-through sharpeners use various materials to quickly and effectively achieve sharp edges on kitchen knives.
These methods may provide a different level of control or precision than using a whetstone. Ultimately, it comes down to personal preference and what works best for your needs and skill level.
Eco-Friendly Sharpening Practices
In addition to being an excellent tool for maintaining sharp edges, whetstones can also be used in eco-friendly sharpening practices. Using natural lubricants such as oil or water instead of chemical-based alternatives can reduce environmental impact while achieving excellent results.
Some whetstones are made from sustainable materials like natural stones or recycled ceramics, making them a more environmentally friendly choice for sharpening enthusiasts.
Budget-Friendly Whetstone Recommendations
While investing in a higher-quality whetstone can provide long-term benefits, budget-friendly options can still achieve satisfactory results. Look for multi-sided whetstones with different grits to perform multiple sharpening stages without purchasing separate stones. Properly maintaining and storing your whetstones will also prolong their lifespan, allowing you to maximize your investment.
Expert Tips from Professional Chefs
As with any skill, practice, and experience can significantly improve your sharpening technique. Professional chefs recommend using a consistent angle and applying light pressure to achieve optimal results without damaging the blade. They also stress the importance of keeping your whetstones clean and adequately maintained for the best performance.
Lastly, feel free to seek advice or watch demonstrations from experienced sharpeners to improve your skills continually. Sharpening is an art that takes time and patience to master, but it’s well worth the effort for consistently sharp and efficient kitchen knives.
Elevate Your Sharpening Game
Whether repairing a chipped blade or polishing a precision edge, choosing the correct whetstone grit can make all the difference. A coarse grit (200-600) is ideal for repairing chips or reshaping blades, while a medium grit (800-2000) is perfect for general sharpening. A fine grit (3000-8000) will give you a polished, smooth finish to achieve that razor-sharp edge.
With the right tools, techniques, and knowledge, you’ll transform dull knives into kitchen powerhouses that cut effortlessly and improve your cooking experience. Invest in a quality set of whetstones in various grits and practice your sharpening angles to get started. Consult a whetstone grit chart for guidance if you need help deciding which grit to use.
Conclusion
Maintaining your whetstones ensures your sharpening tools’ best performance and longevity. Regular cleaning, proper storage, and flattening are crucial steps in preserving the integrity of your stones. Understanding grits and determining which options work best for your needs can significantly improve the results of your sharpening efforts.
Additionally, considering alternative methods and eco-friendly practices can provide unique benefits for yourself and the environment. And finally, seeking tips from professionals and continually practicing will help you become a proficient sharpener. By following these guidelines, you can maintain sharp edges on all your kitchen knives and enjoy efficient cutting performance for years.
Happy Sharpening!
Related Posts
-
 23 Feb 2025 KnifeWhat Is a Slicing Knife Used For? Discover How It Makes Cooking Easy!
 -
 16 Feb 2025 KnifeWhat knives does Gordon Ramsay use? Check out his premium knives
 -
 15 Feb 2025 KnifeWhat Knife Do Navy Seals Use? SEAL's Standard Issue 2025
 -
 08 Feb 2025 KnifeWhat Knife Does John Wick Use? Learn About His Deadly Blade
 -
 30 Jan 2025 KnifeWhat is a Nakiri Knives Used For? Benefits & Features Explained
 -
 12 Jan 2025 KnifeFish Knife vs Butter Knife: Key Differences and Uses Explained
 -
 11 Jan 2025 KnifeHow to Sharpen Global Knife: A Quick Guide 2025
 -
 10 Jan 2025 KnifeDecoding the Iconic Why So Serious Joker Knife
 -
 09 Jan 2025 KnifeThe Right Way to Use a Steak Knife: Tips and Tricks
 -
 08 Jan 2025 KnifeHow to Sharpen a Morakniv Knife Safely and Effectively

